TIANYI FURNITURE REPAIR

Home / Projects

TIANYI · REPAIR IN FOCUS

Before & After Projects

Explore repair photographs, before-and-after comparisons and the work behind the finish. Select a photo to view the details, or open the repair sequence to see the stages in between.

Original project photographs are presented as supplied. Lighting and camera angles vary between stages.

Furniture, Wooden Door & Floor Repair
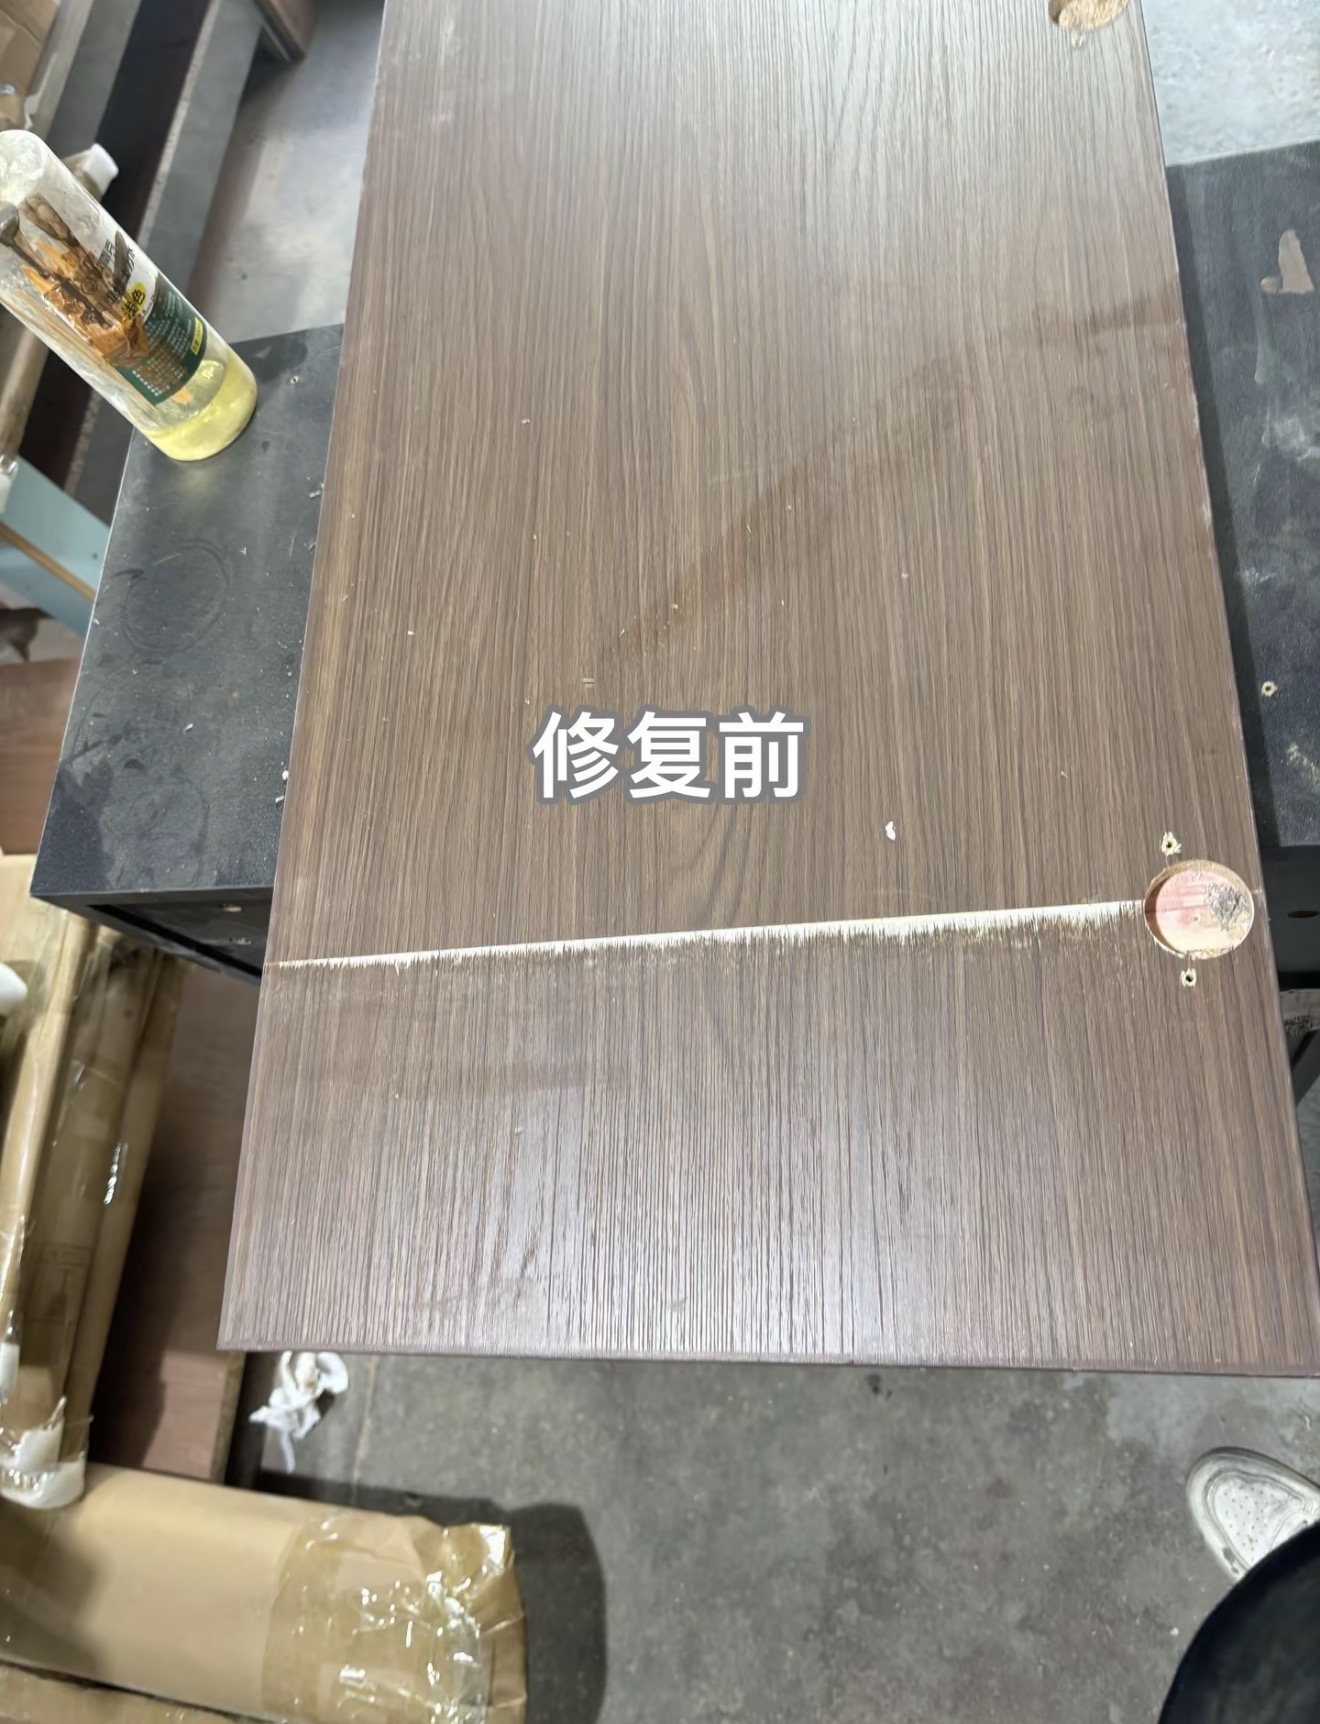
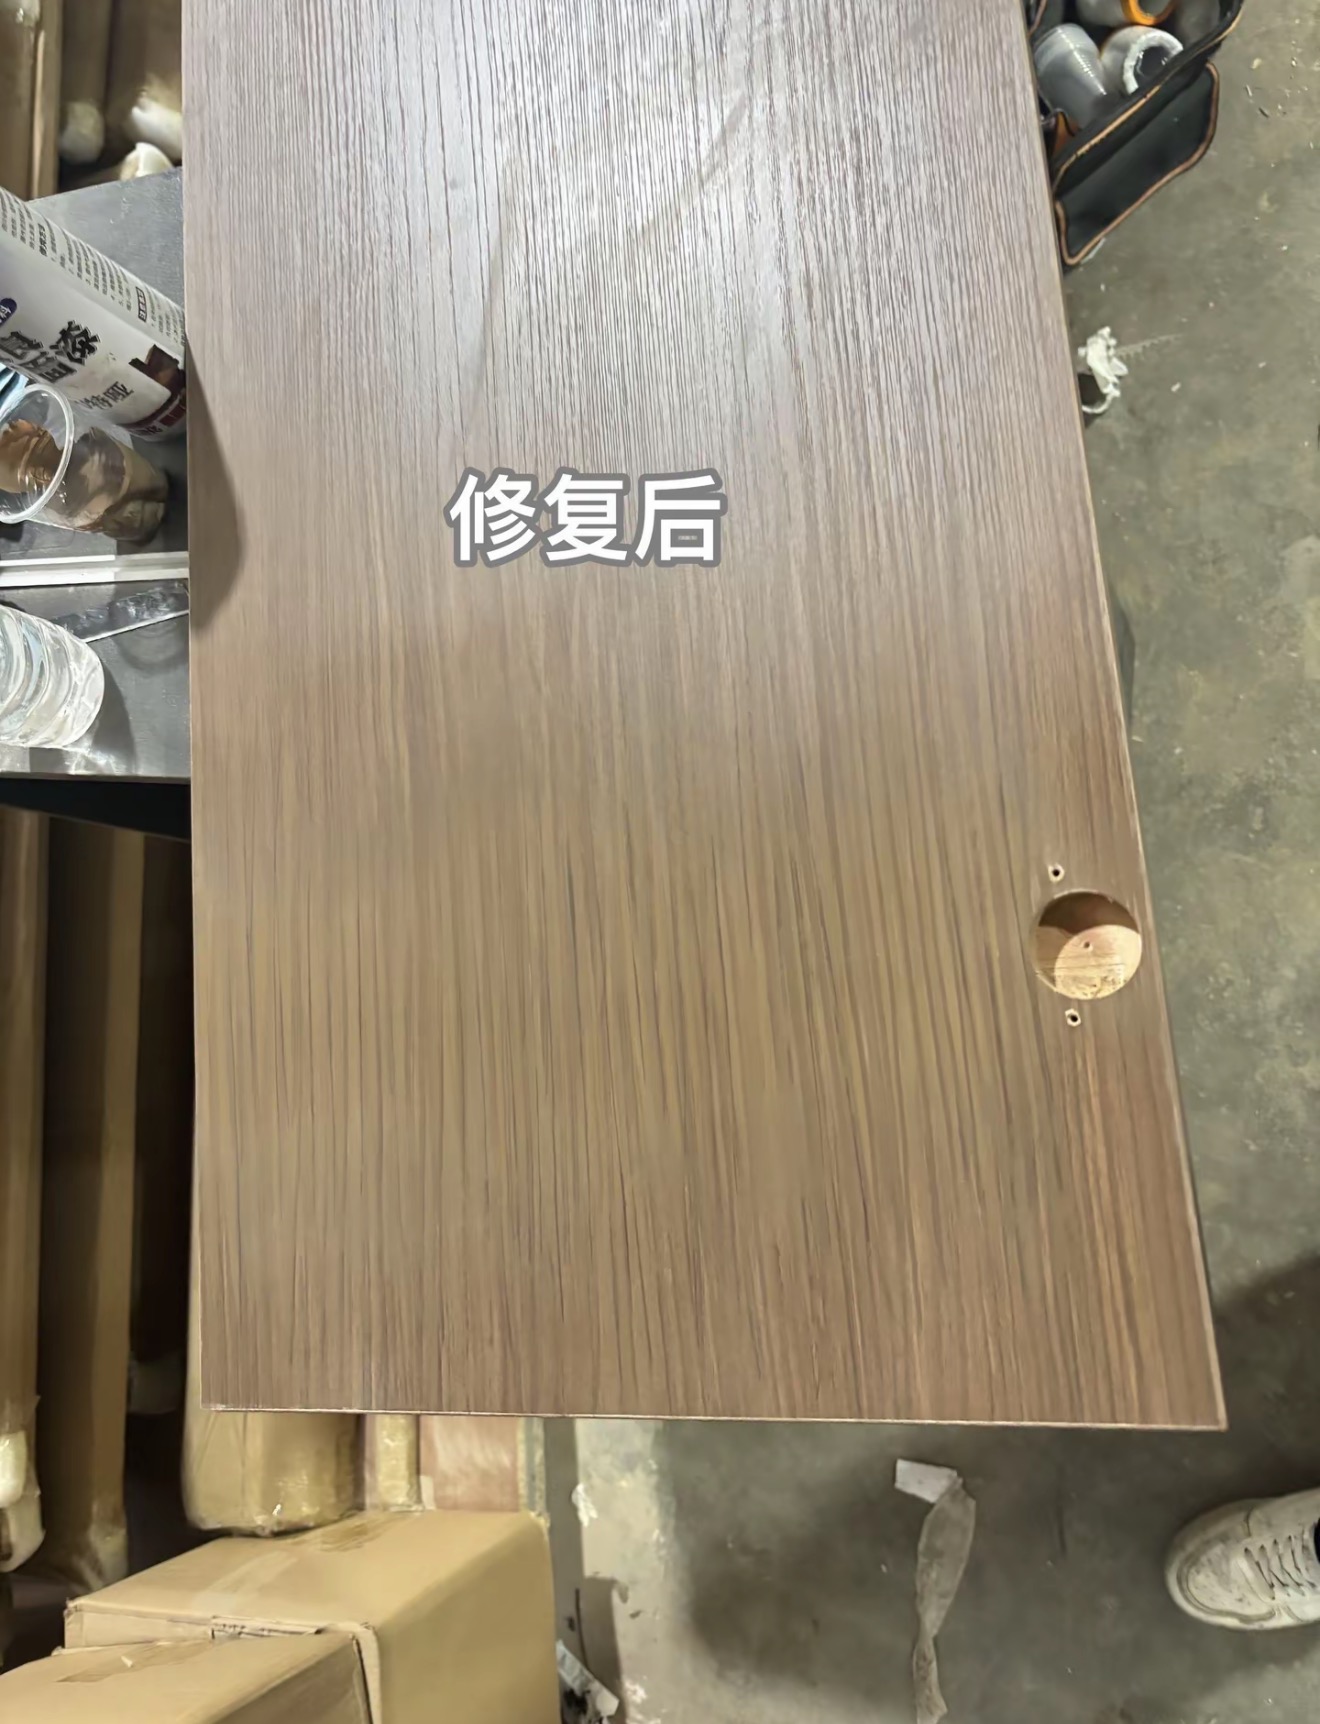
BeforeWooden Door Surface Restoration — Before: A horizontal line of surface damage across the door.
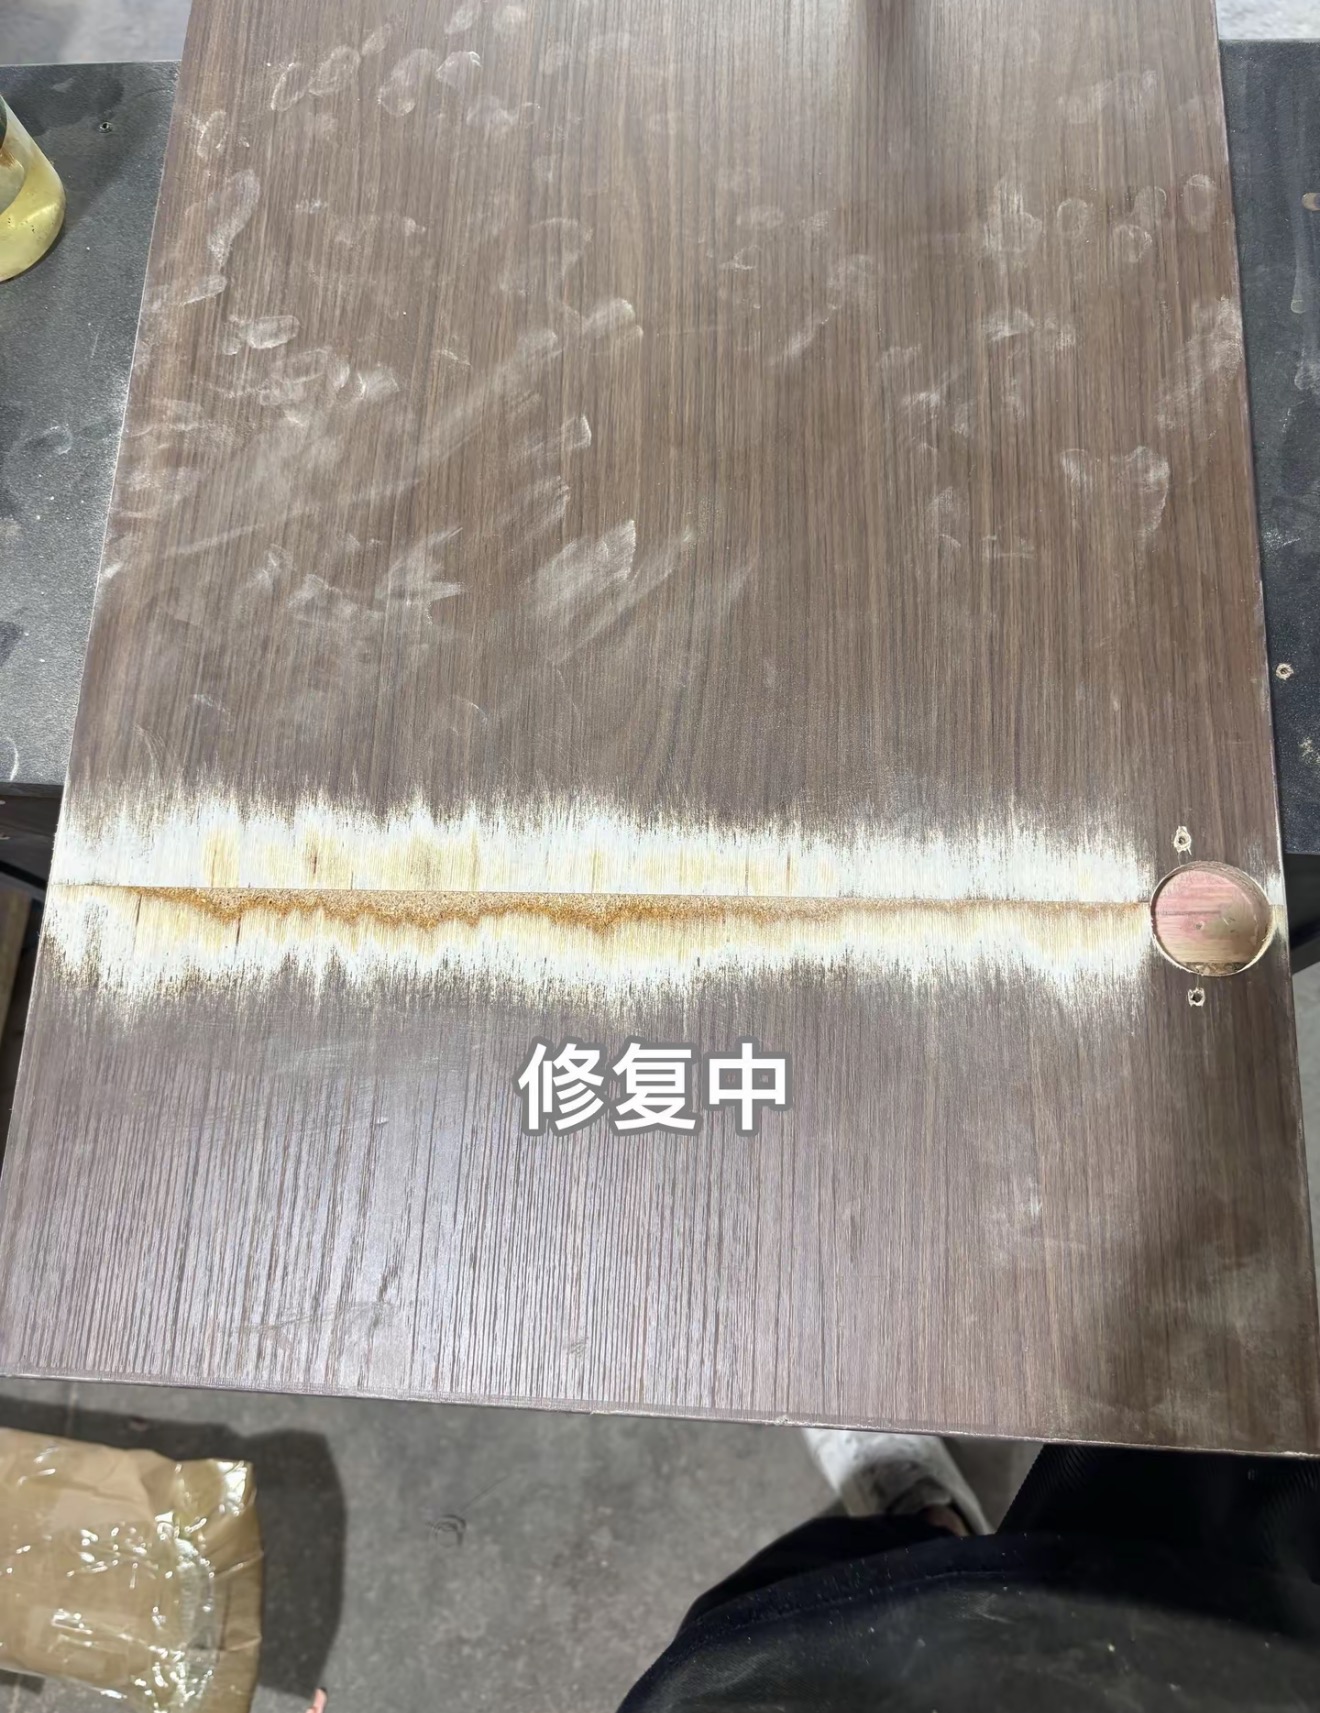
In ProgressWooden Door Surface Restoration — In Progress: The affected area during preparation and filling.
The affected area during preparation and filling.
AfterWooden Door Surface Restoration — After: The door surface after refinishing.
The door surface after refinishing.
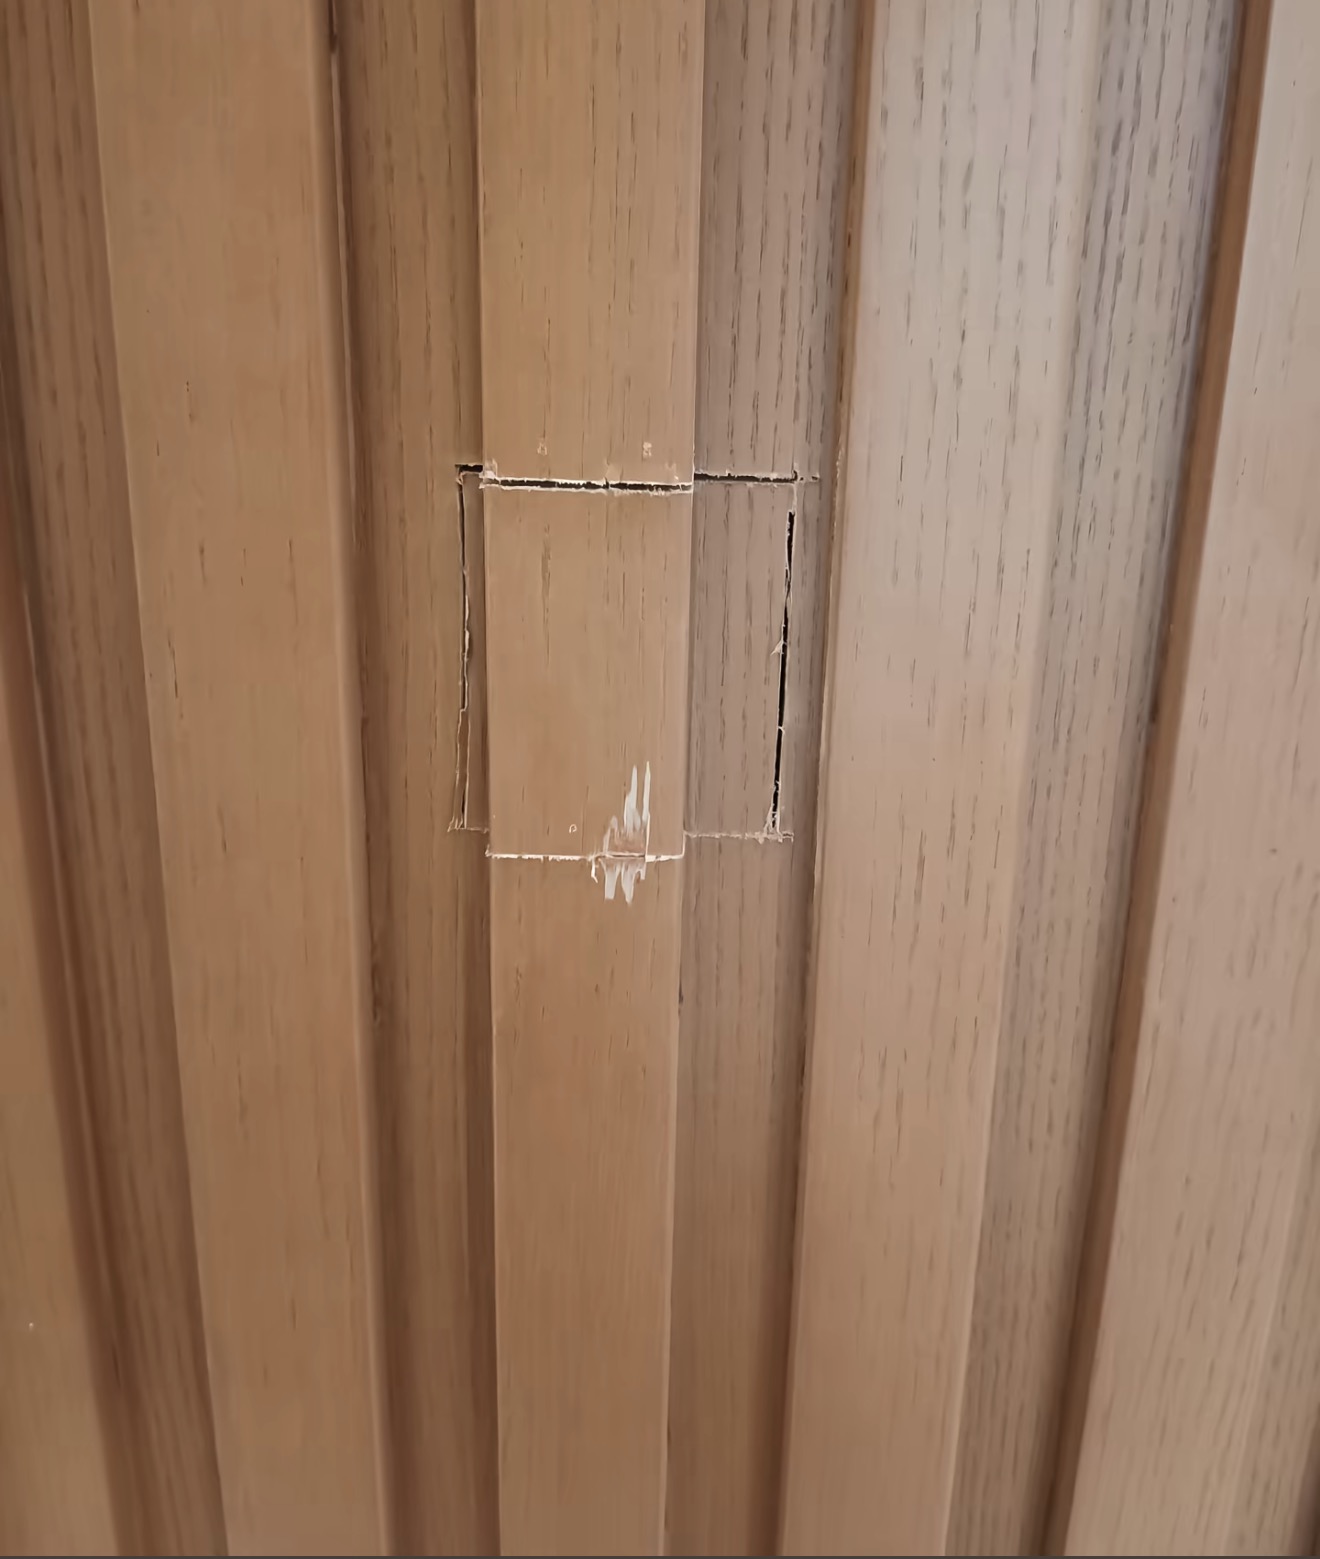
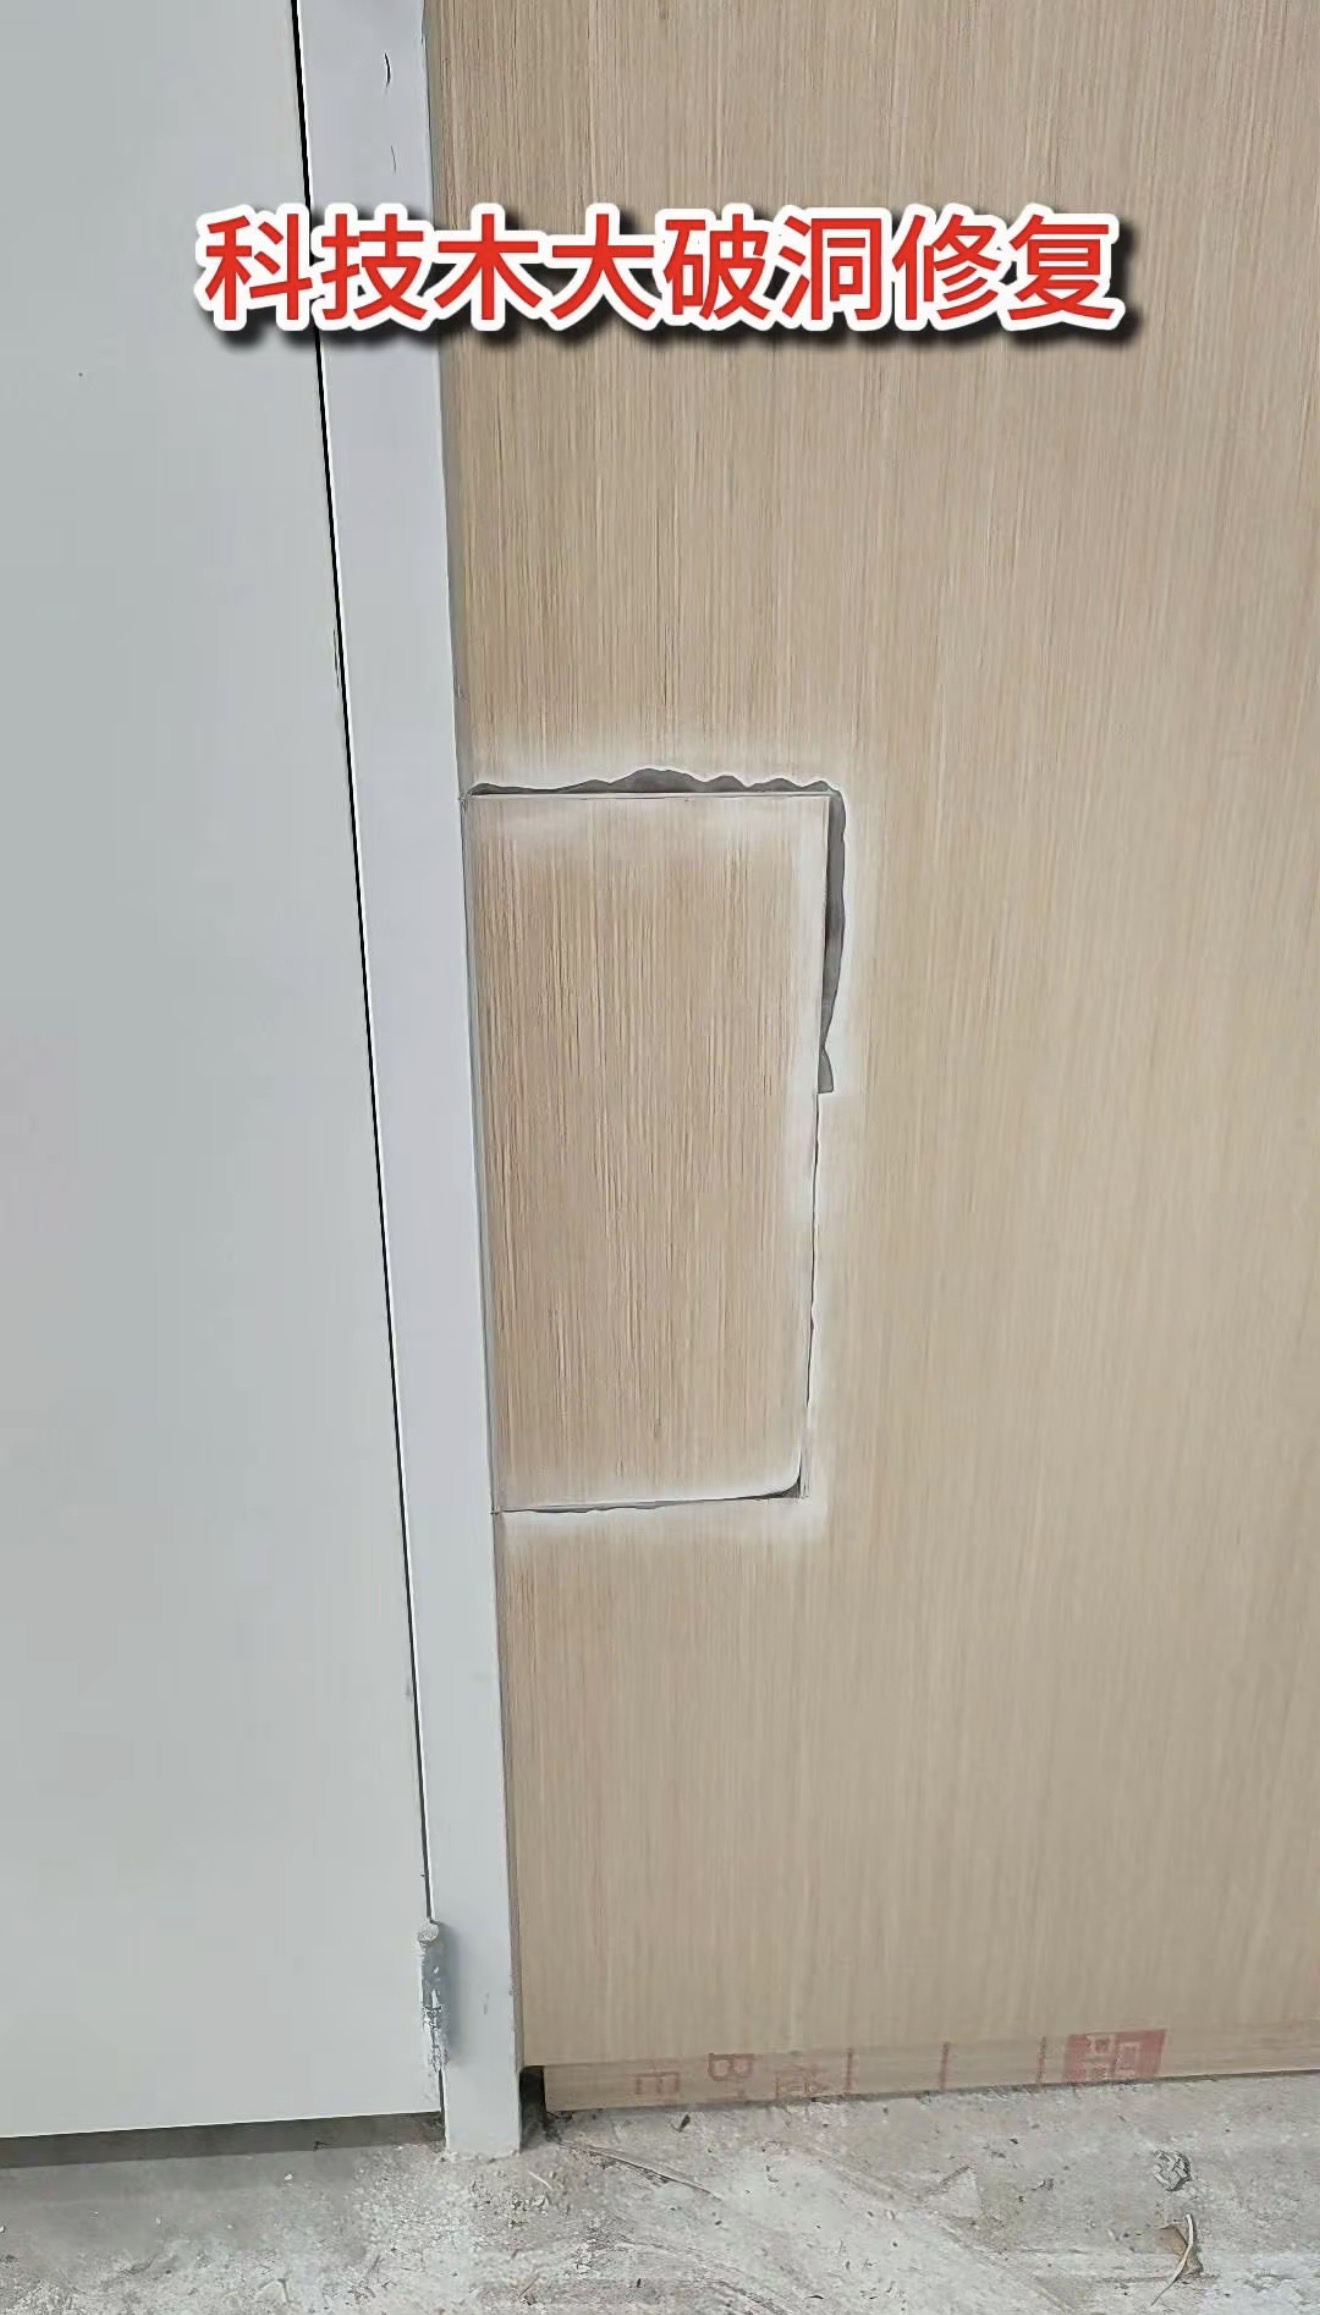
BeforeWood-Grain Profile Repair — Before: Visible edges around the local patch.
Visible edges around the local patch.
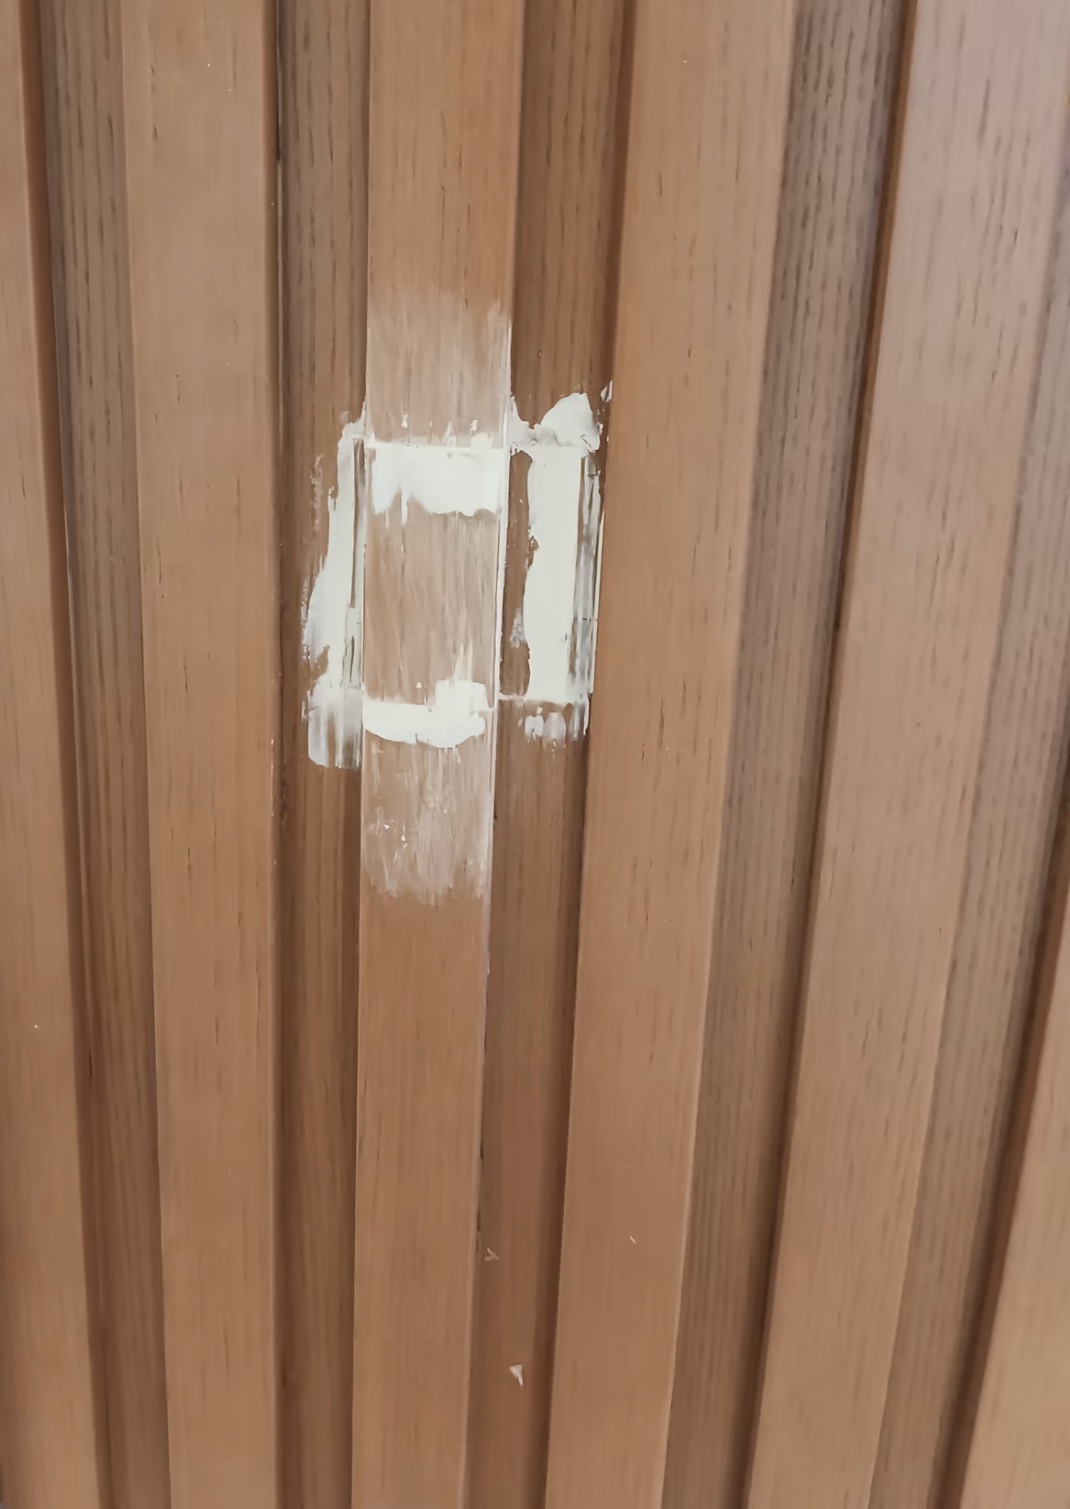
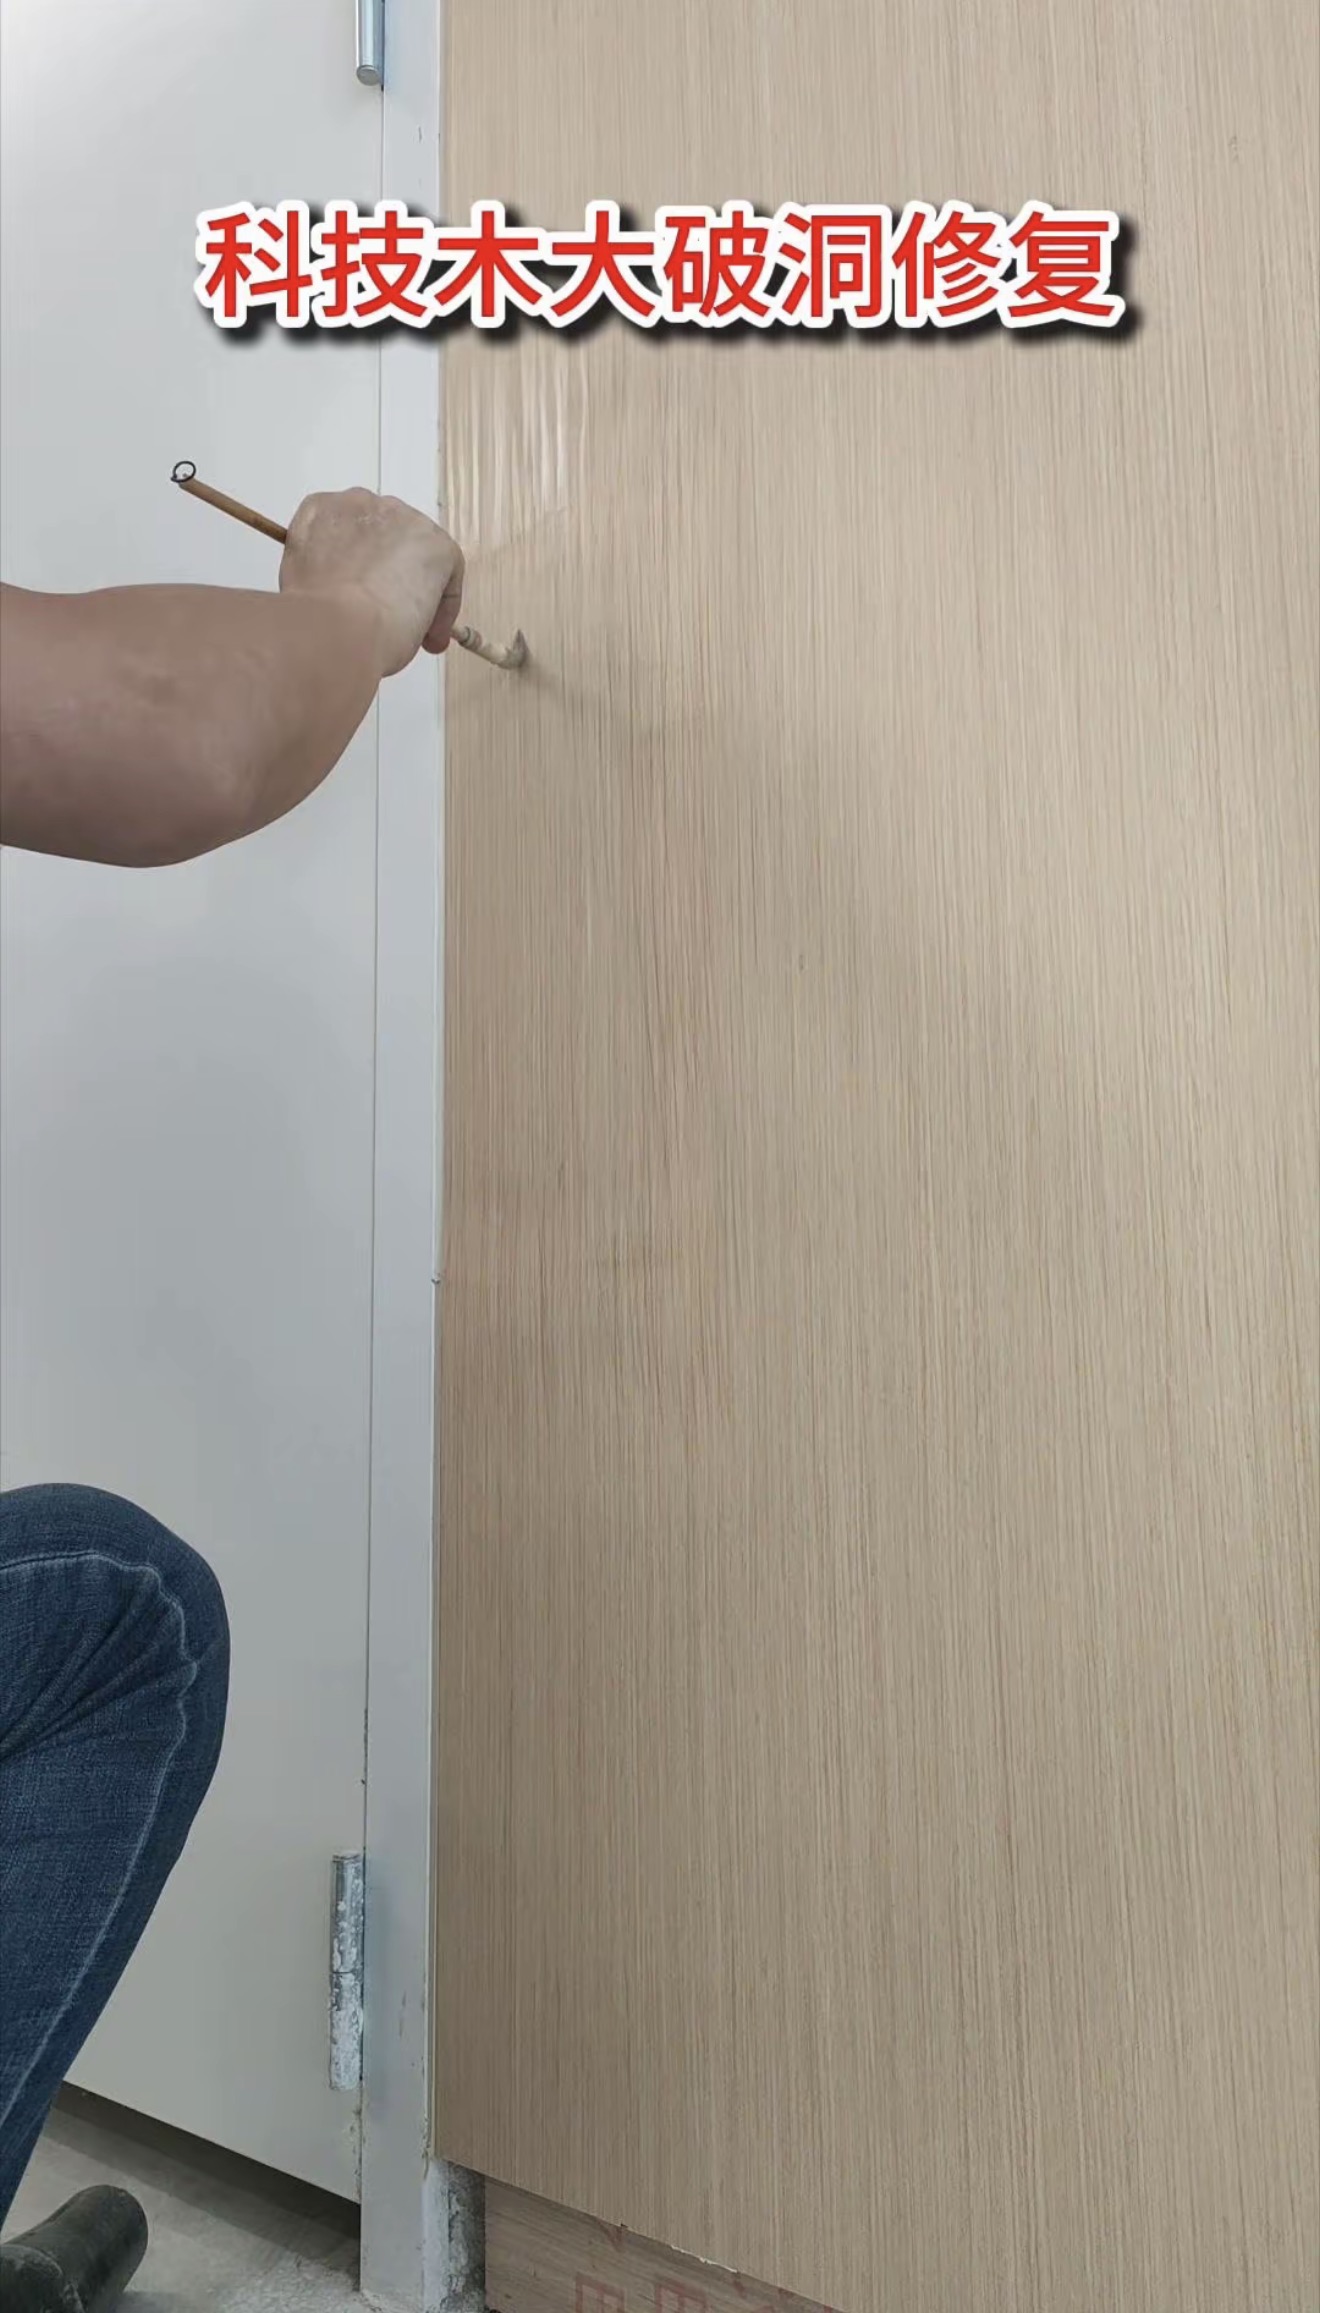
In ProgressWood-Grain Profile Repair — In Progress: Filling and preparation around the damaged section.
Filling and preparation around the damaged section.
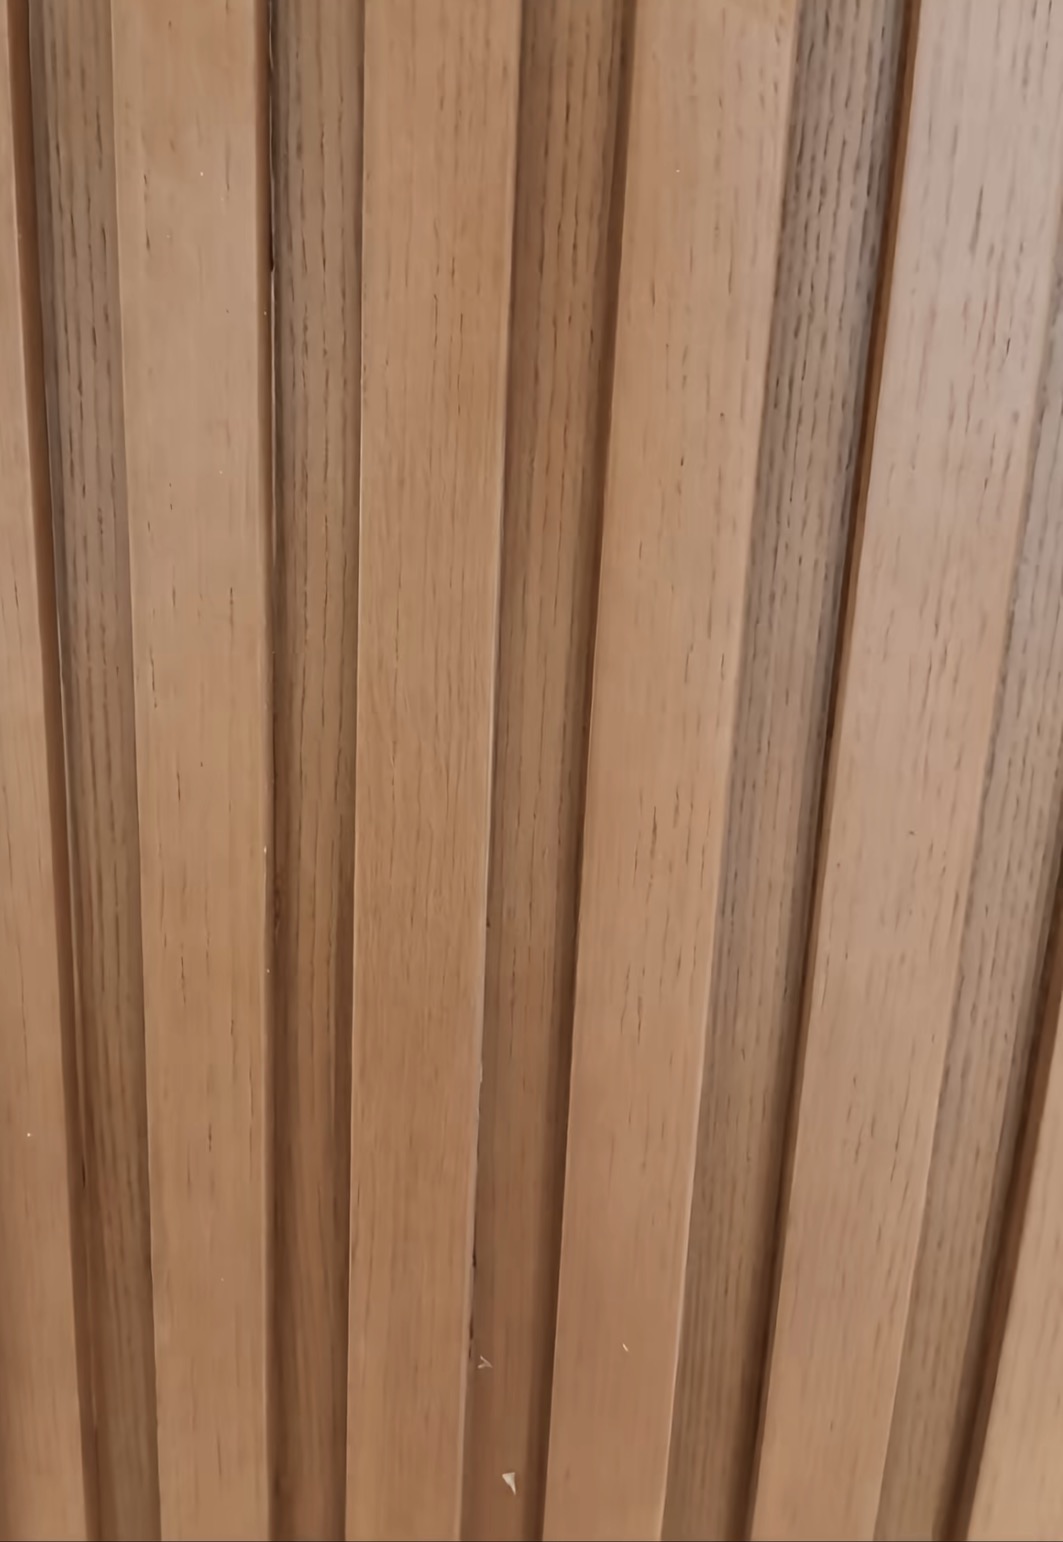
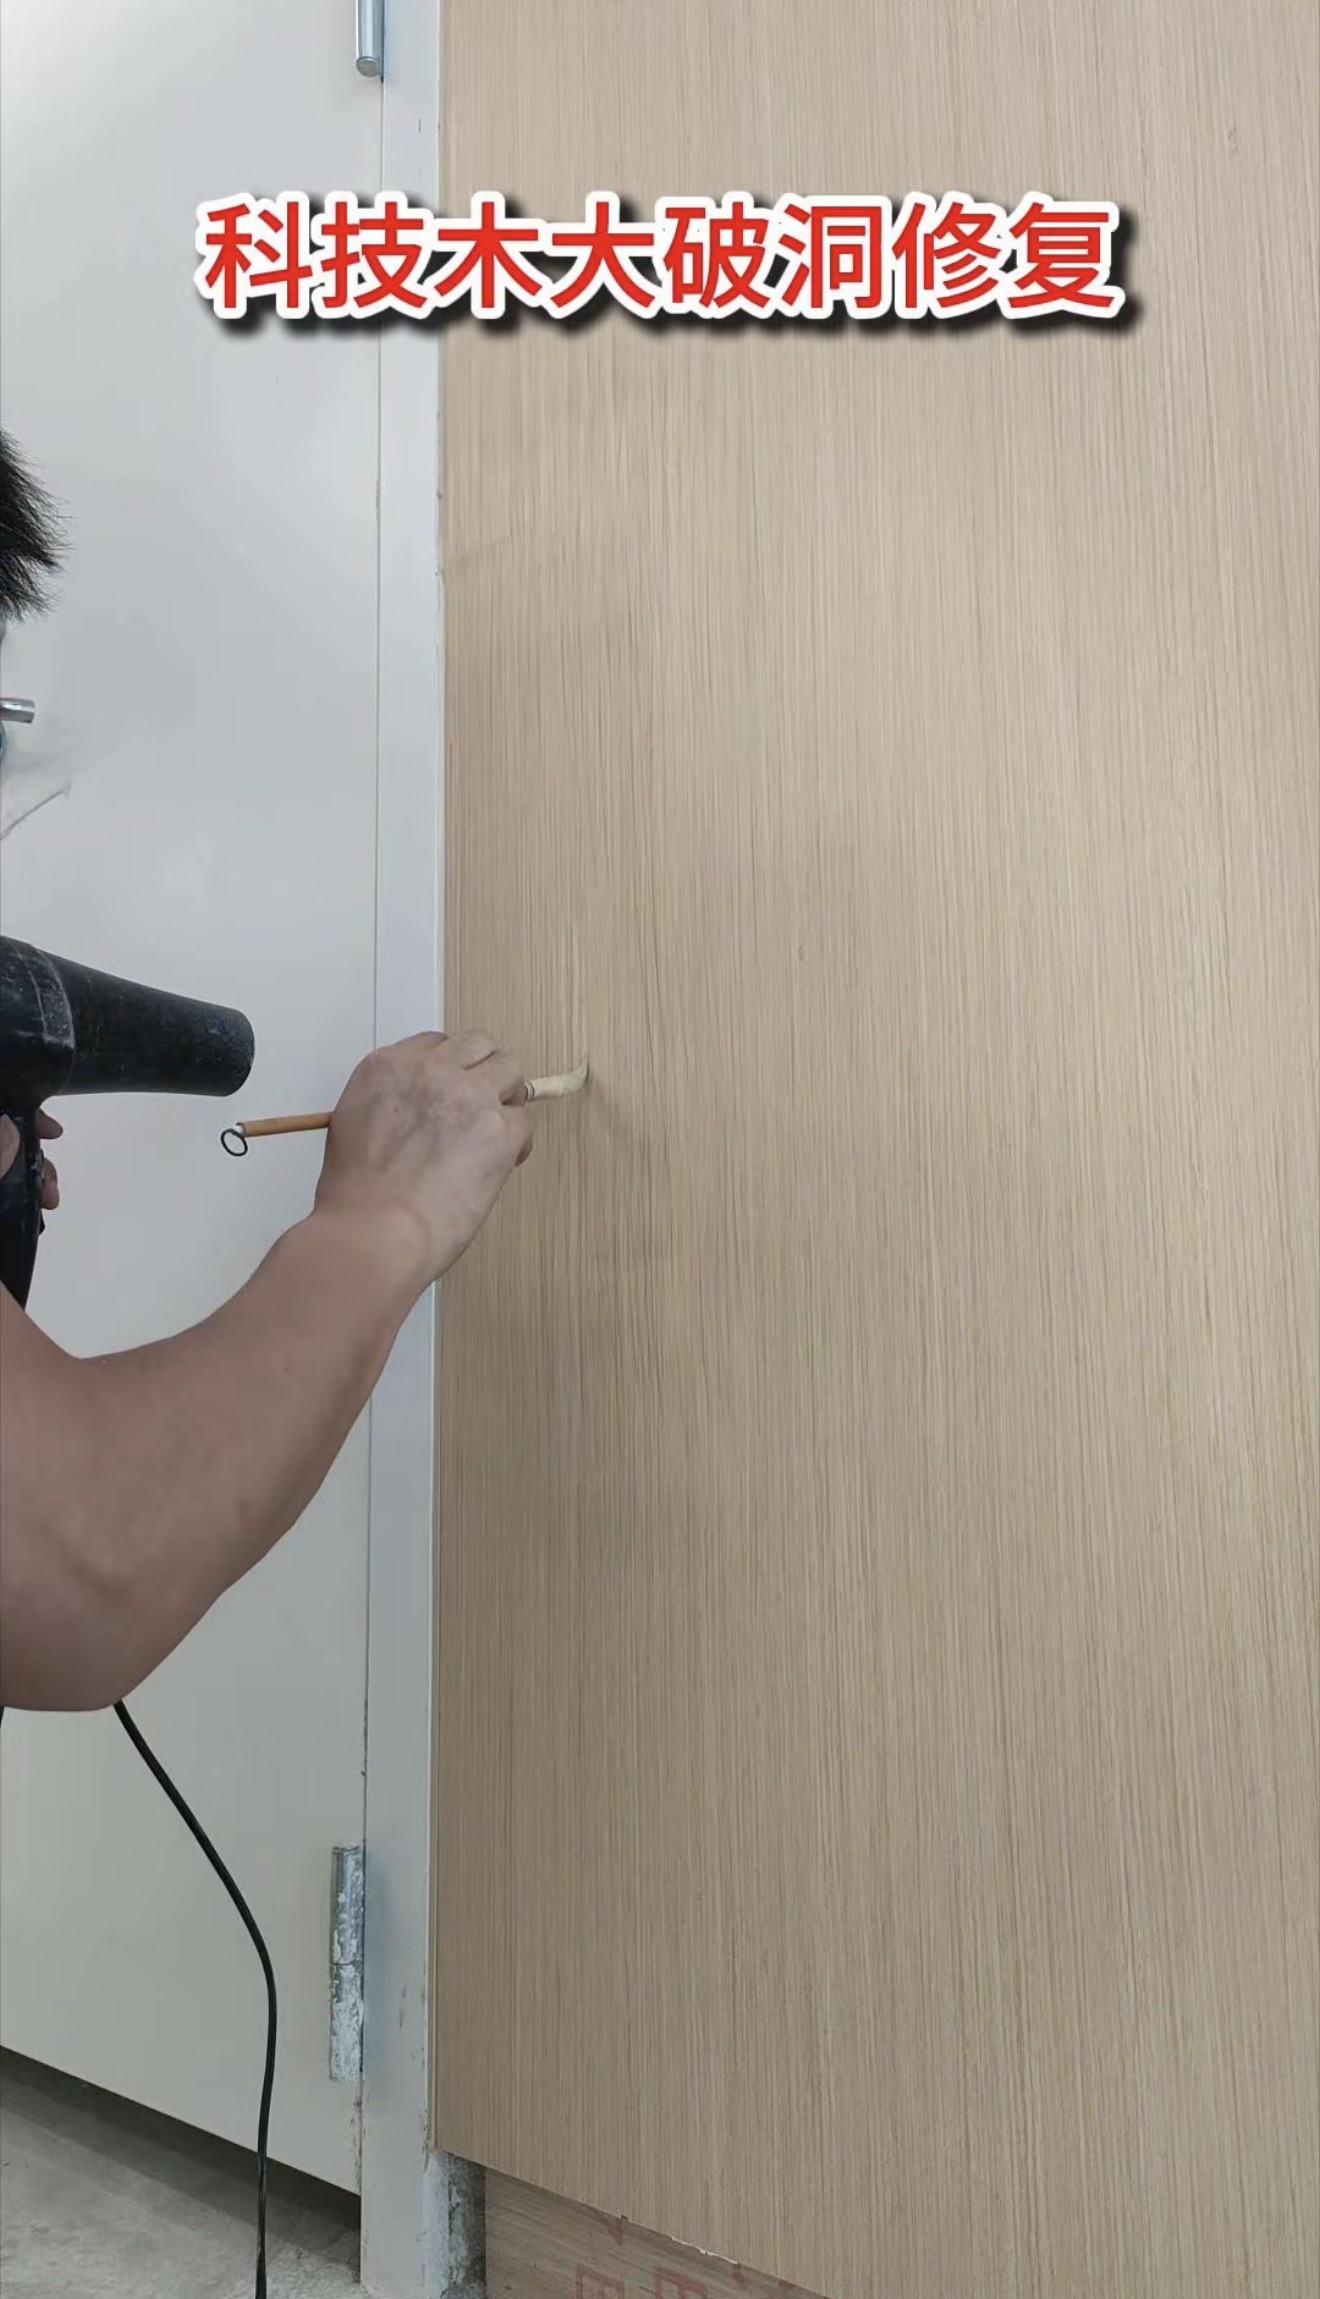
AfterWood-Grain Profile Repair — After: The repaired section after colour and grain finishing.
The repaired section after colour and grain finishing.
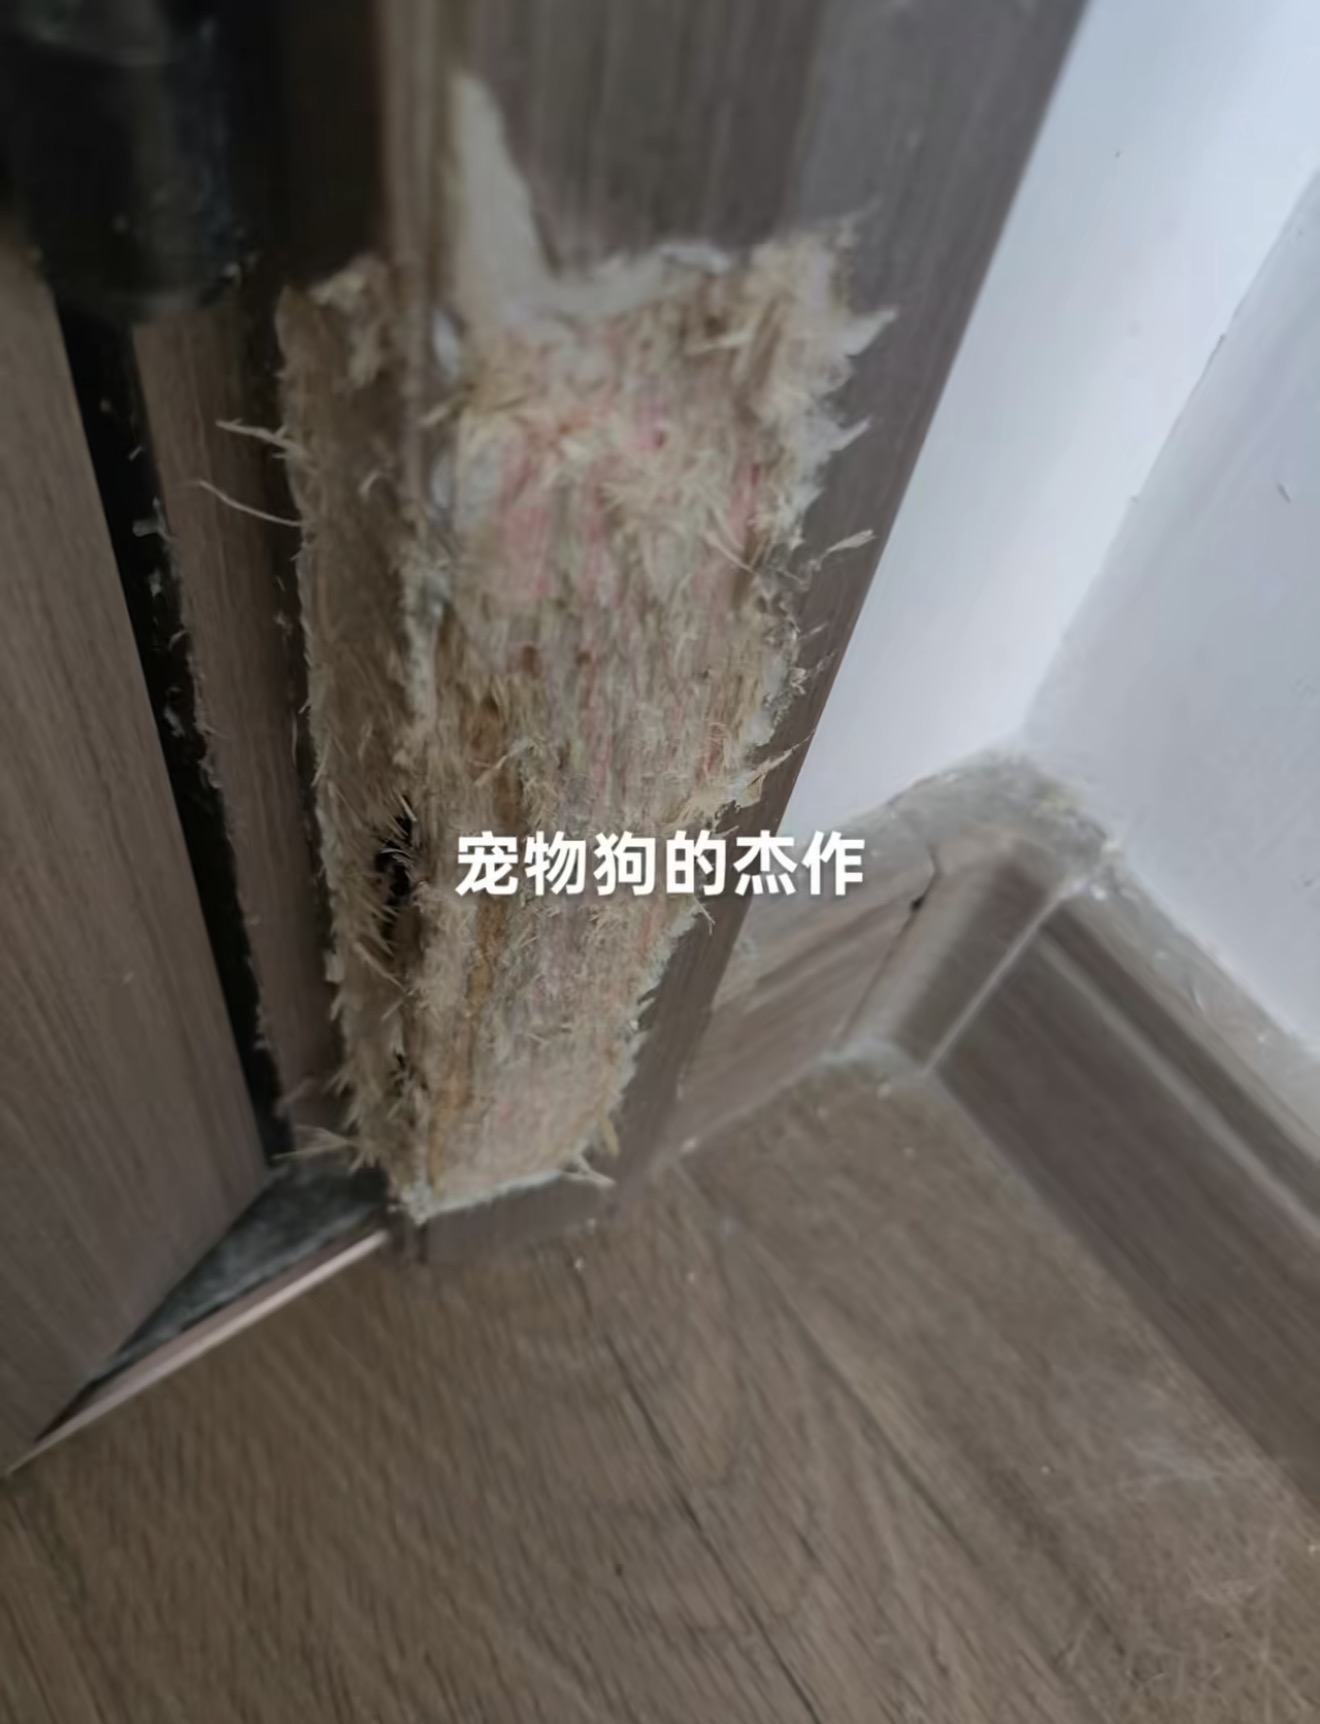
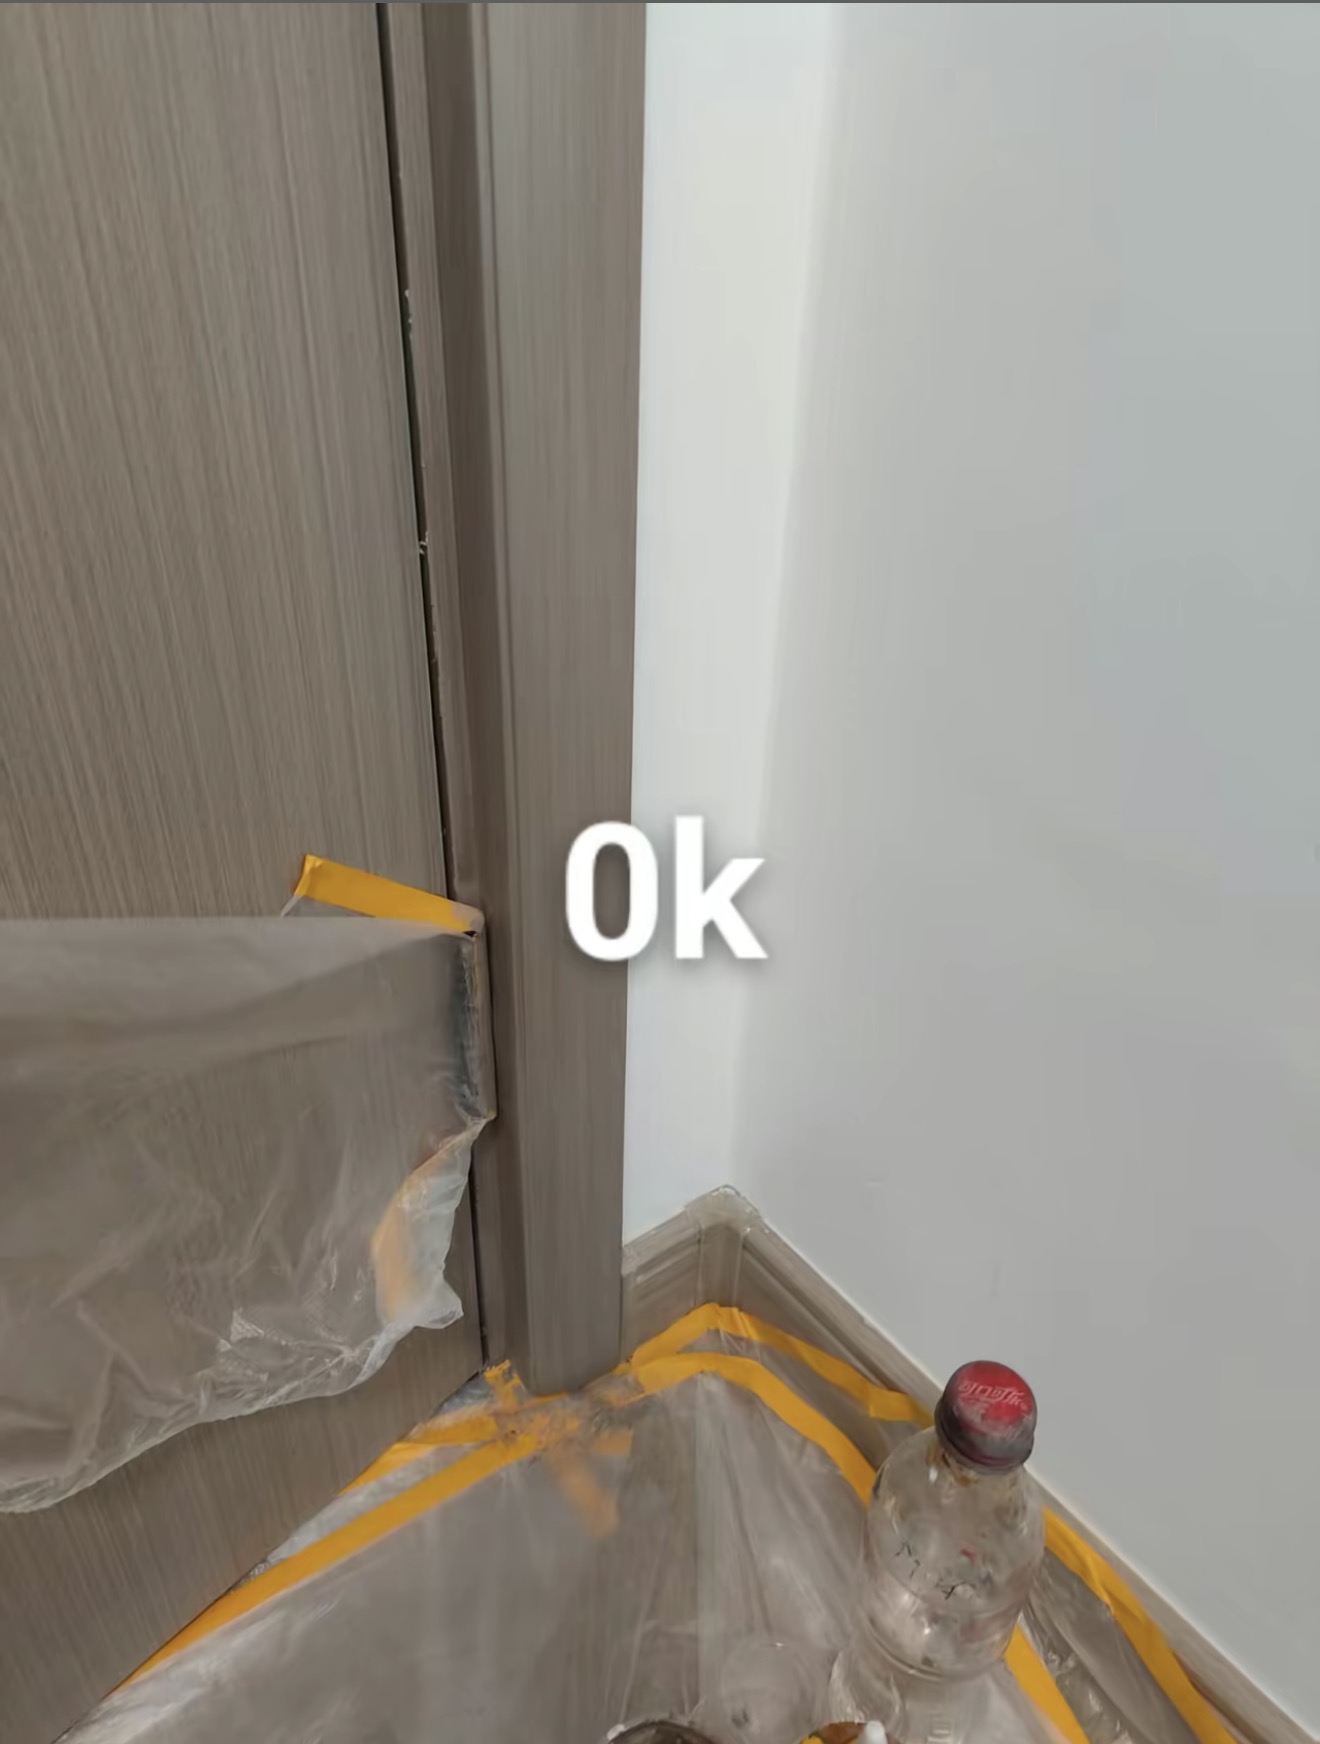
BeforePet-Damaged Door Frame Repair — Before: Damage to the lower frame beside the door hinge.
Damage to the lower frame beside the door hinge.
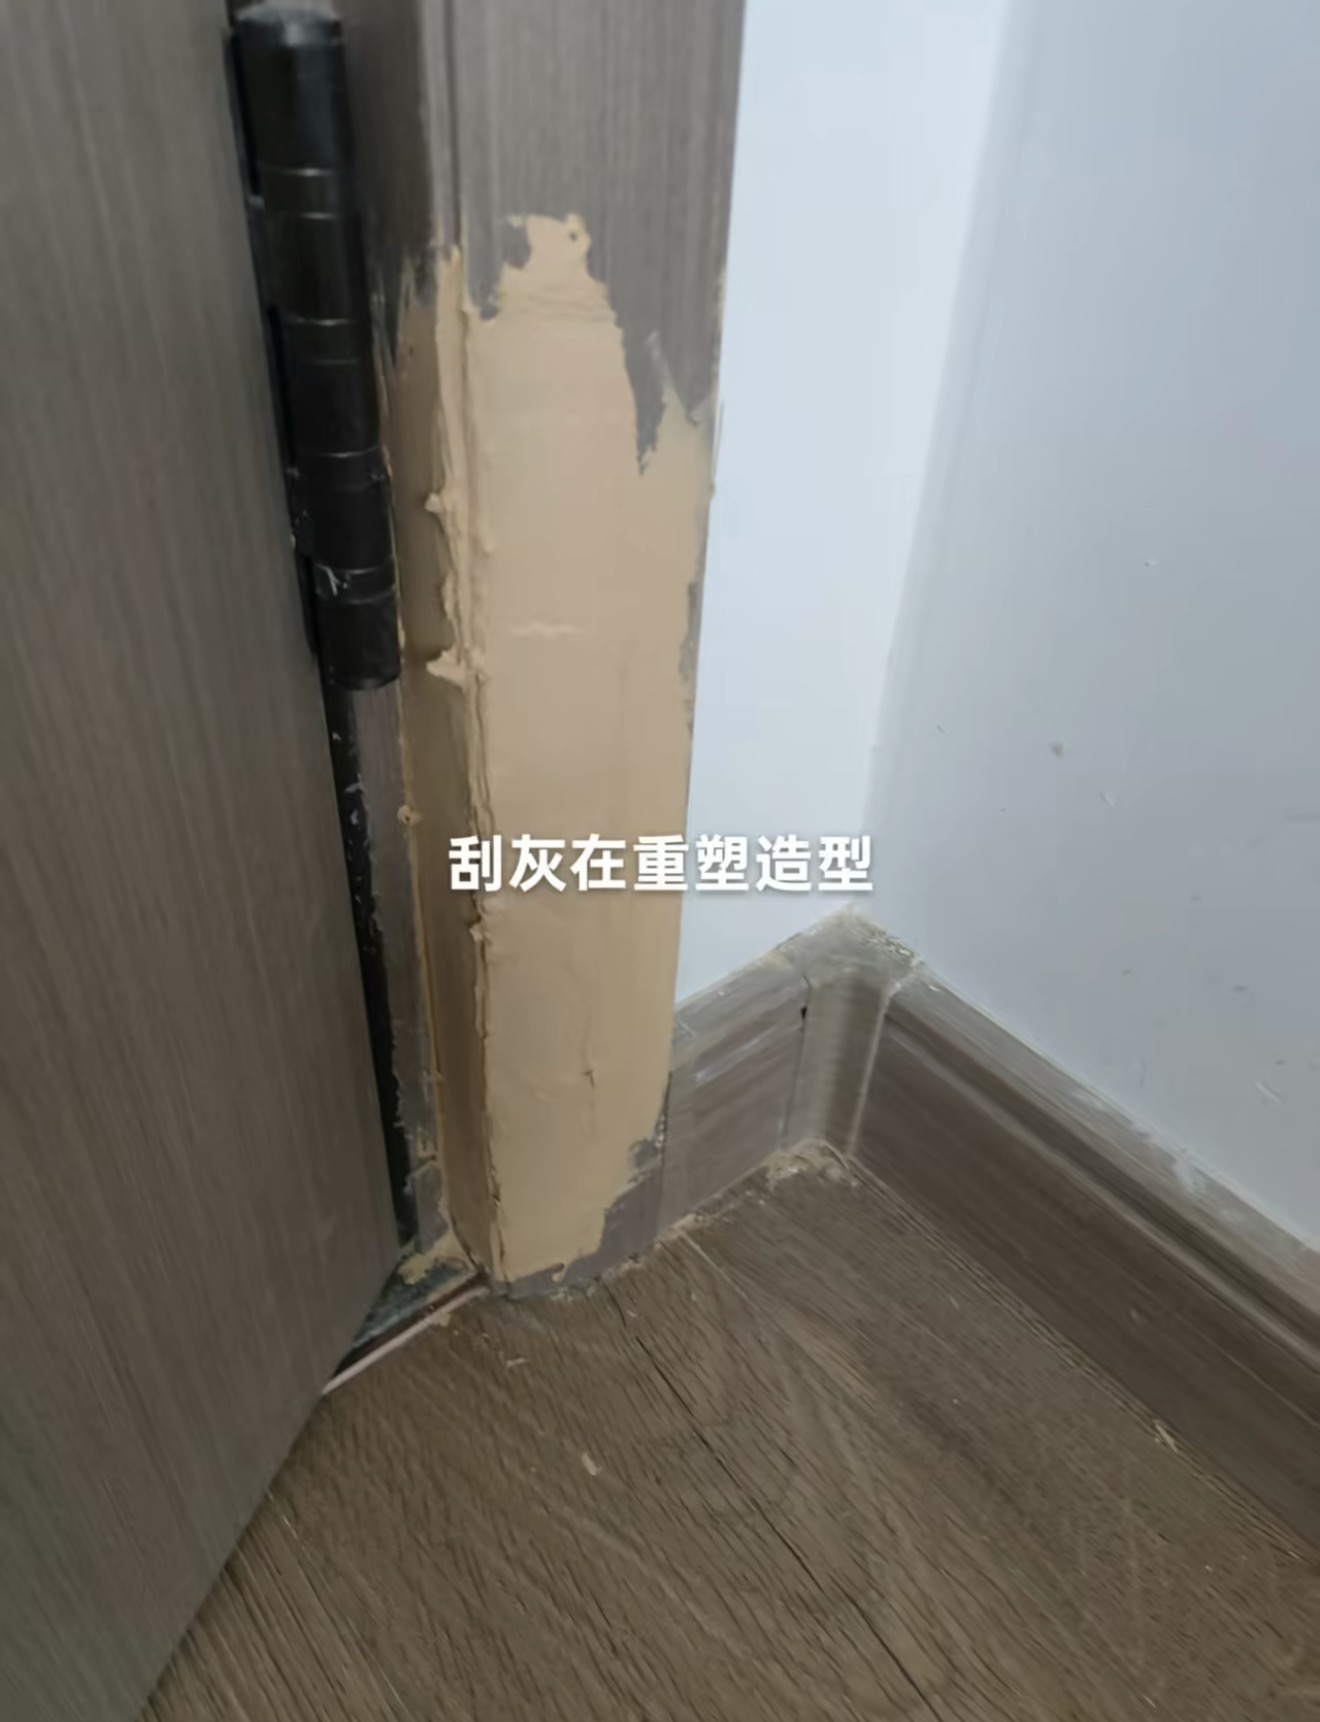
In ProgressPet-Damaged Door Frame Repair — In Progress: Filling and rebuilding the damaged profile.
Filling and rebuilding the damaged profile.
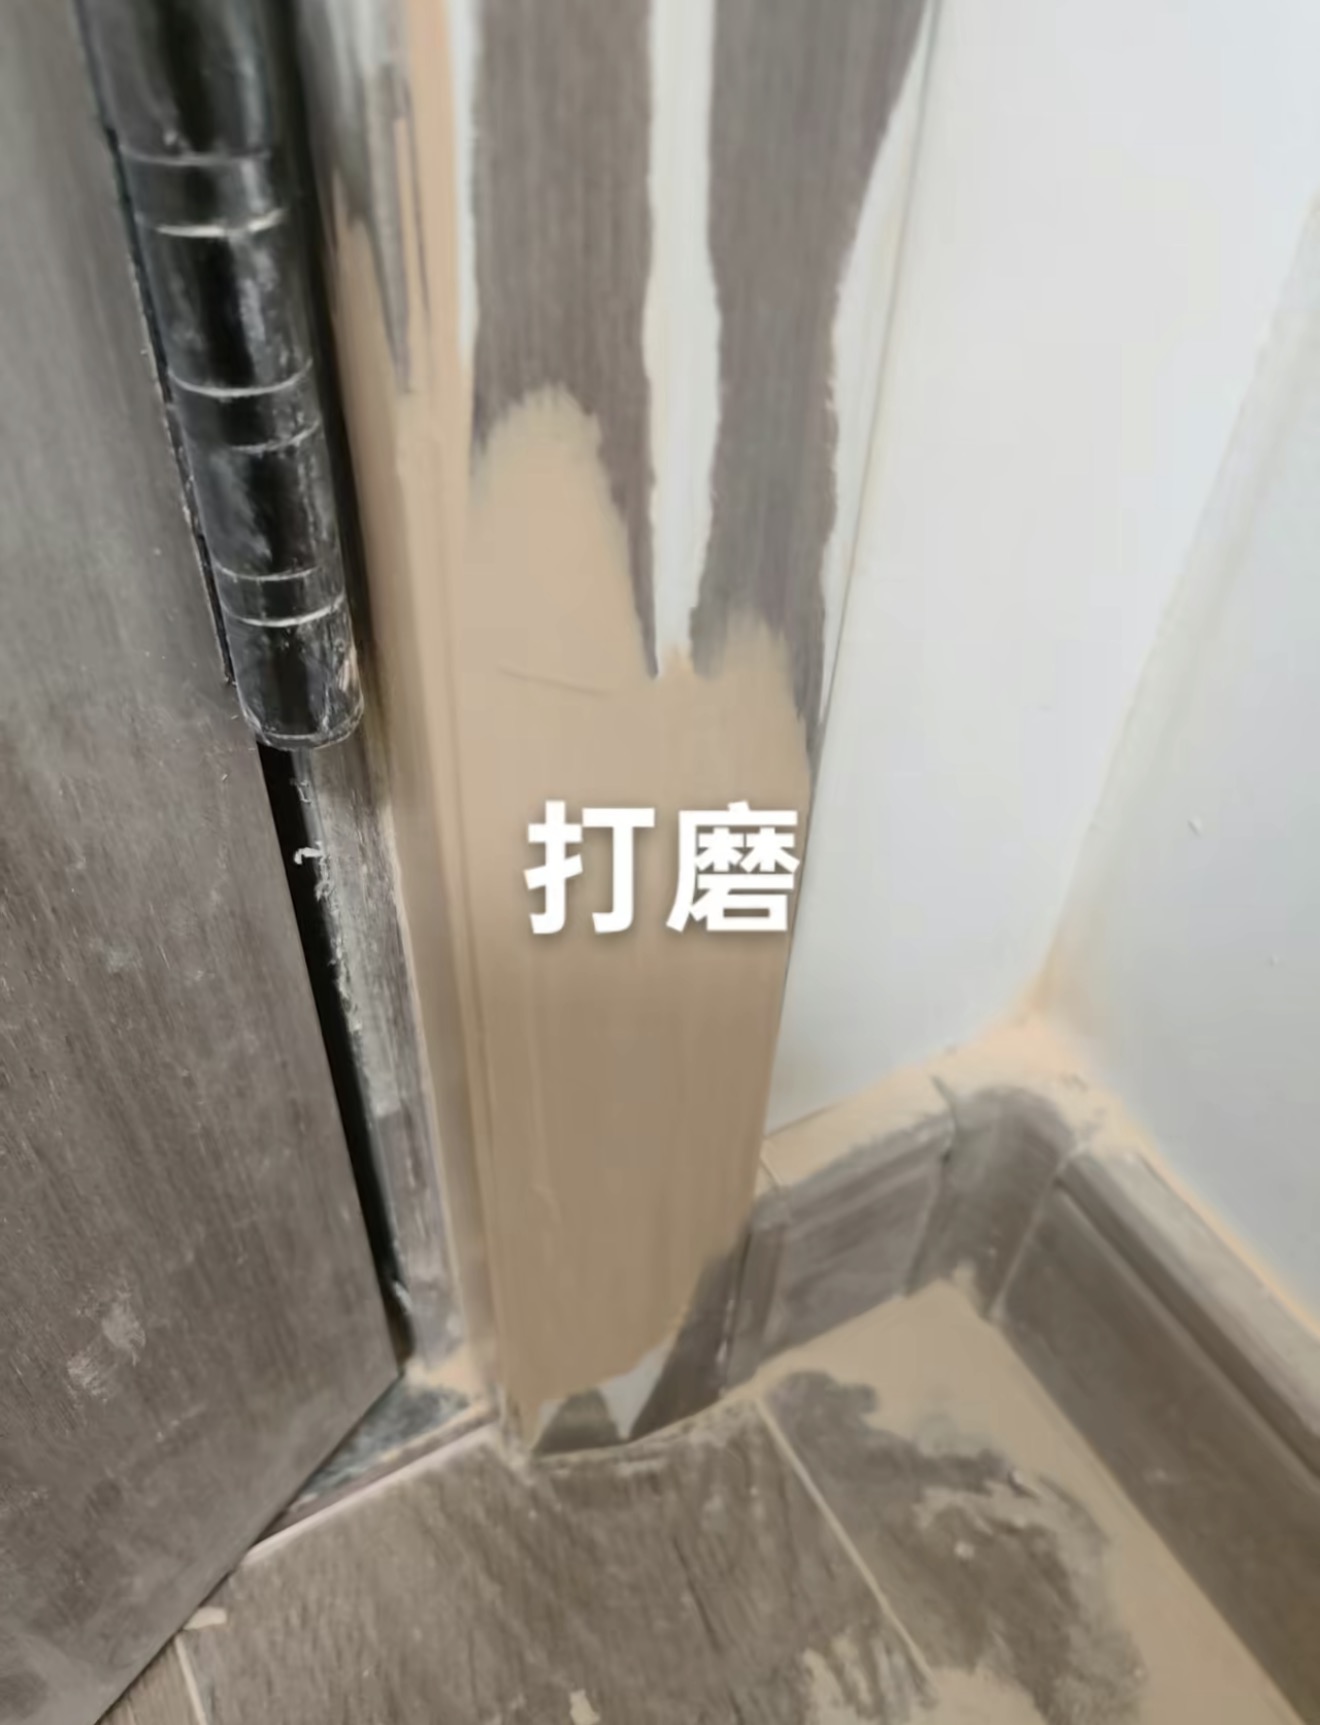
In ProgressPet-Damaged Door Frame Repair — In Progress: Sanding and shaping the repair.
Sanding and shaping the repair.
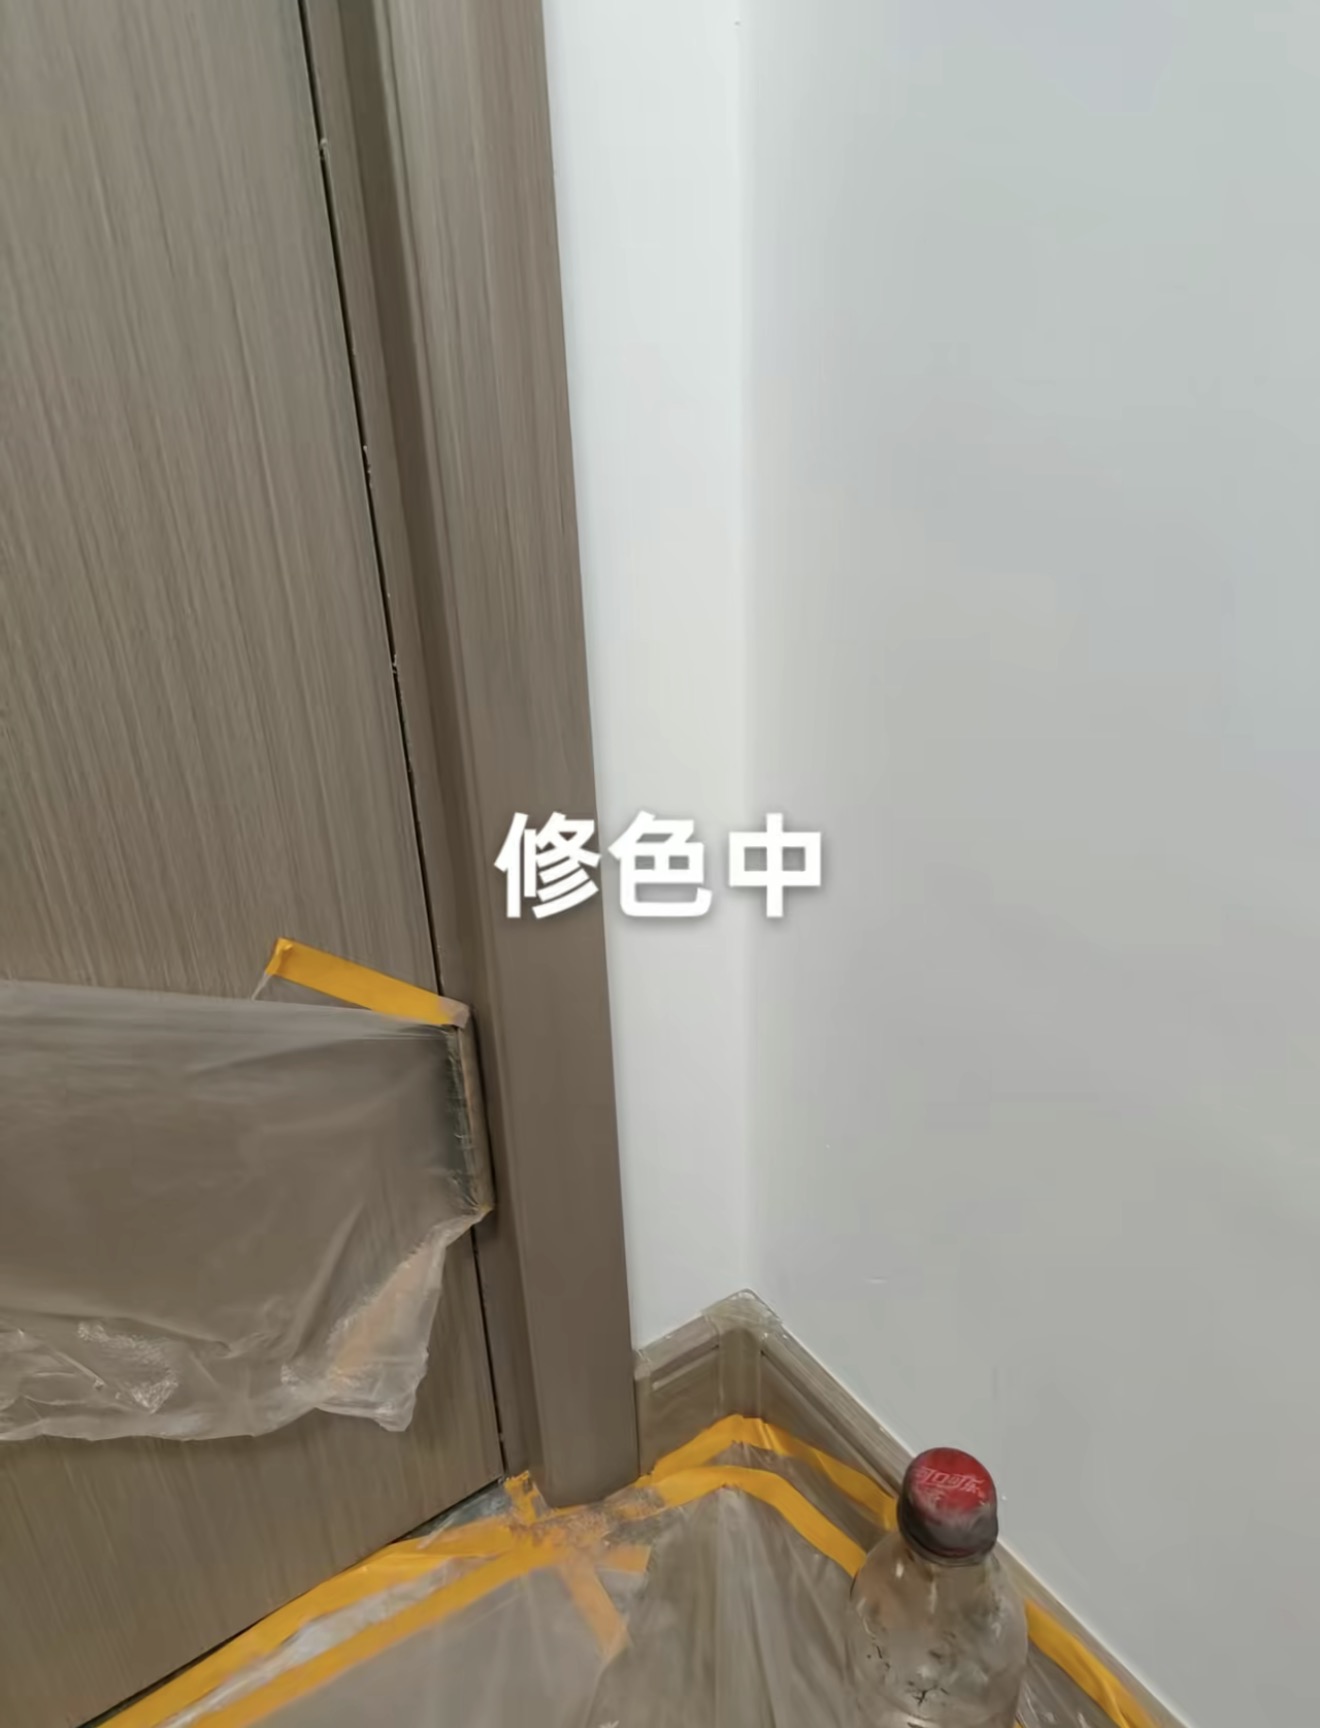
In ProgressPet-Damaged Door Frame Repair — In Progress: Colour finishing with surrounding areas protected.
Colour finishing with surrounding areas protected.
AfterPet-Damaged Door Frame Repair — After: The repaired door-frame surface.
The repaired door-frame surface.
BeforeDoor Panel Patch & Grain Finishing — Before: The patched area before the surface finish is blended.
The patched area before the surface finish is blended.
In ProgressDoor Panel Patch & Grain Finishing — In Progress: Colour and grain work around the repair.
Colour and grain work around the repair.
In ProgressDoor Panel Patch & Grain Finishing — In Progress: Further surface finishing during the repair.
Further surface finishing during the repair.
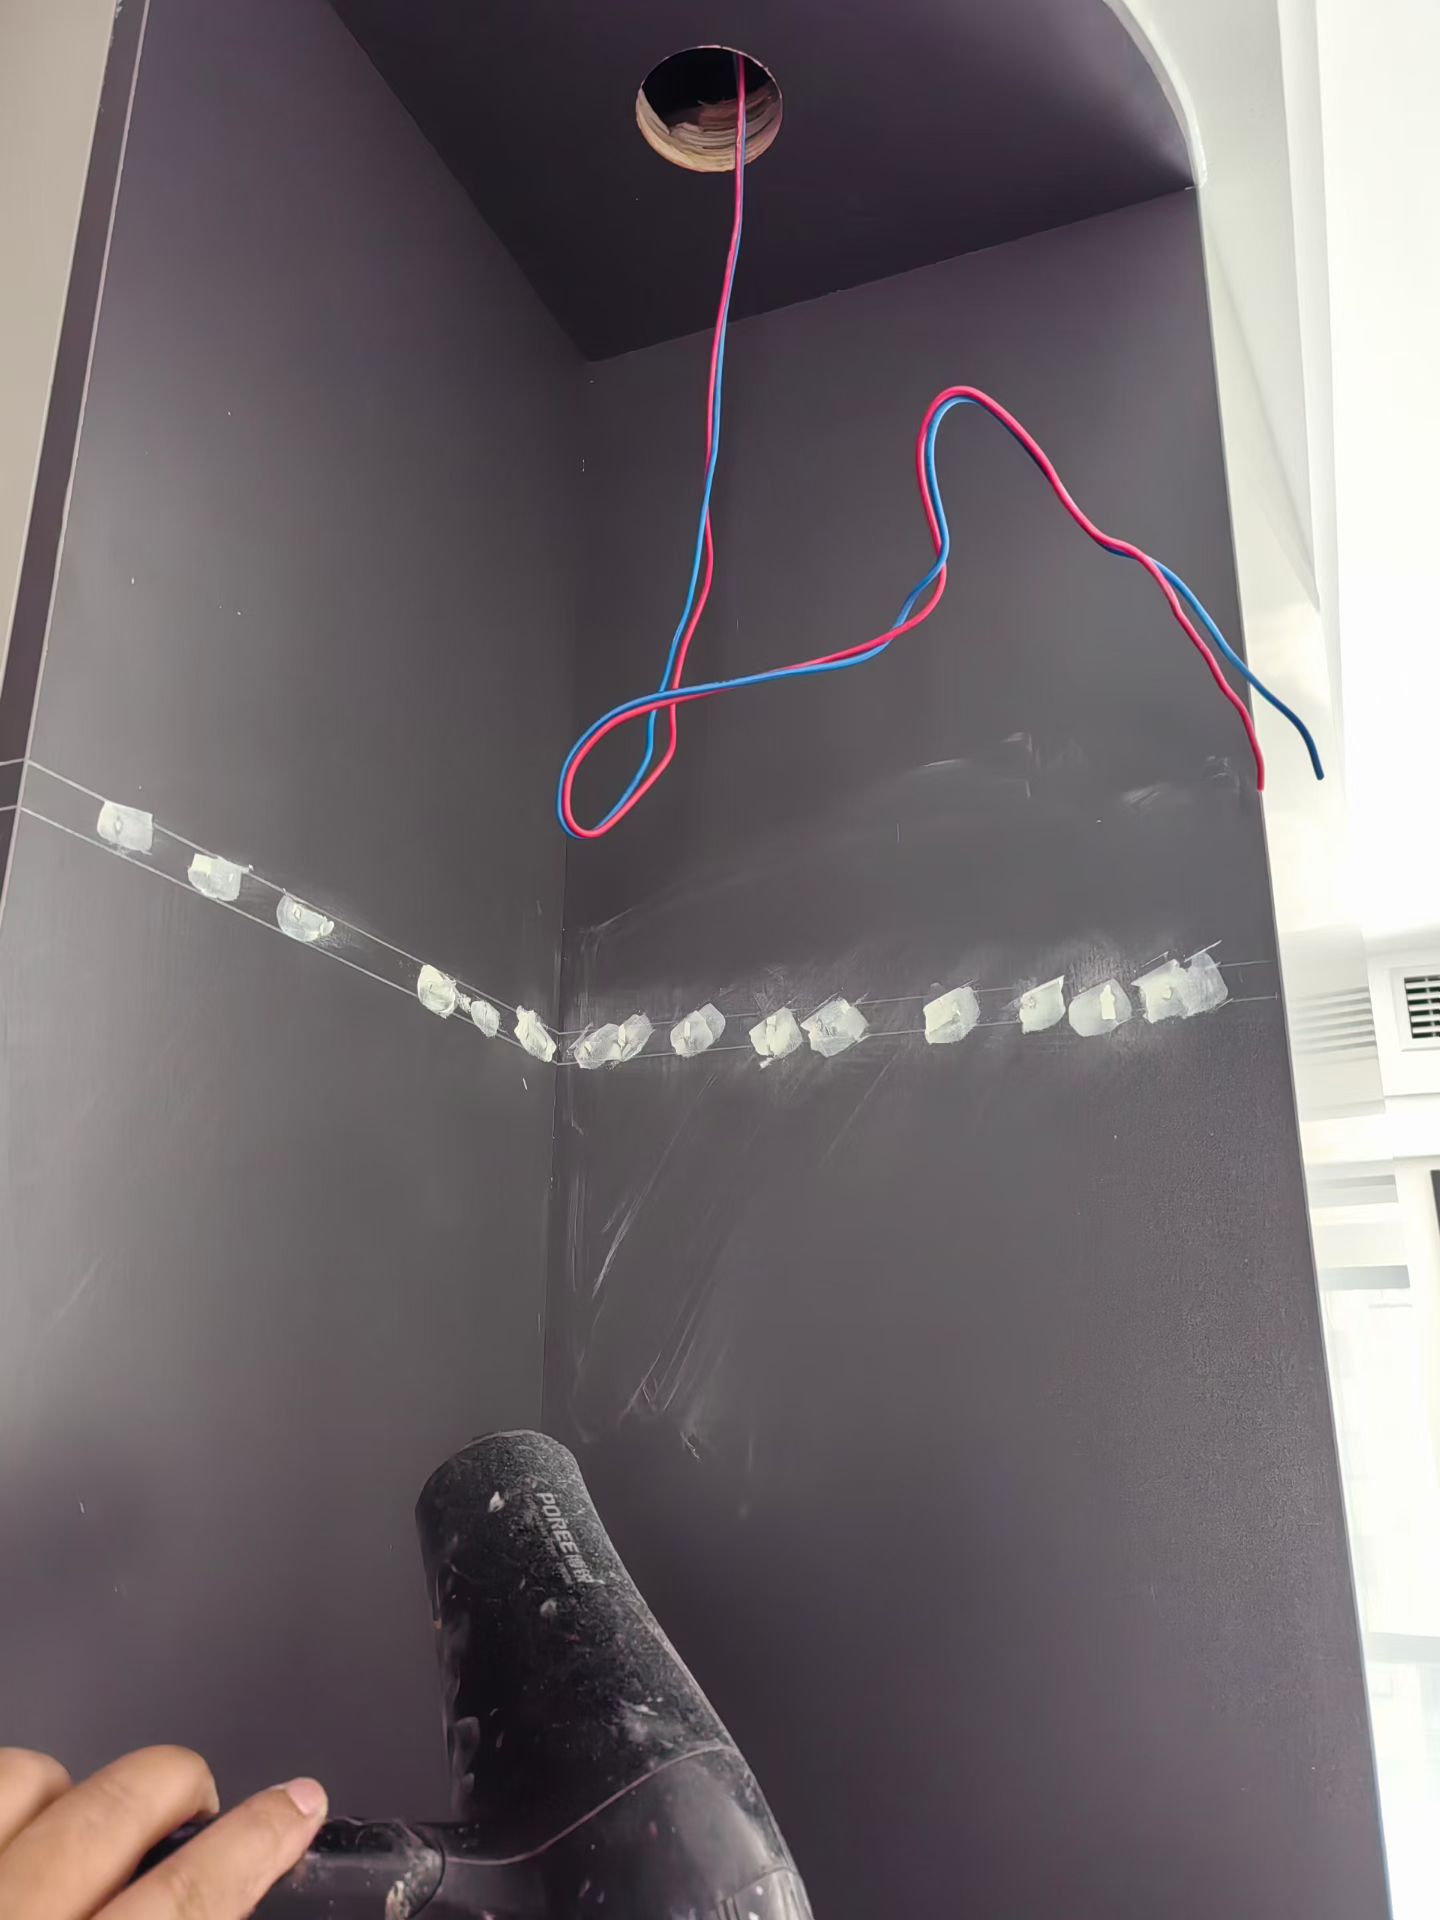
In ProgressCabinet Panel Surface Restoration — In Progress: Filled areas on the cabinet panels during surface repair.
Filled areas on the cabinet panels during surface repair.
AfterCabinet Panel Surface Restoration — After: The cabinet panels after surface finishing.
The cabinet panels after surface finishing.
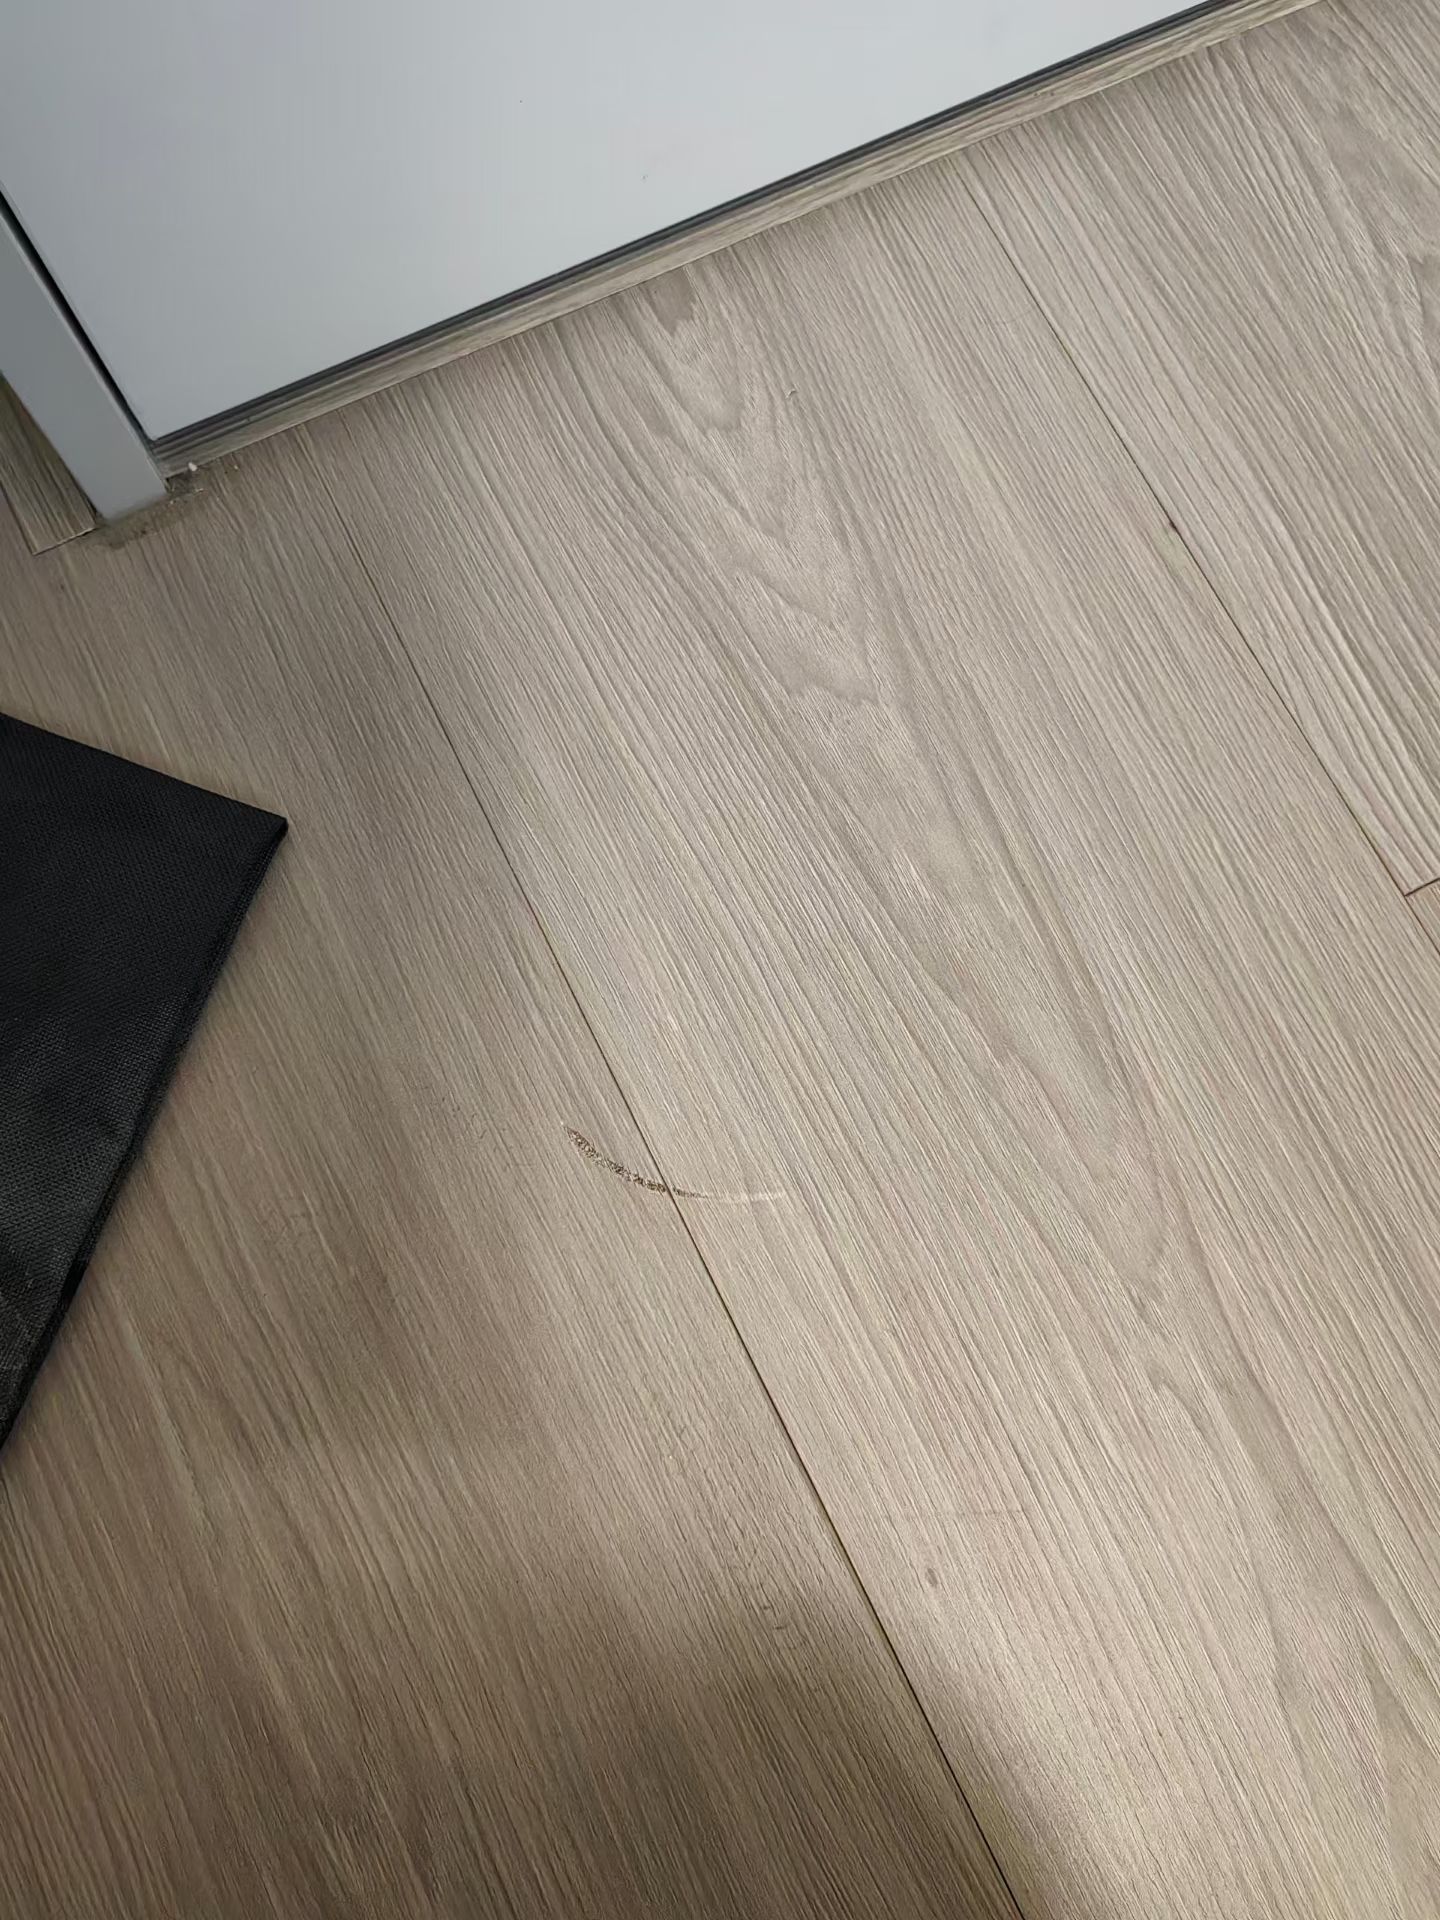
BeforeWood-Grain Floor Scratch Repair — Before: A visible scratch across the wood-grain flooring near the doorway.
A visible scratch across the wood-grain flooring near the doorway.
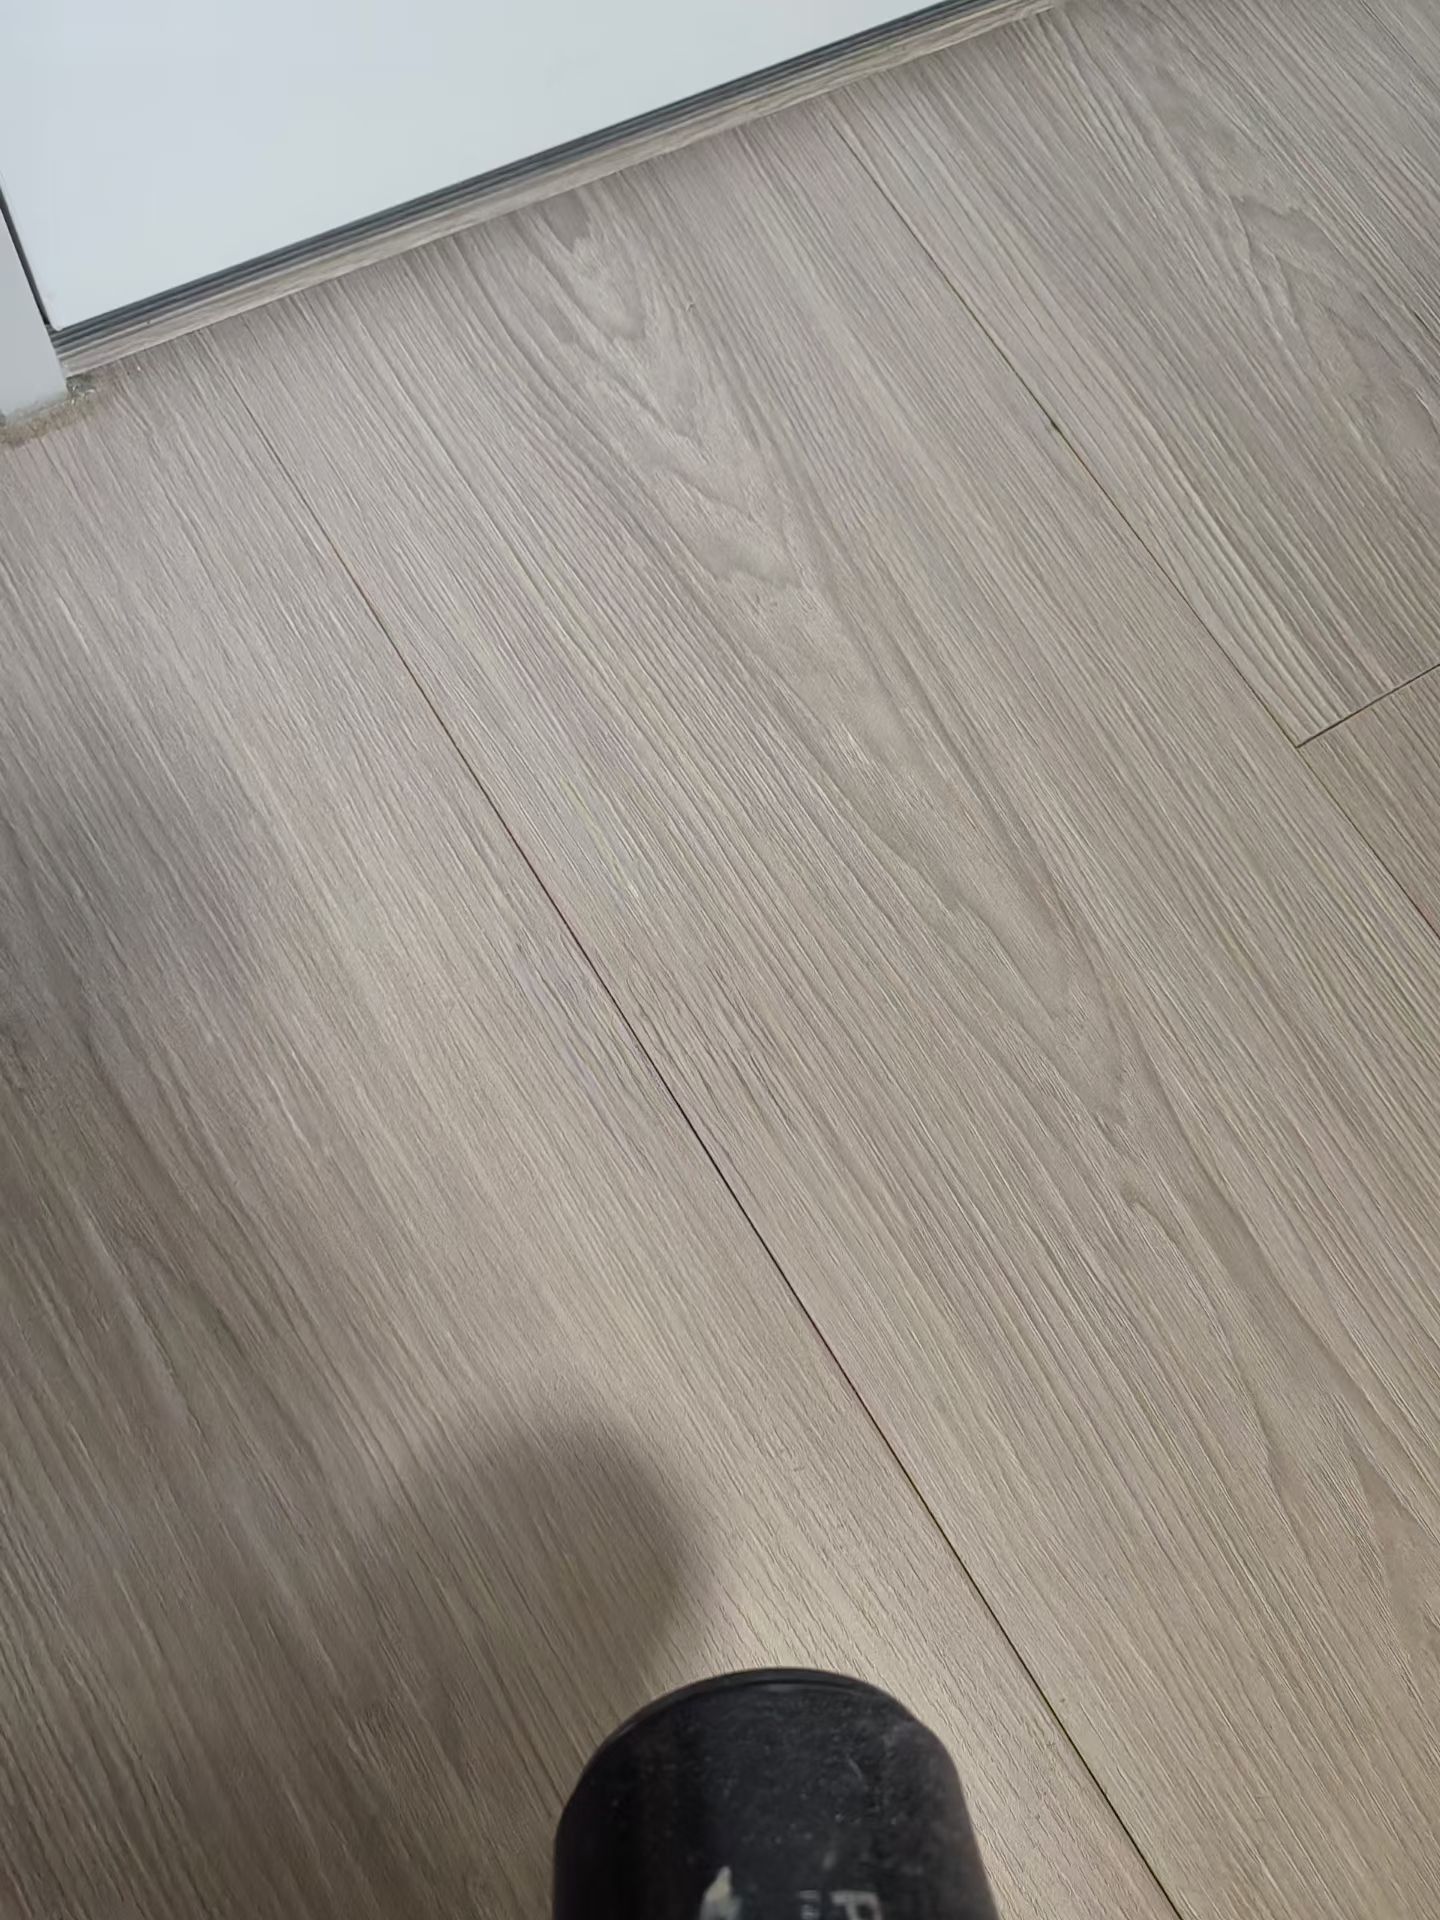
AfterWood-Grain Floor Scratch Repair — After: The same flooring area after scratch repair.
The same flooring area after scratch repair.

Marble, Tile & Sintered Stone Repair

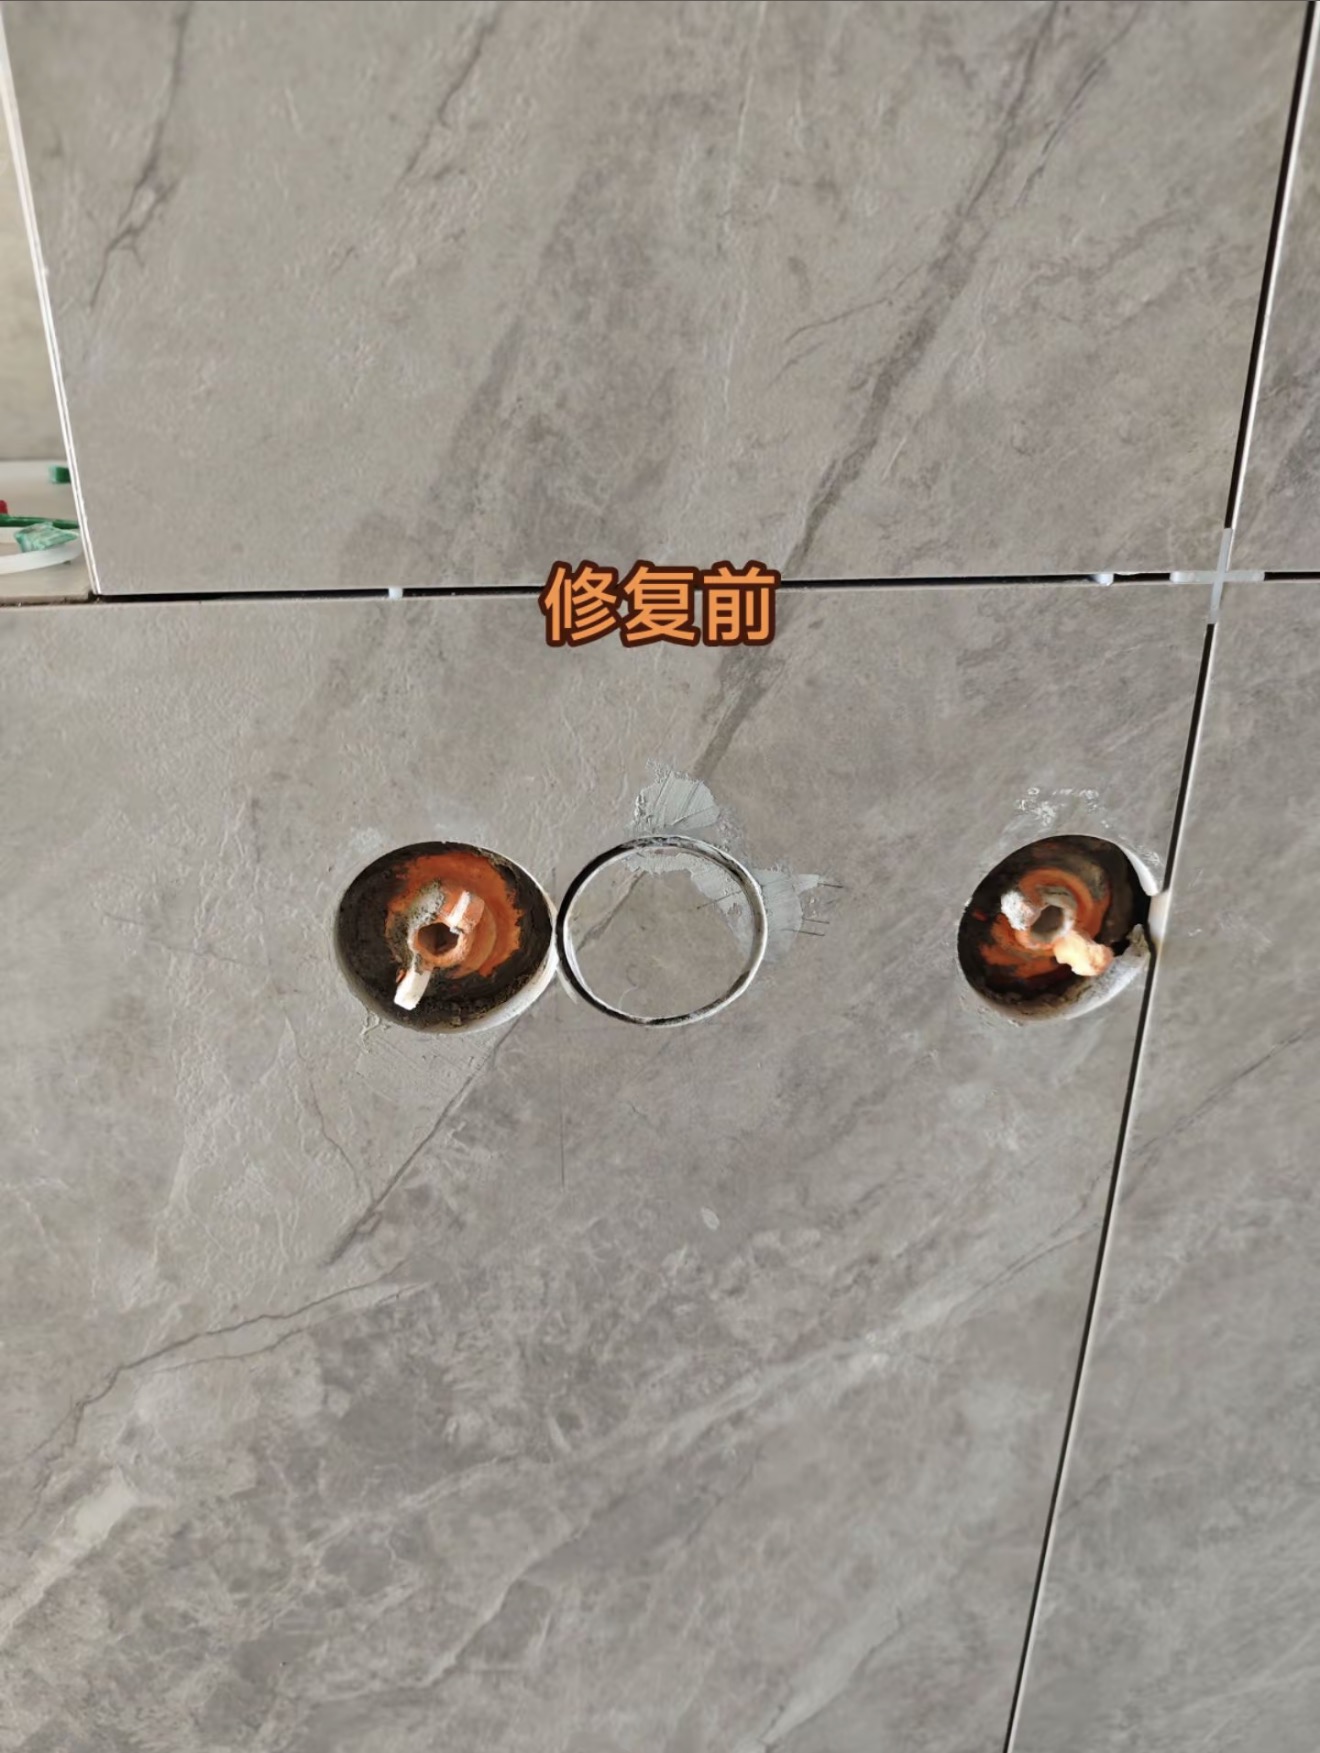
BeforeWall Tile Opening Repair — Before: An unwanted opening and local surface damage between the plumbing outlets.
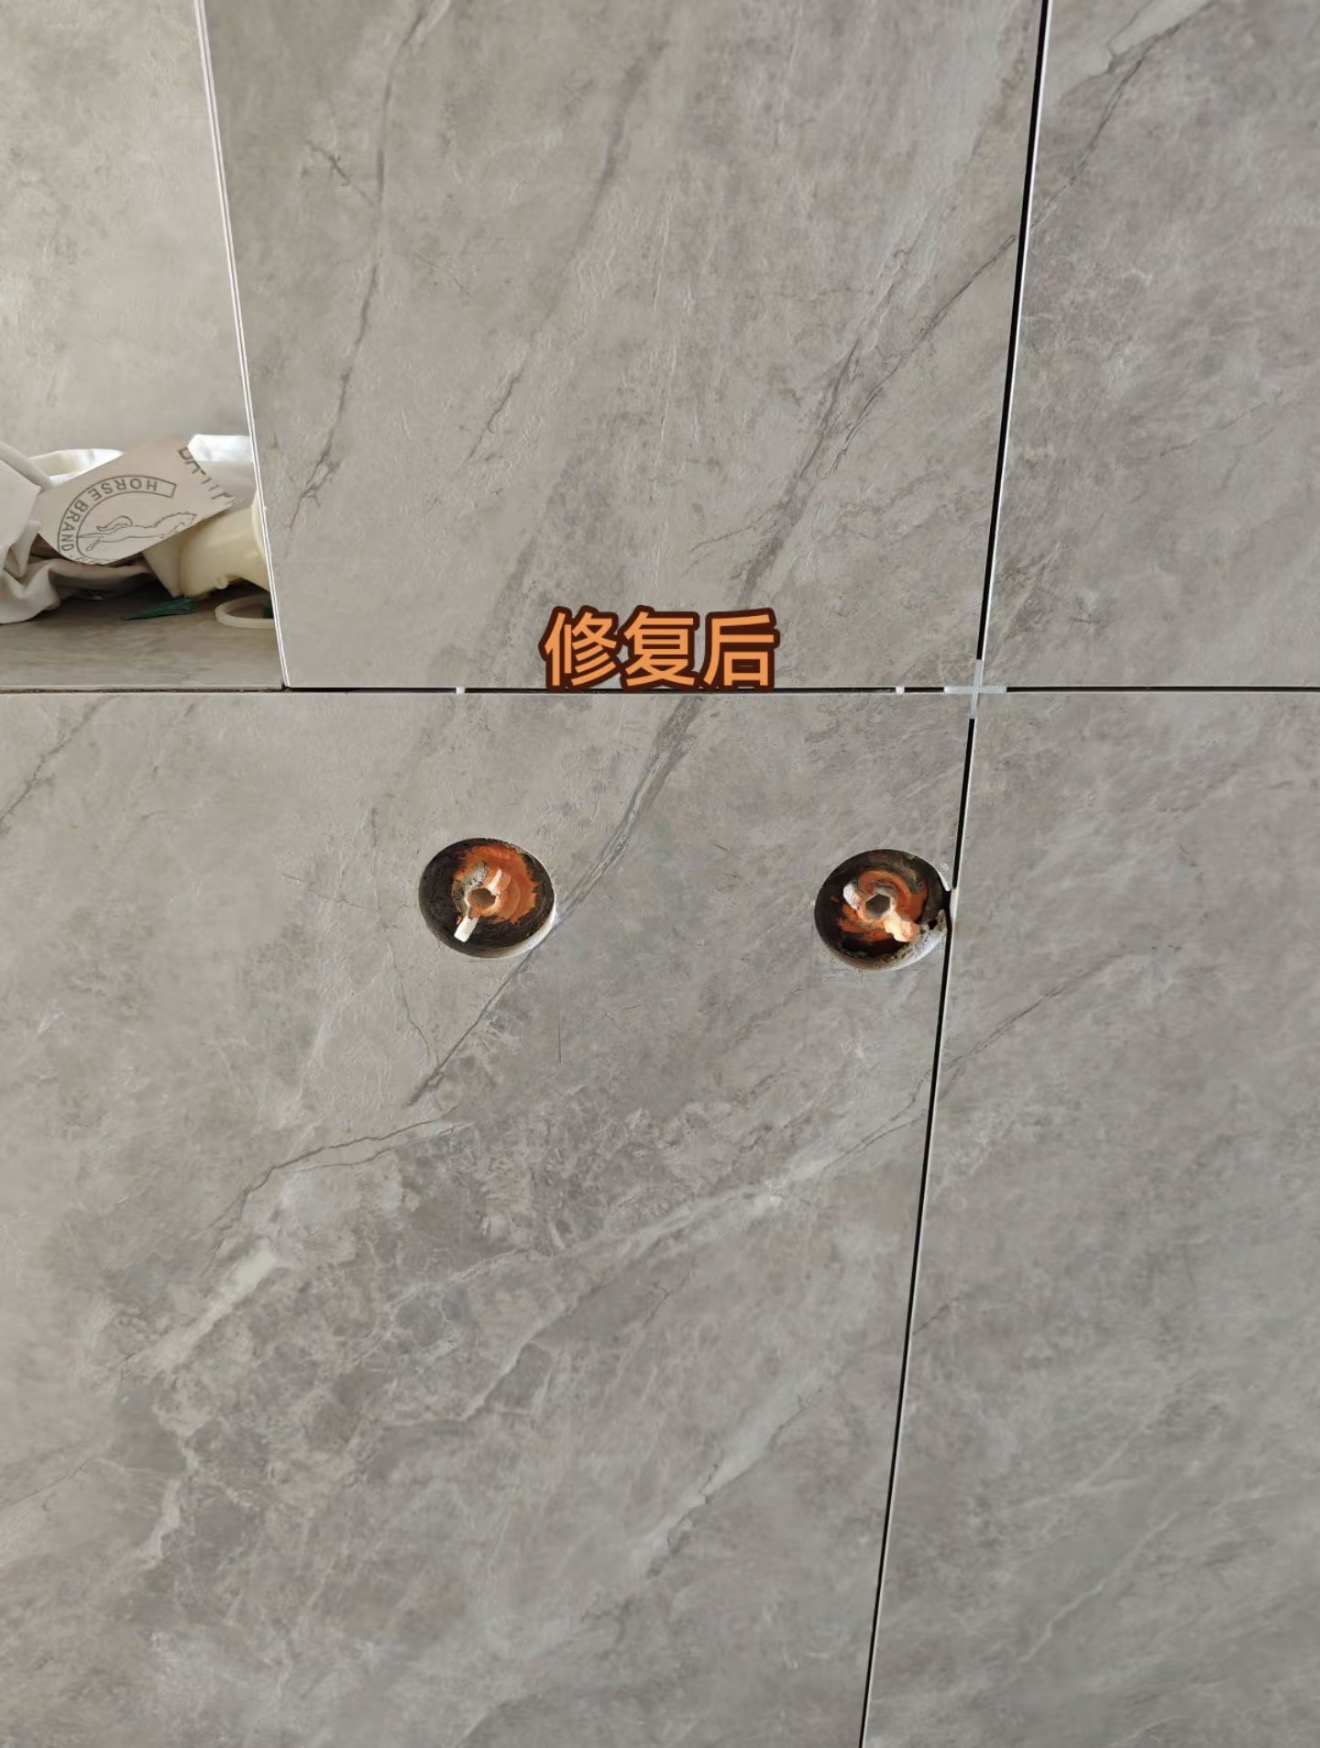
AfterWall Tile Opening Repair — After: The repaired area with the surrounding tile pattern continued across it.
The repaired area with the surrounding tile pattern continued across it.
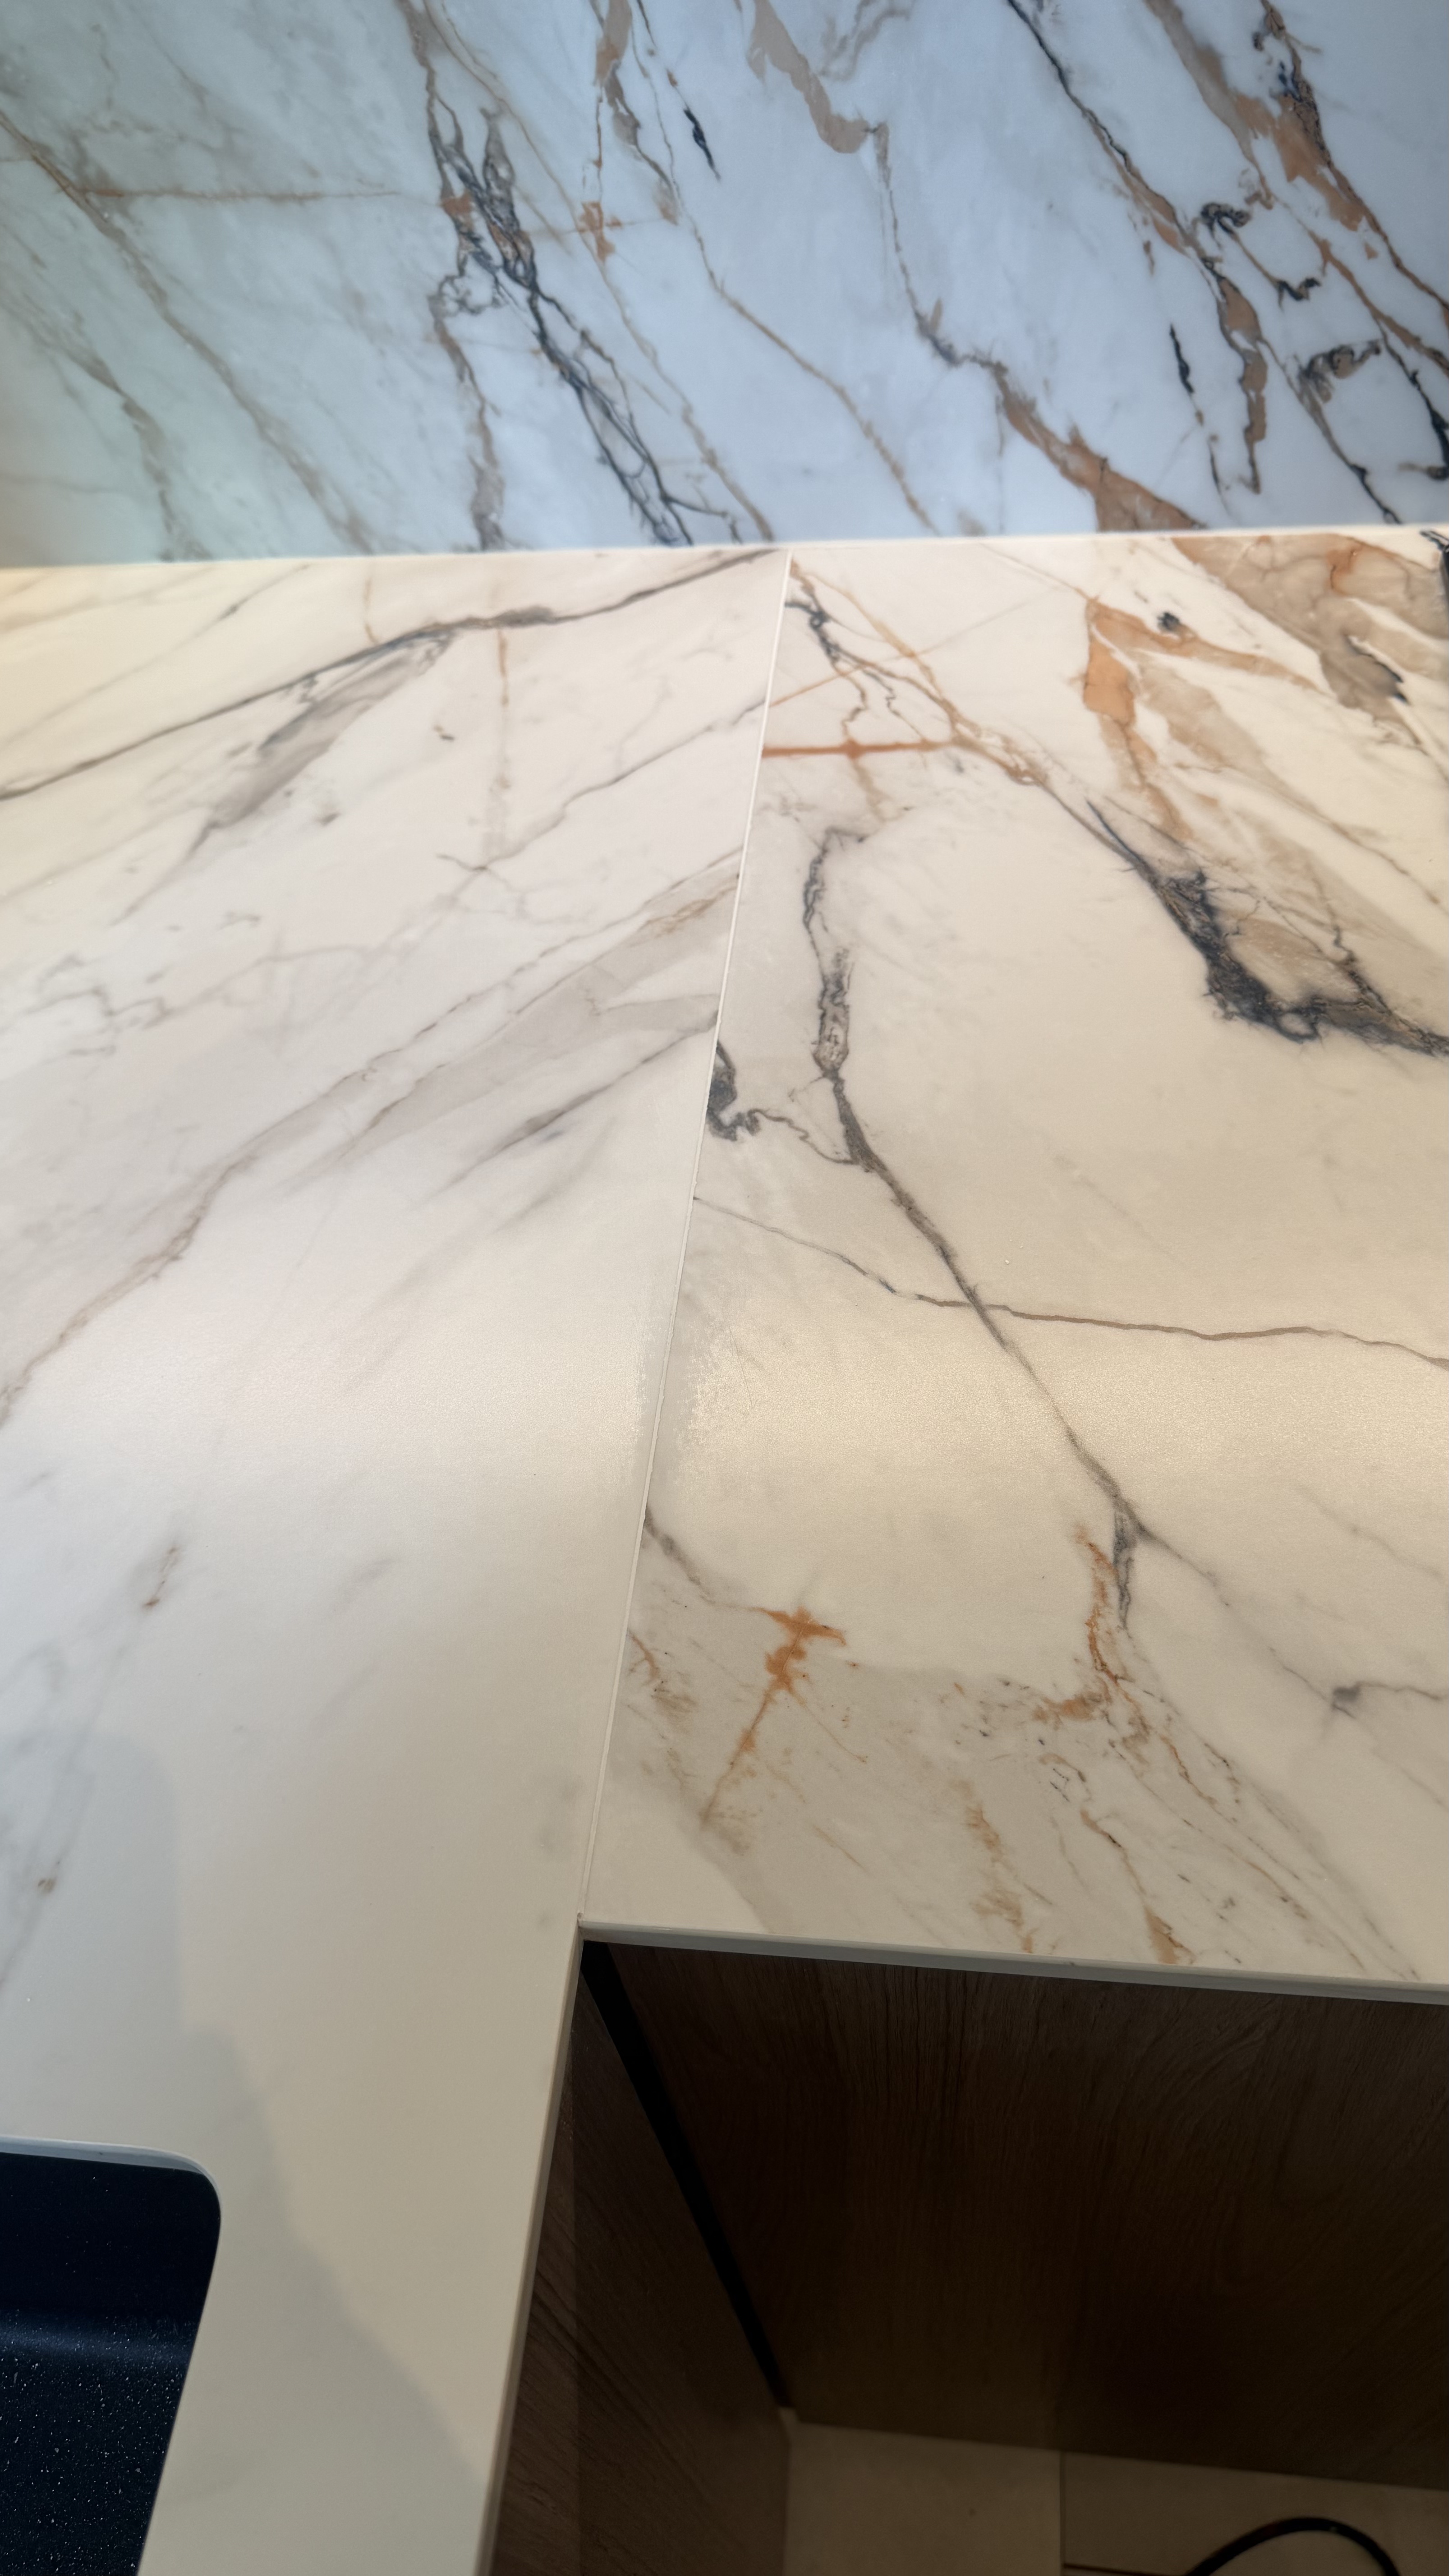
BeforeVeined Countertop Surface Repair — Before: The countertop surface and joint area before repair.
The countertop surface and joint area before repair.
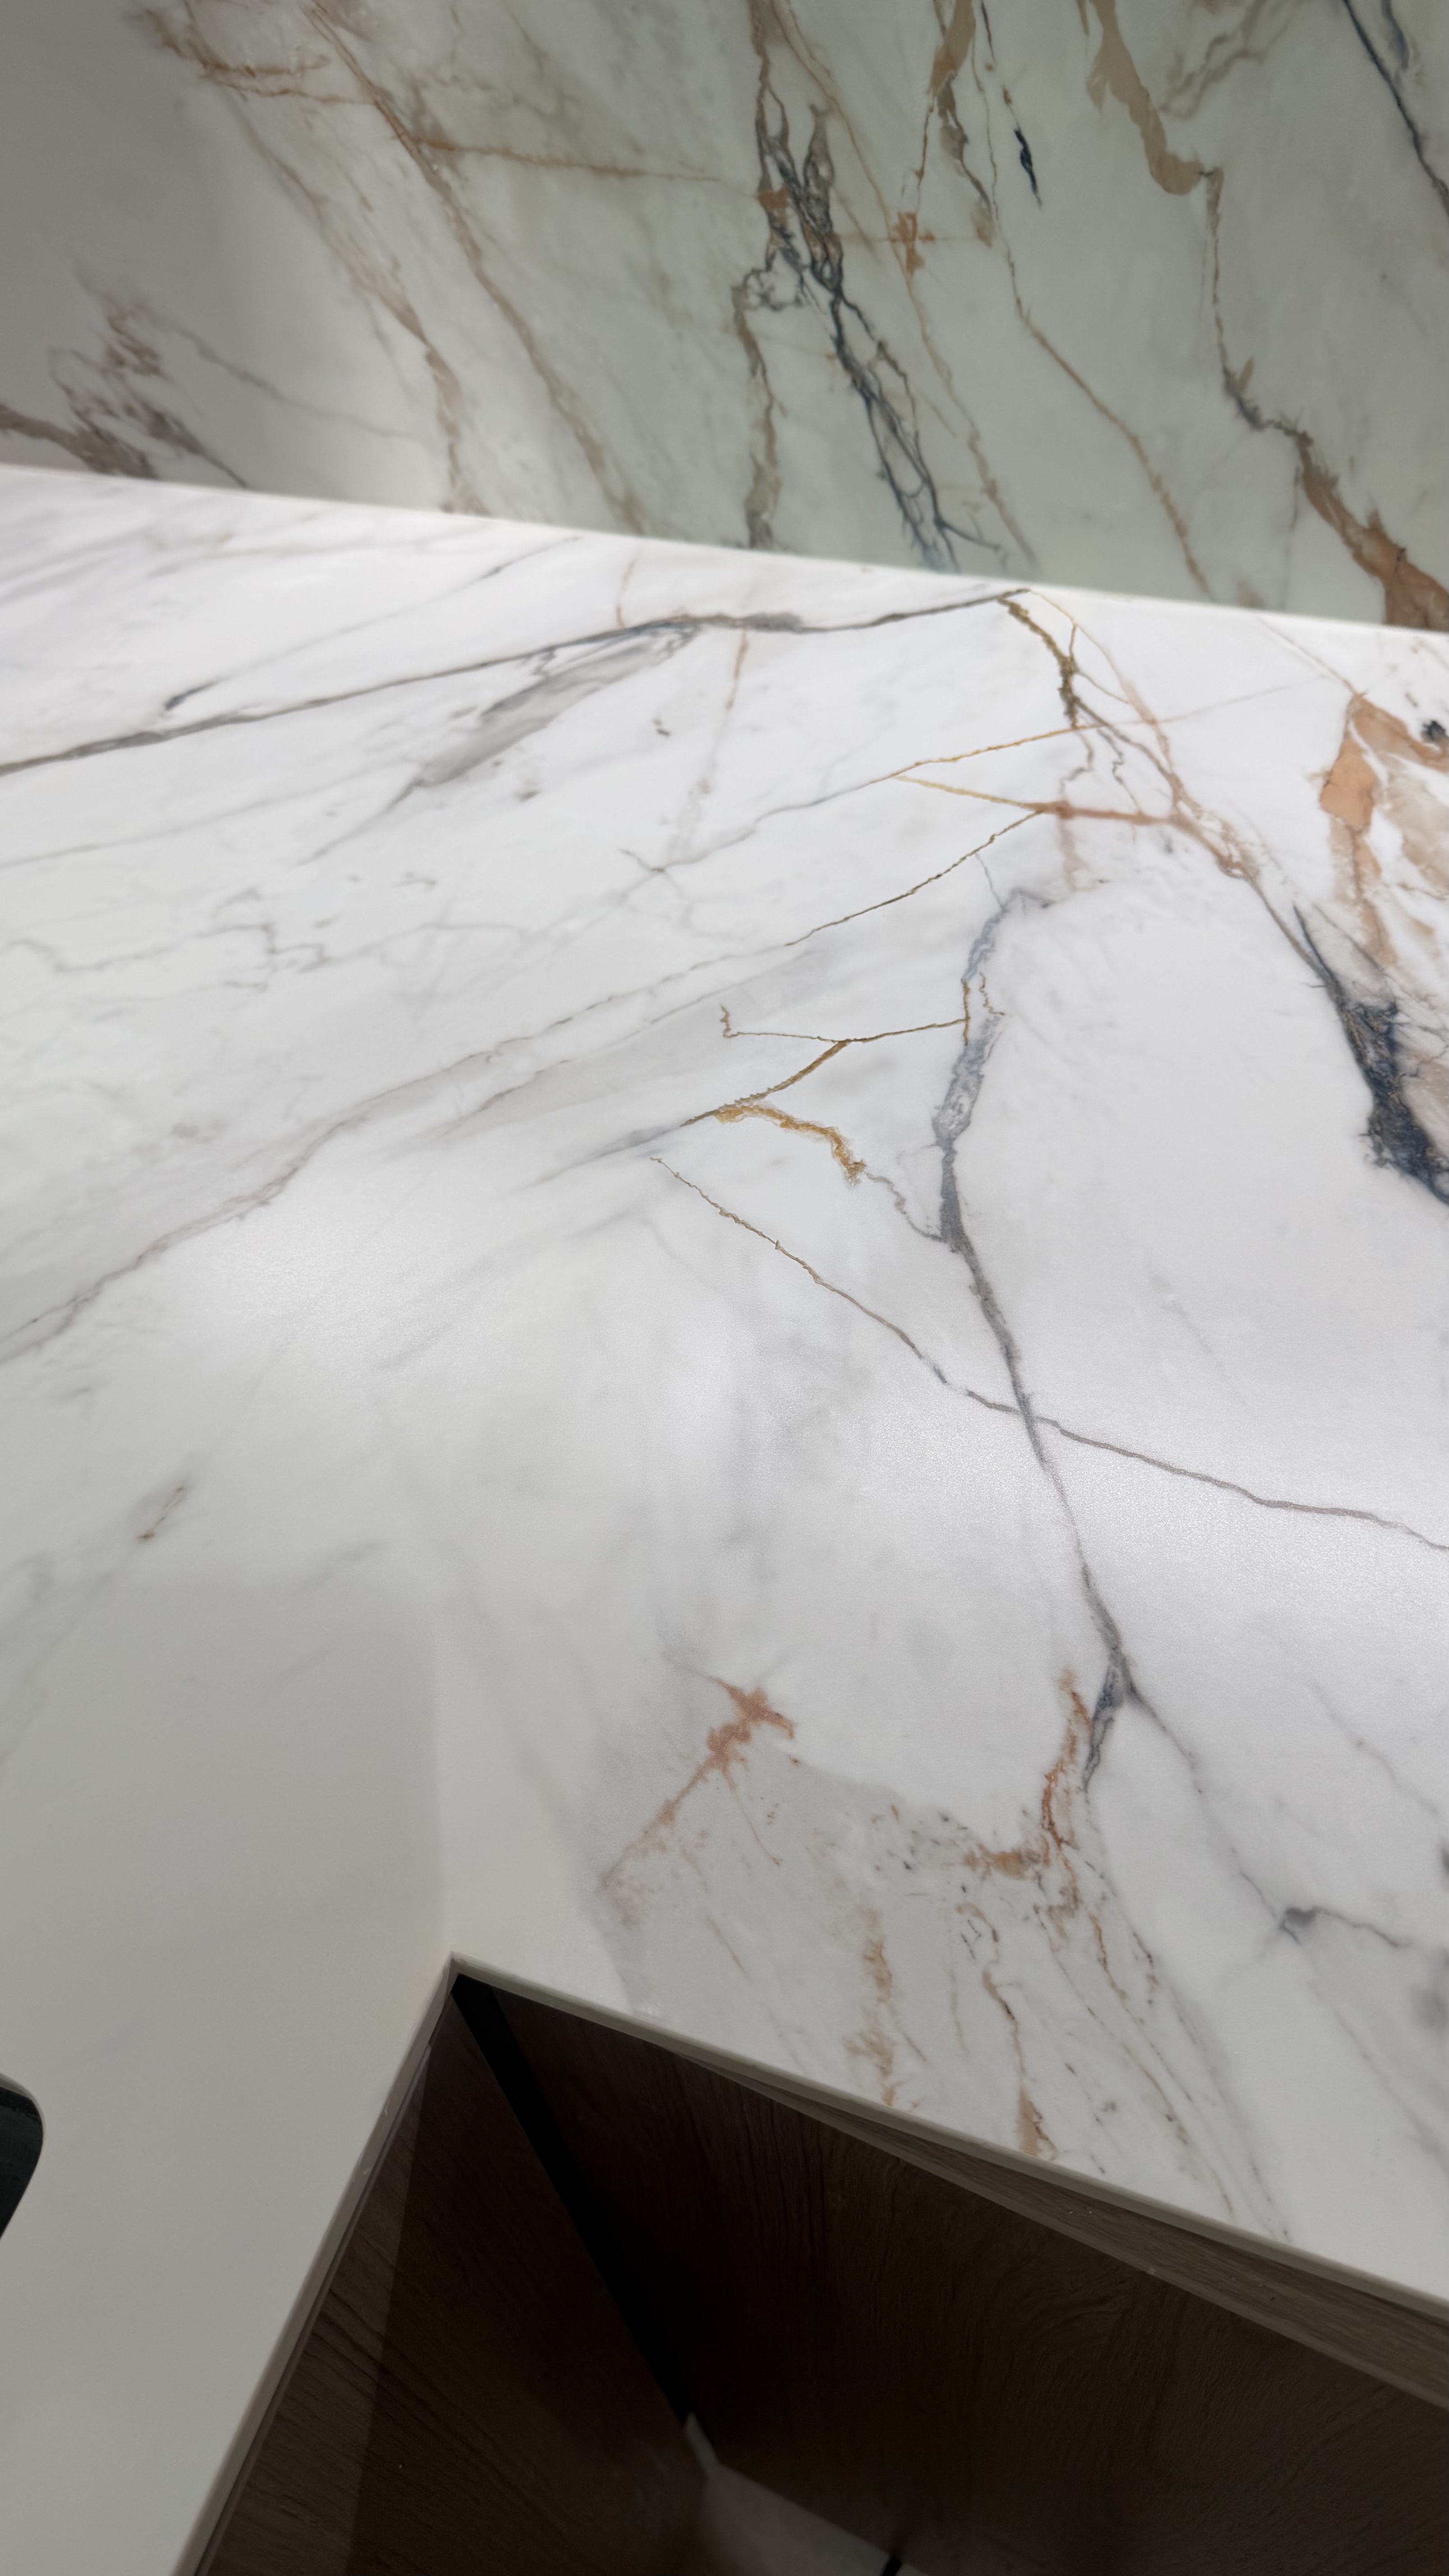
AfterVeined Countertop Surface Repair — After: The same countertop area after surface finishing.
The same countertop area after surface finishing.
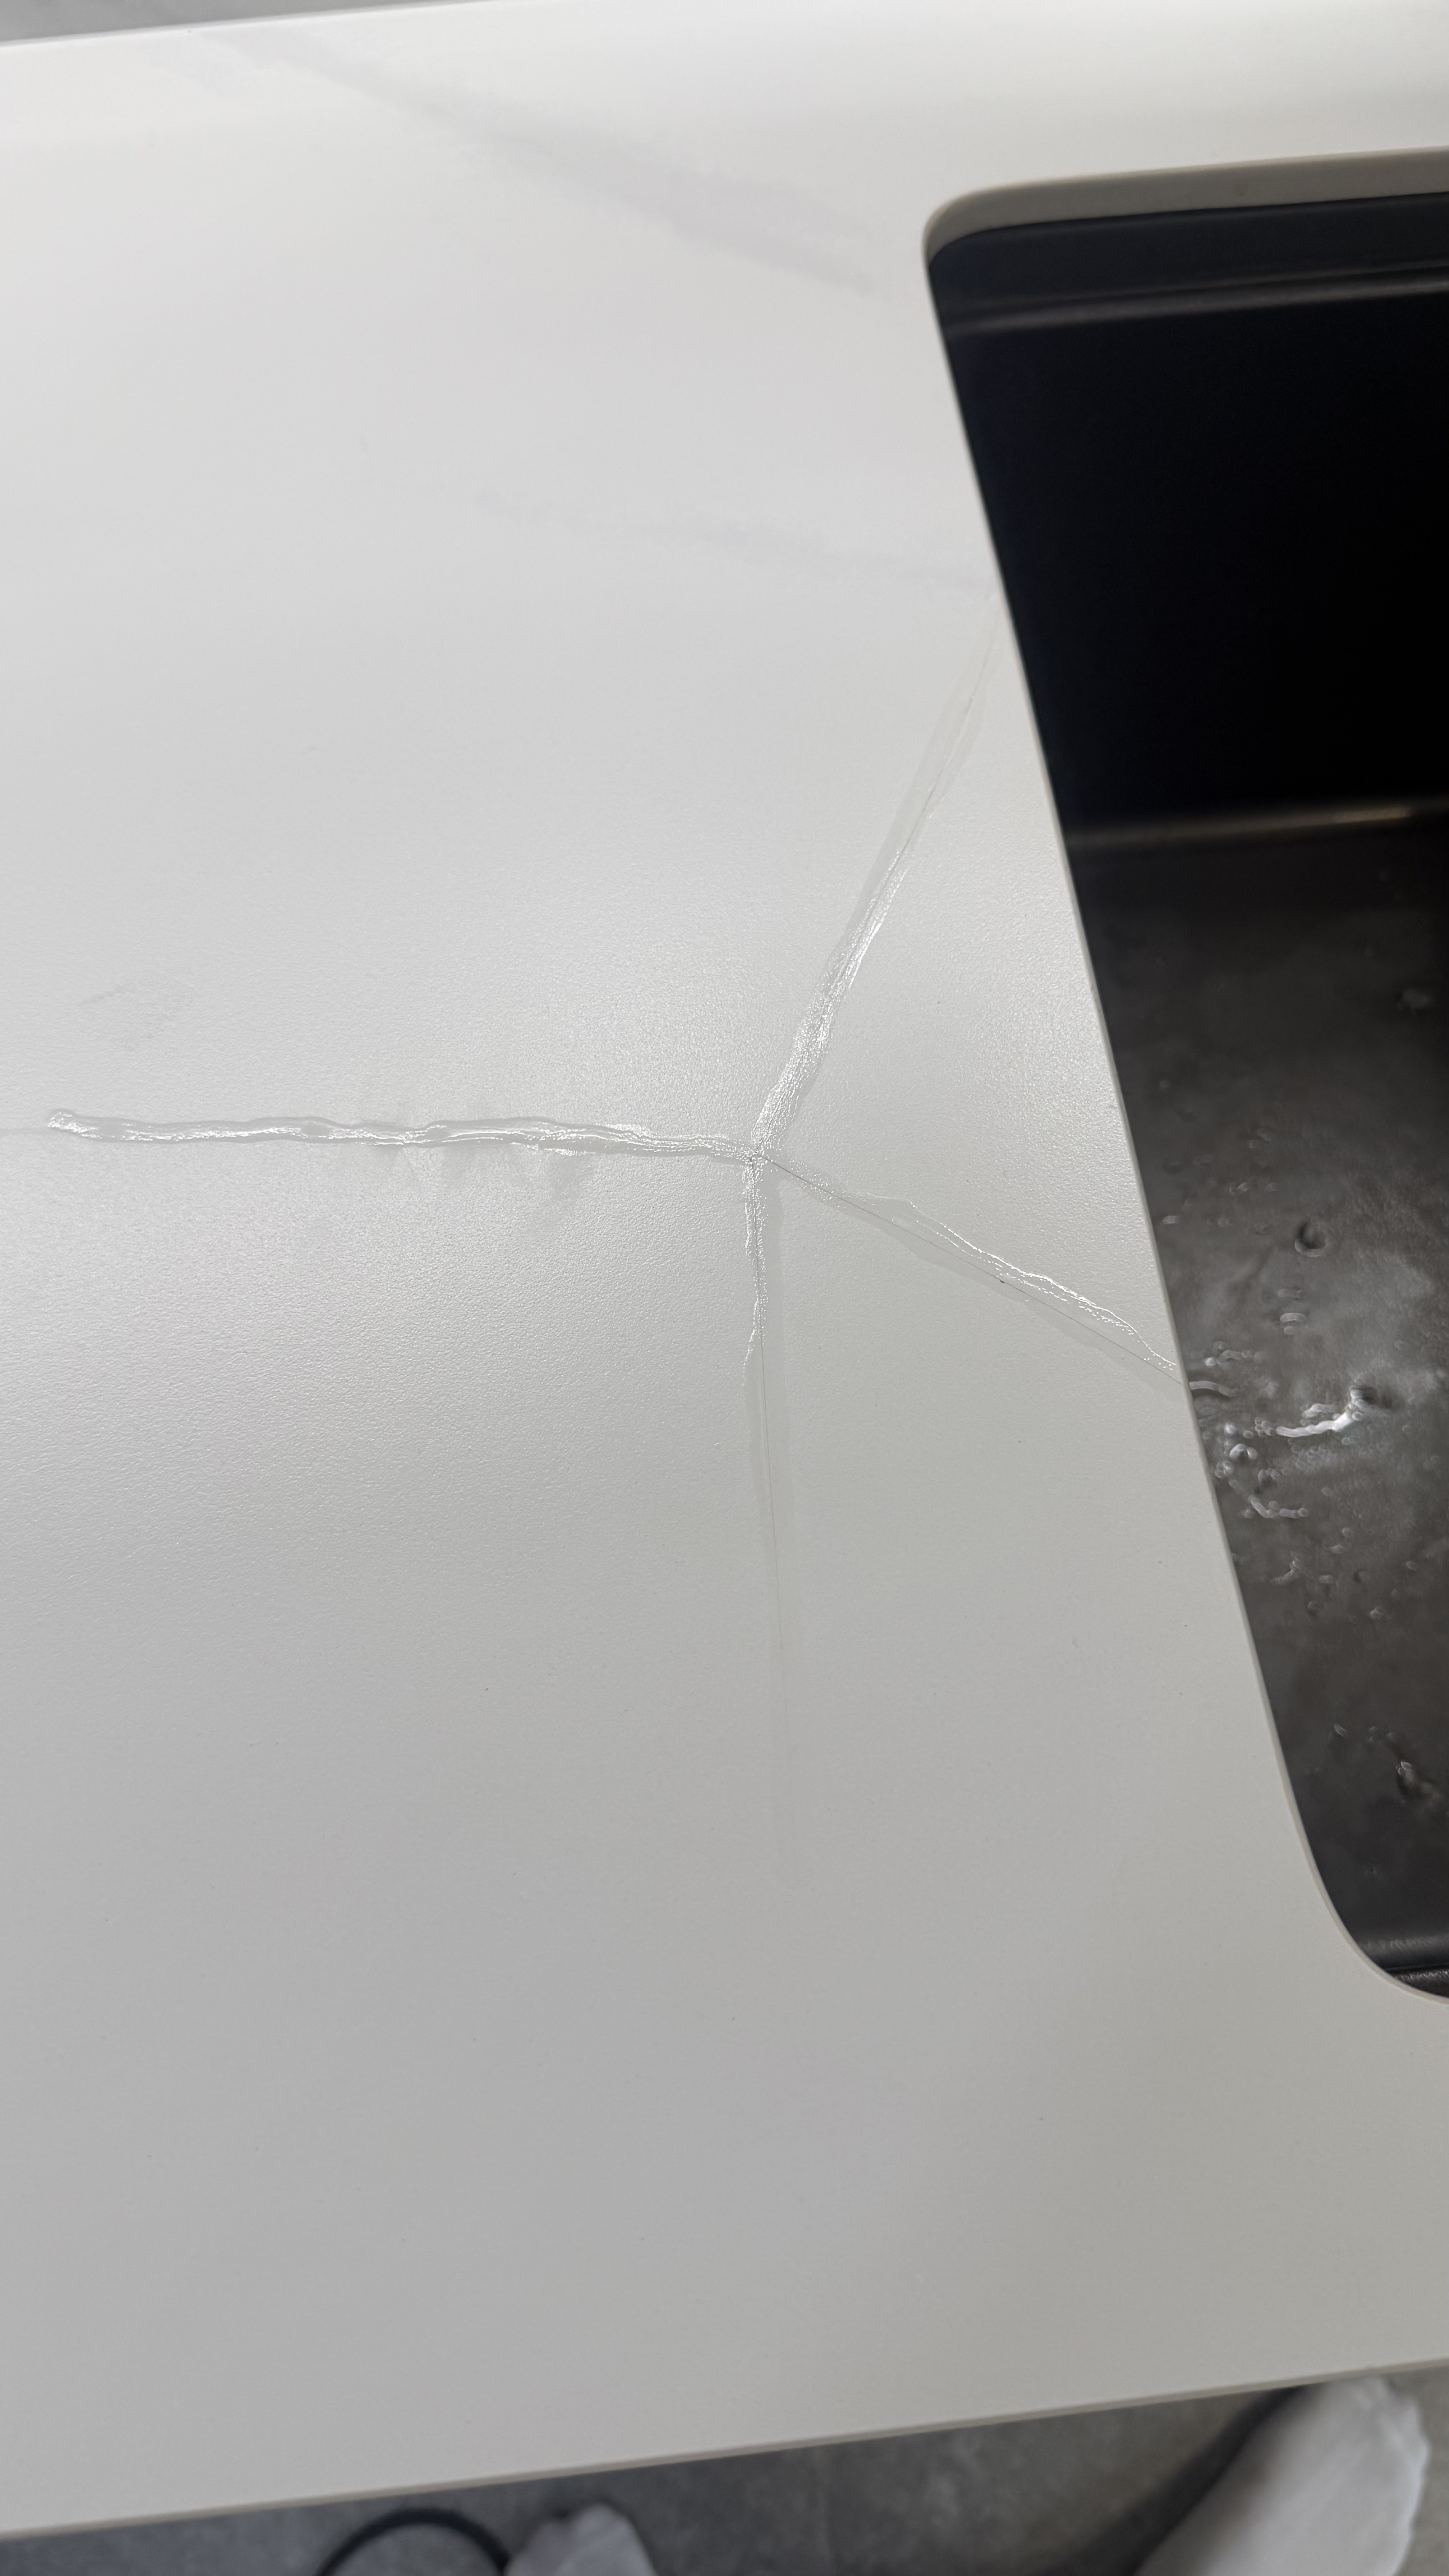
BeforeWhite Countertop Crack Repair — Before: Visible crack lines beside the sink opening before finishing.
Visible crack lines beside the sink opening before finishing.
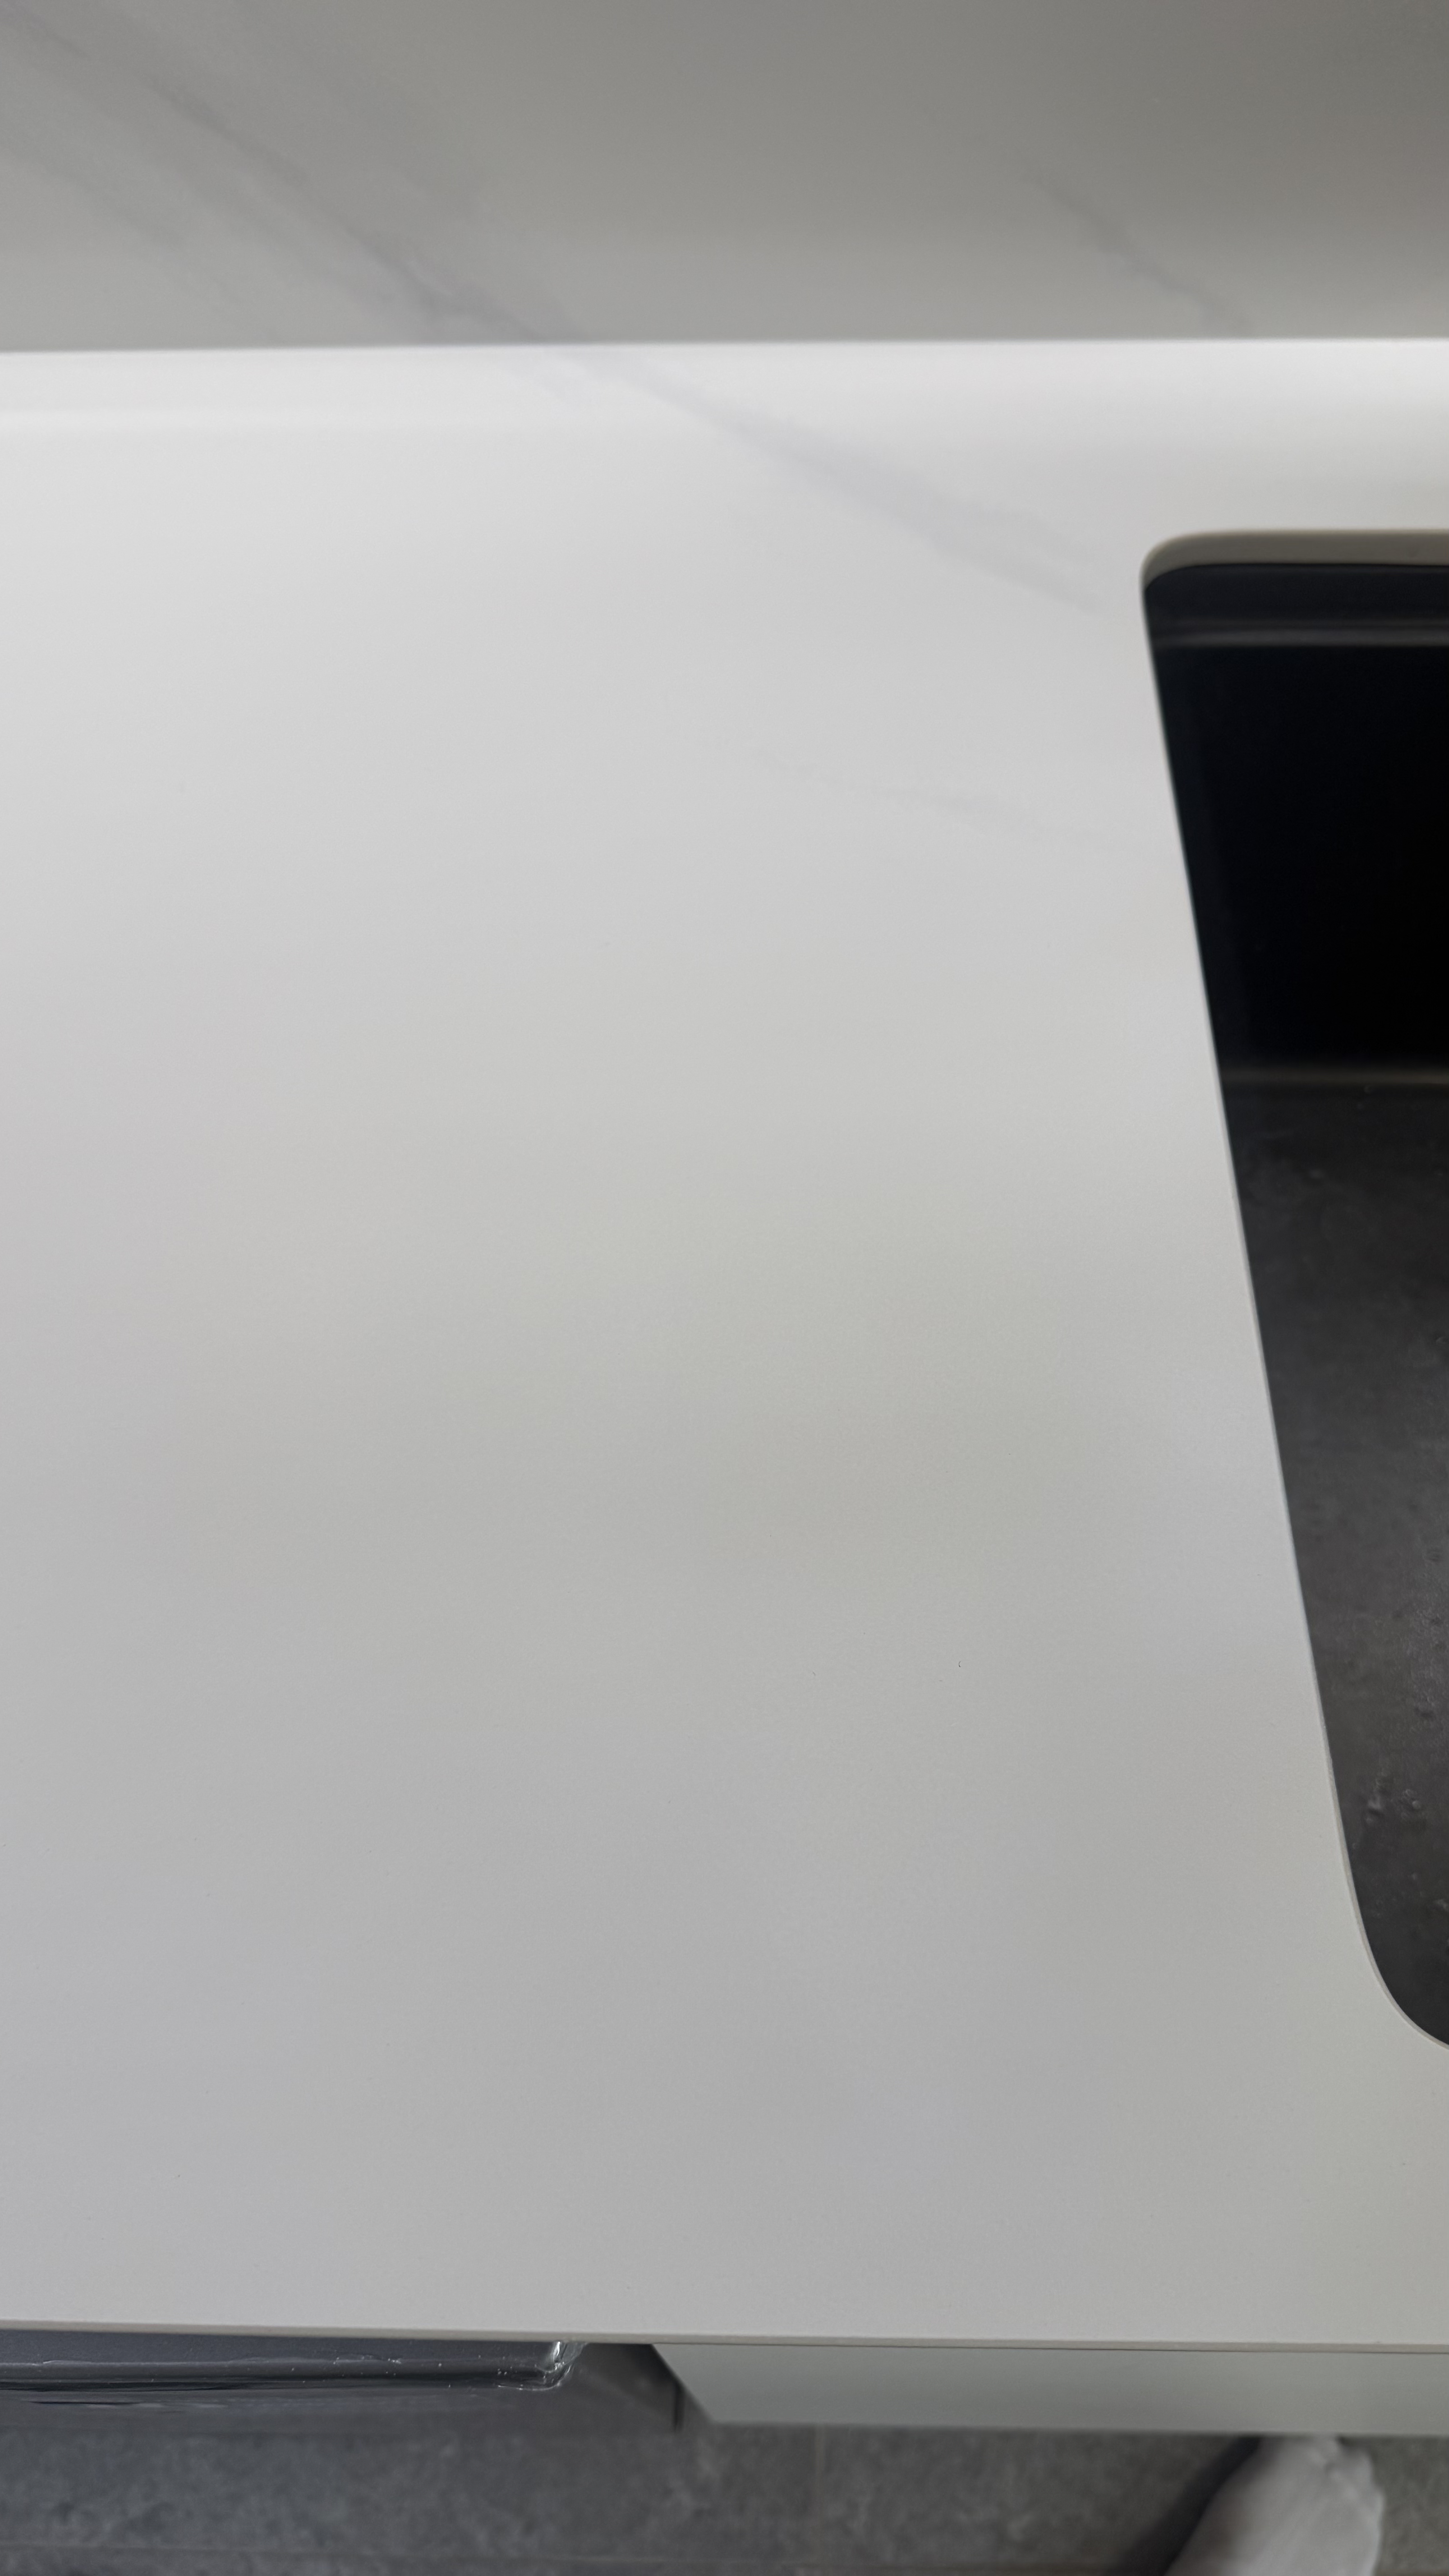
AfterWhite Countertop Crack Repair — After: The same area after repair and surface finishing.
The same area after repair and surface finishing.
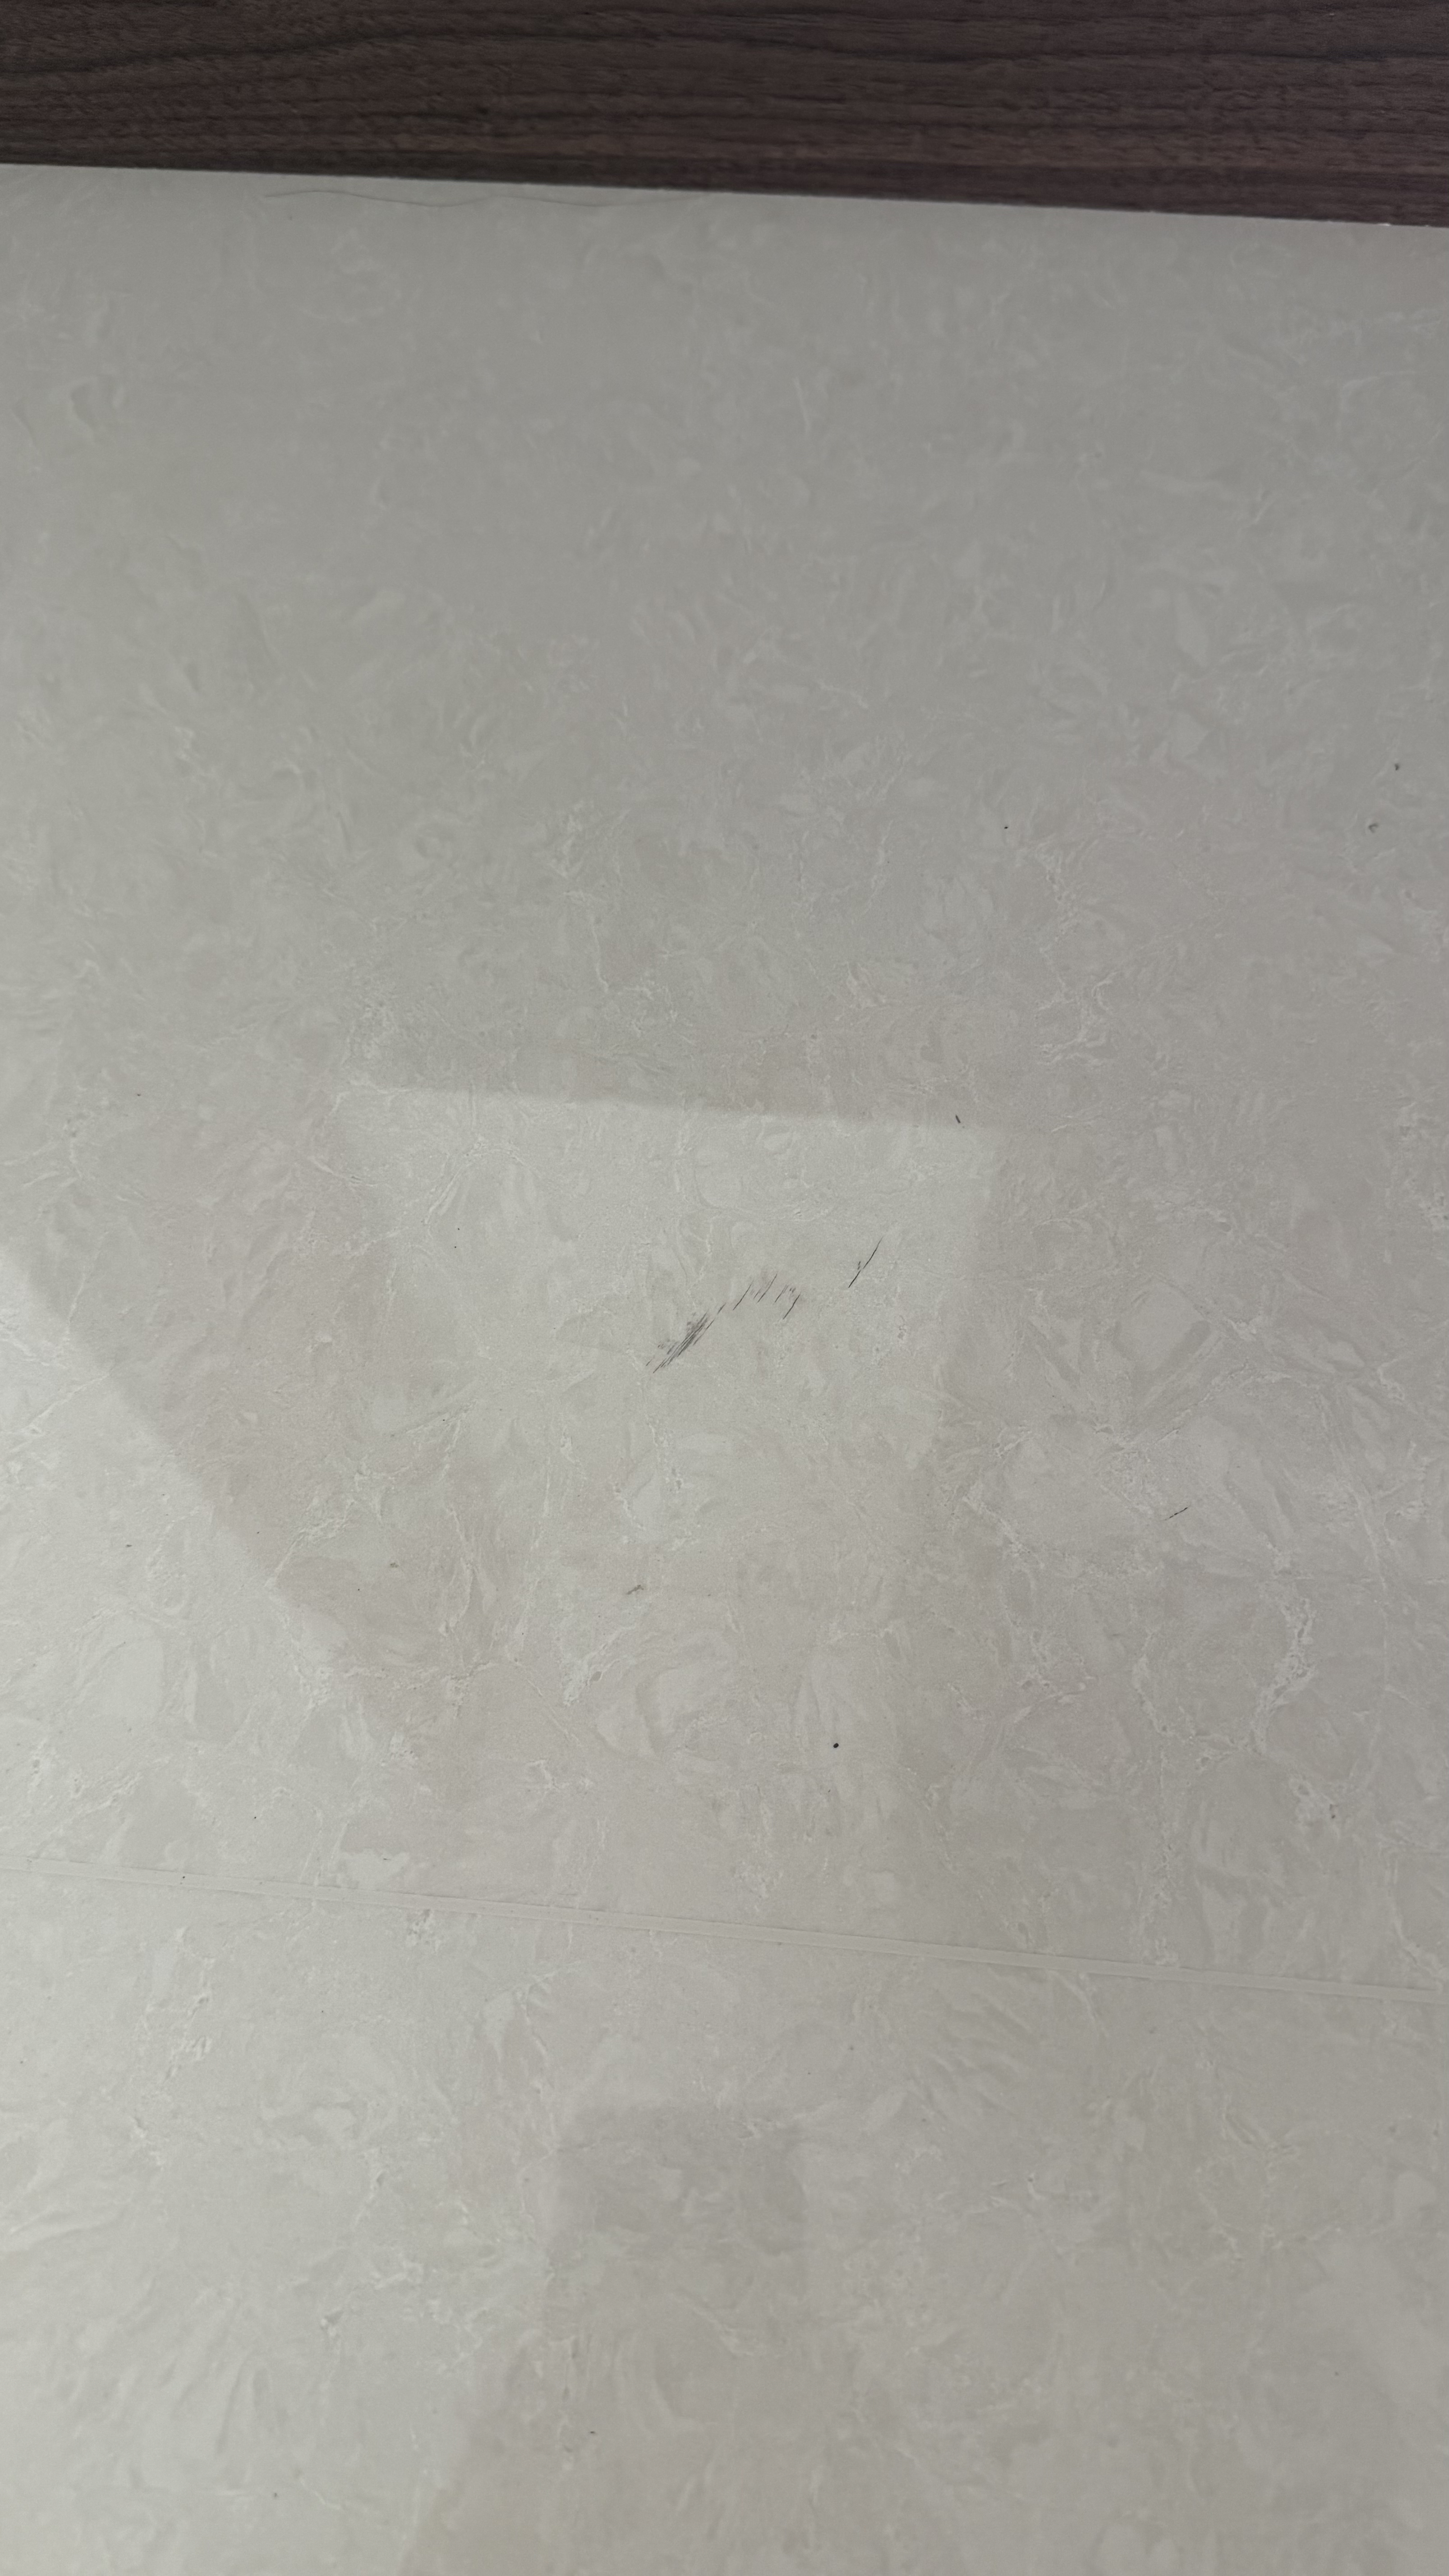
BeforeFloor Tile Scratch Repair — Before: Visible dark scratches on the floor tile.
Visible dark scratches on the floor tile.
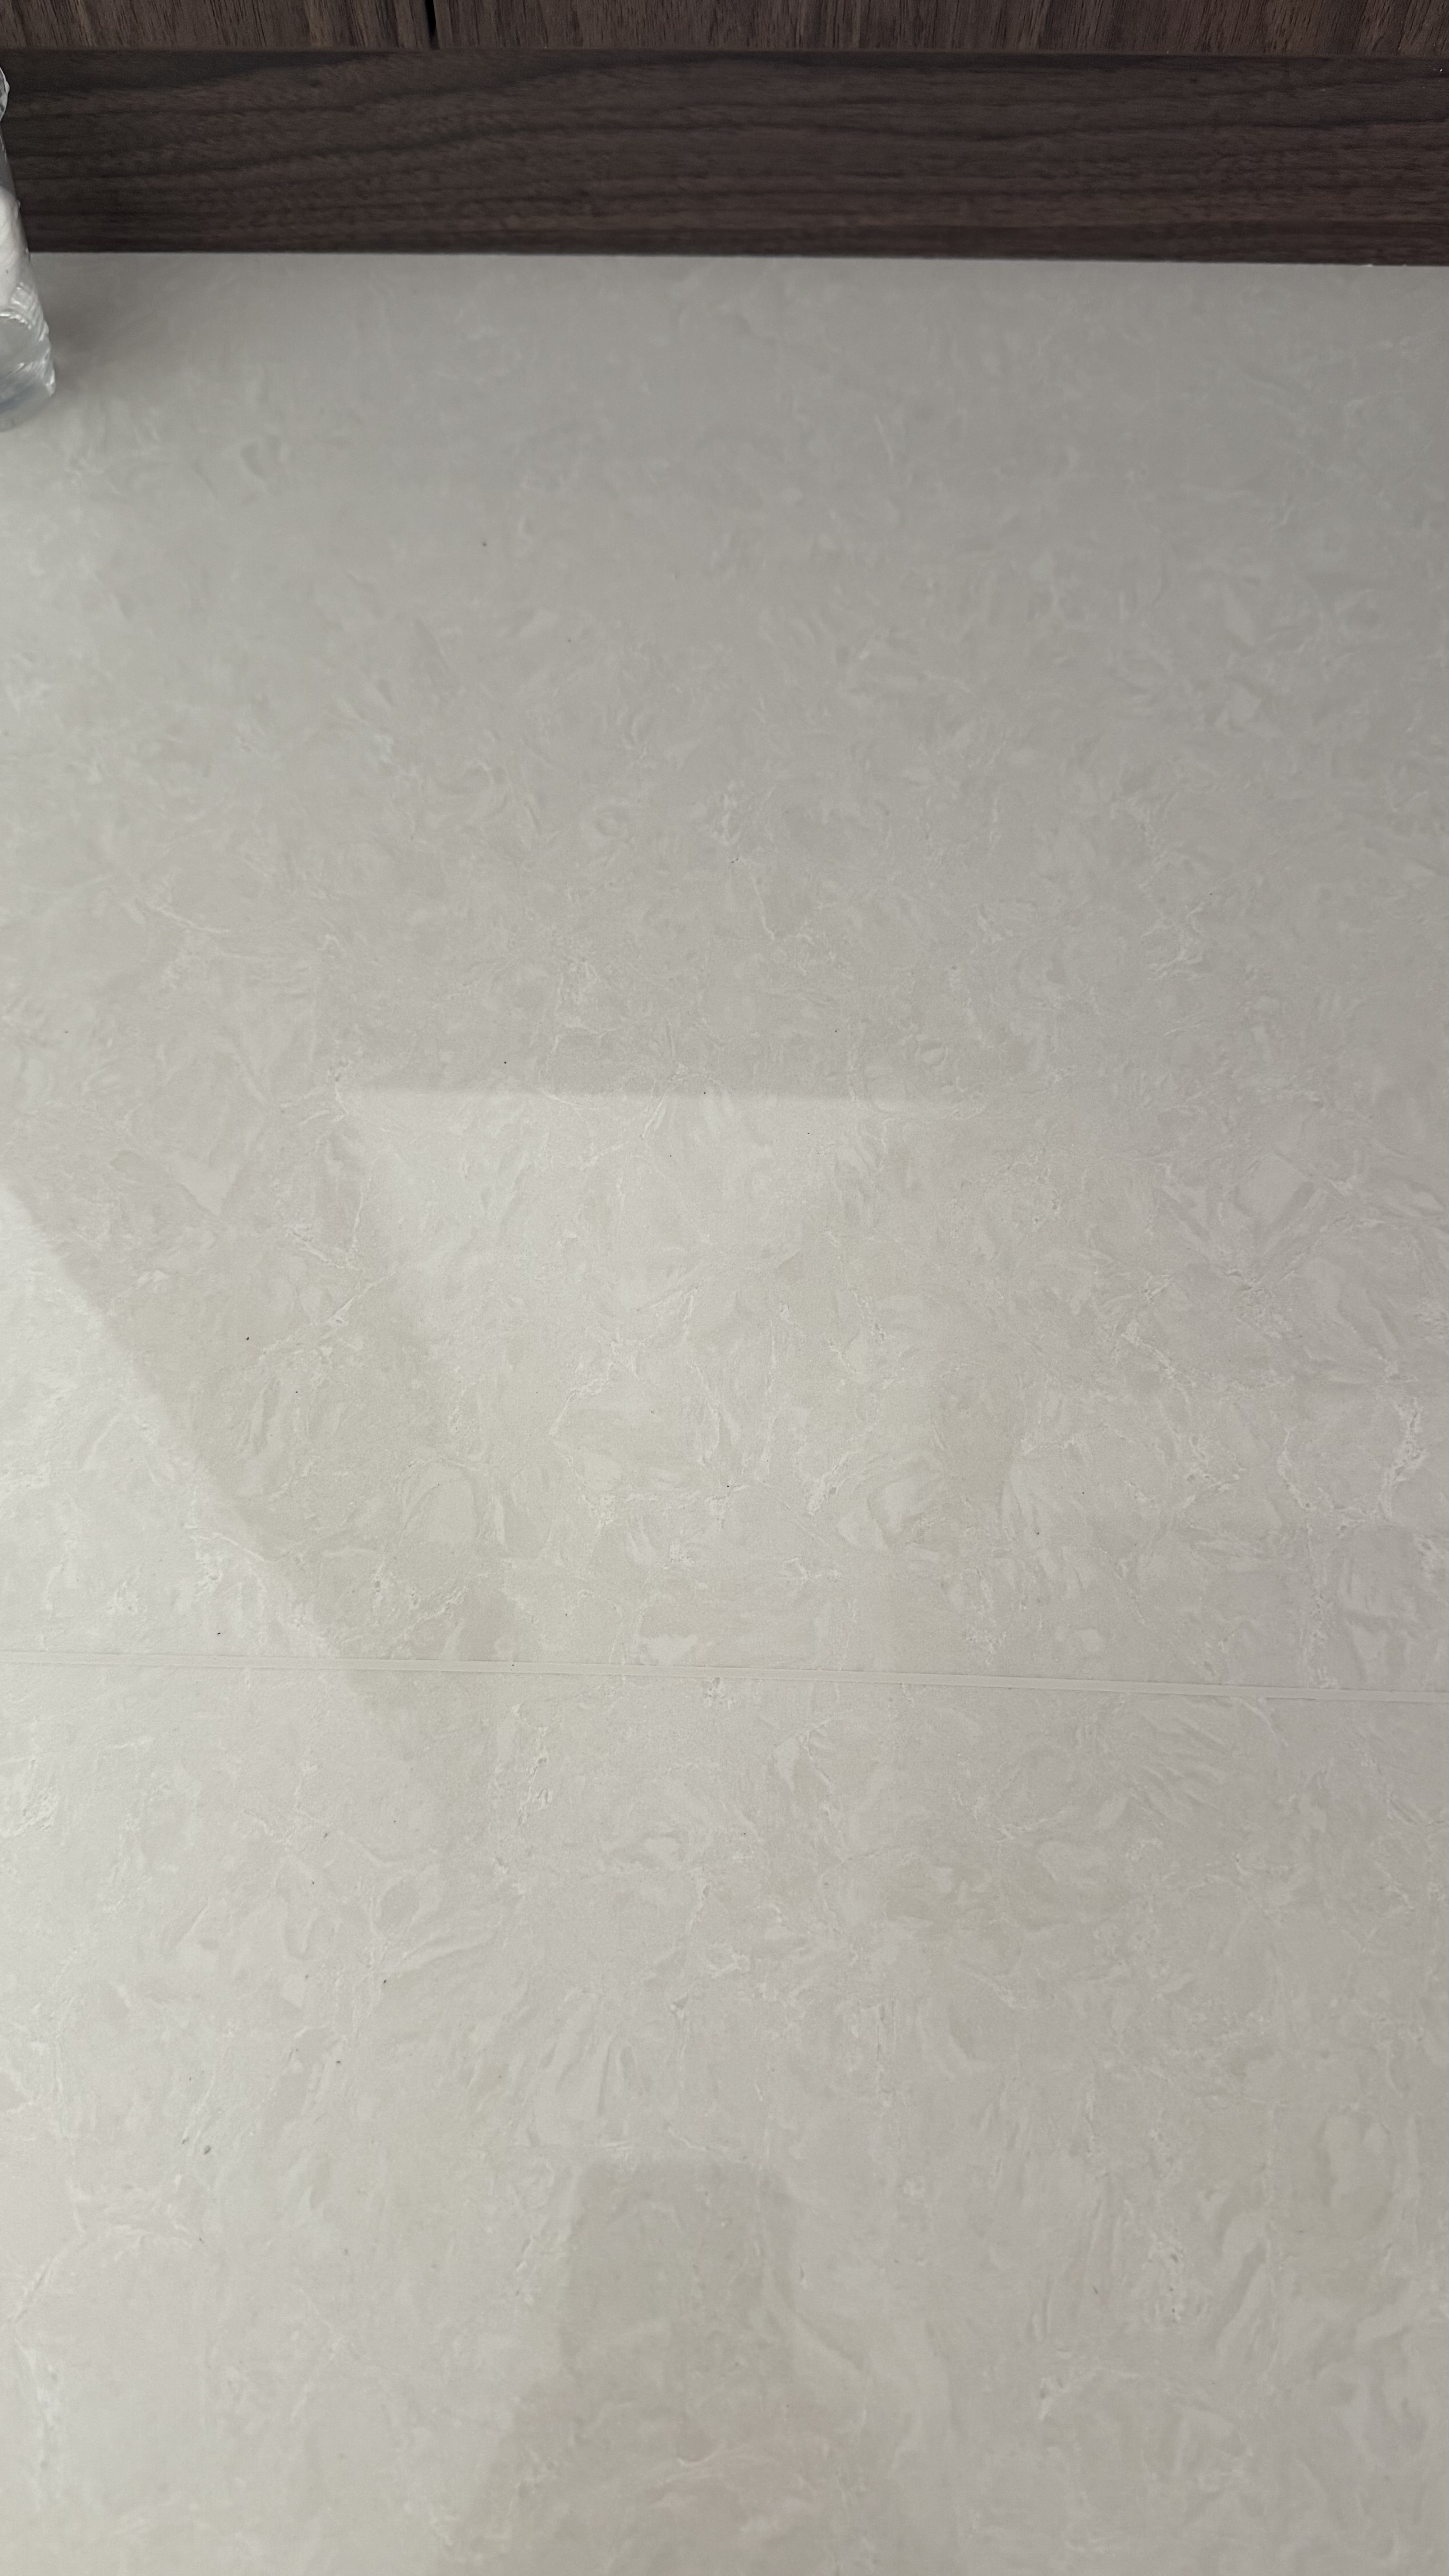
AfterFloor Tile Scratch Repair — After: The same floor tile area after scratch treatment.
The same floor tile area after scratch treatment.
BeforeStone Step Edge Repair — Before: A chipped edge on a stone step before repair.
A chipped edge on a stone step before repair.
AfterStone Step Edge Repair — After: The step edge after repair and colour blending.
The step edge after repair and colour blending.
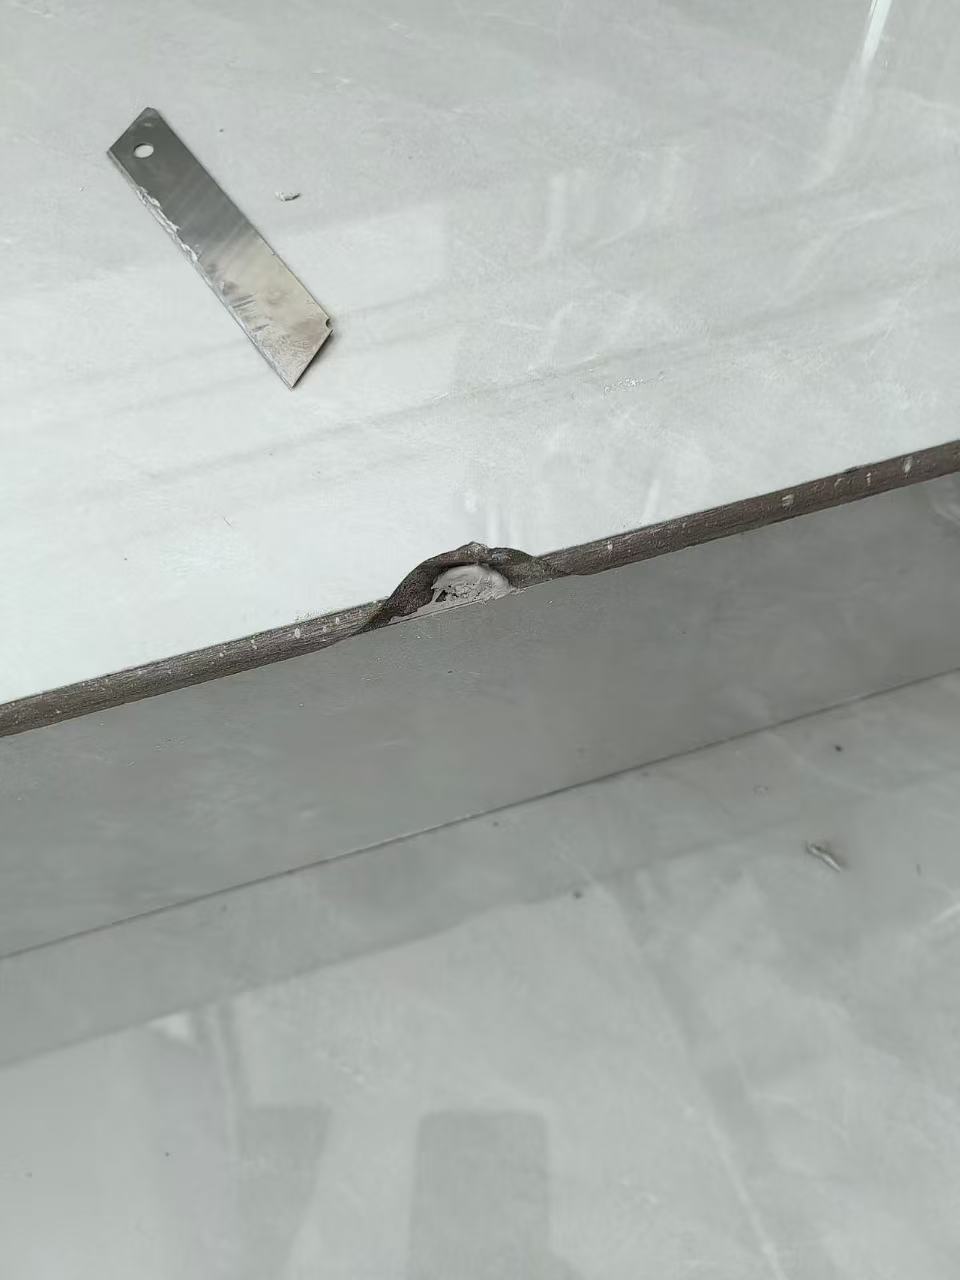
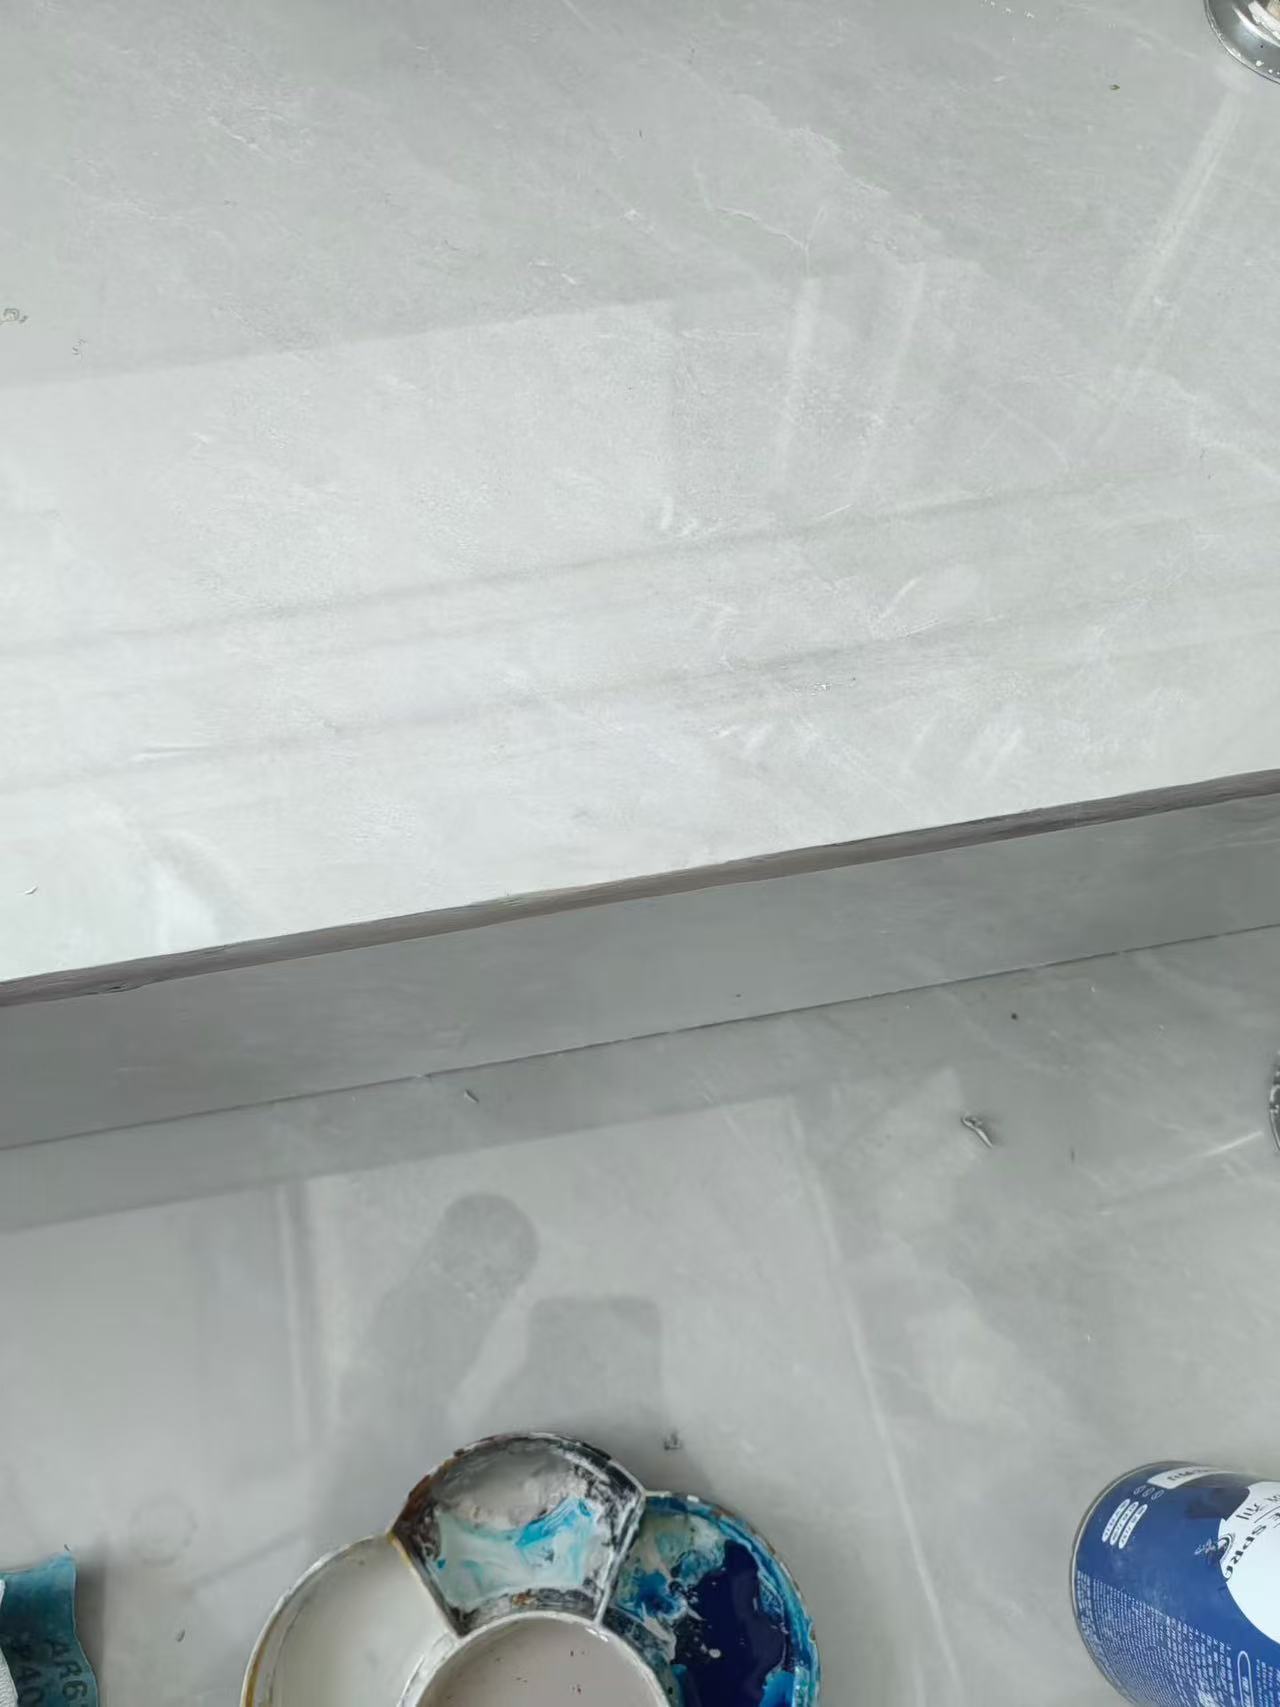
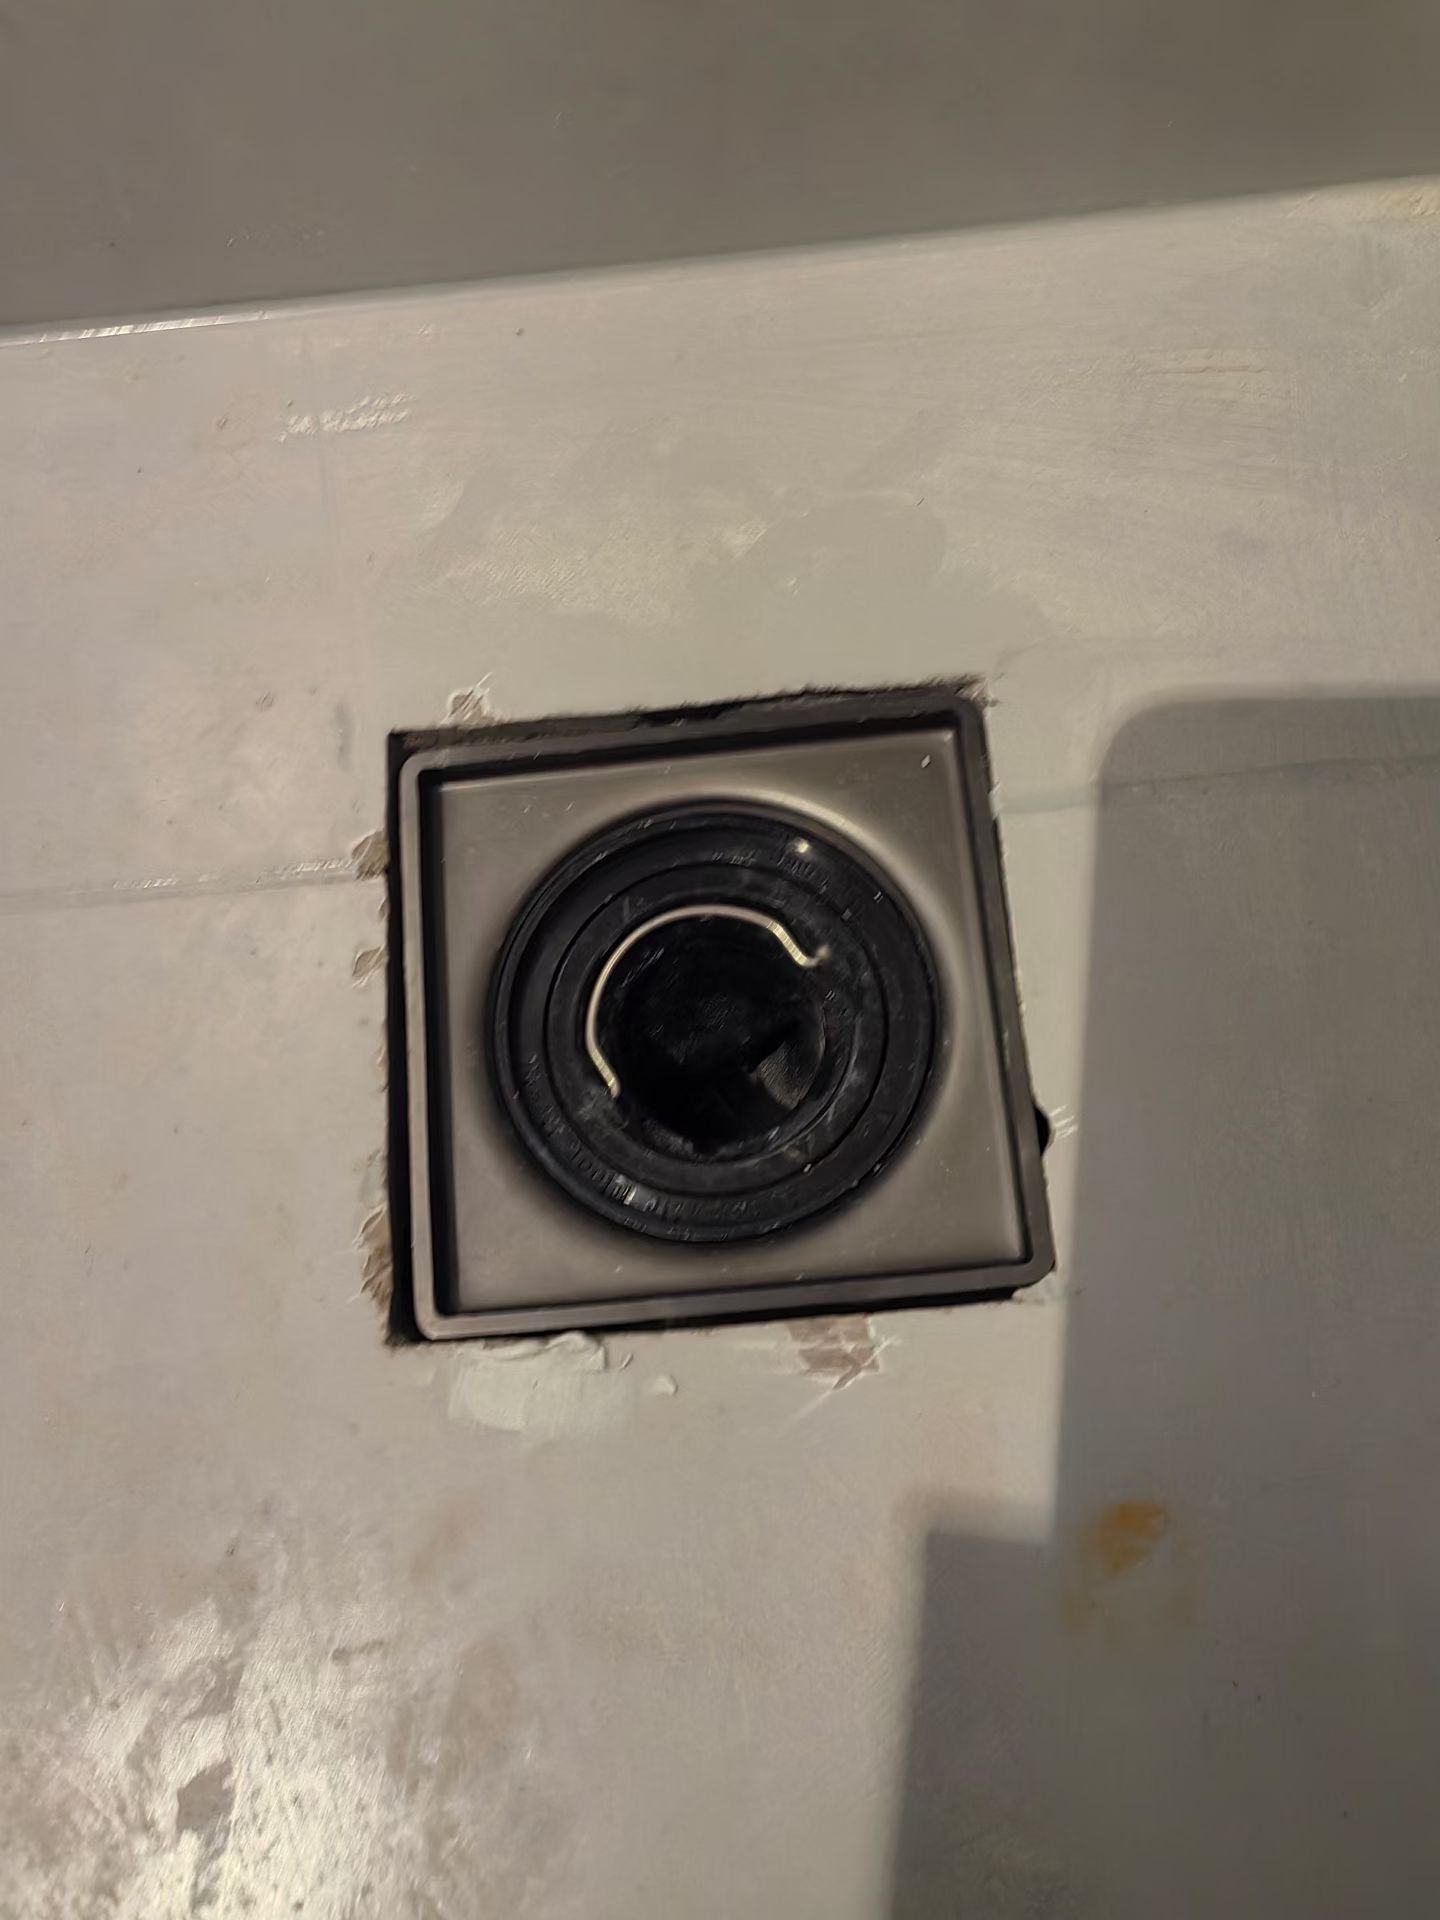
BeforeFloor Drain Surround Repair — Before: Damaged surface edges around a floor drain before repair.
Damaged surface edges around a floor drain before repair.
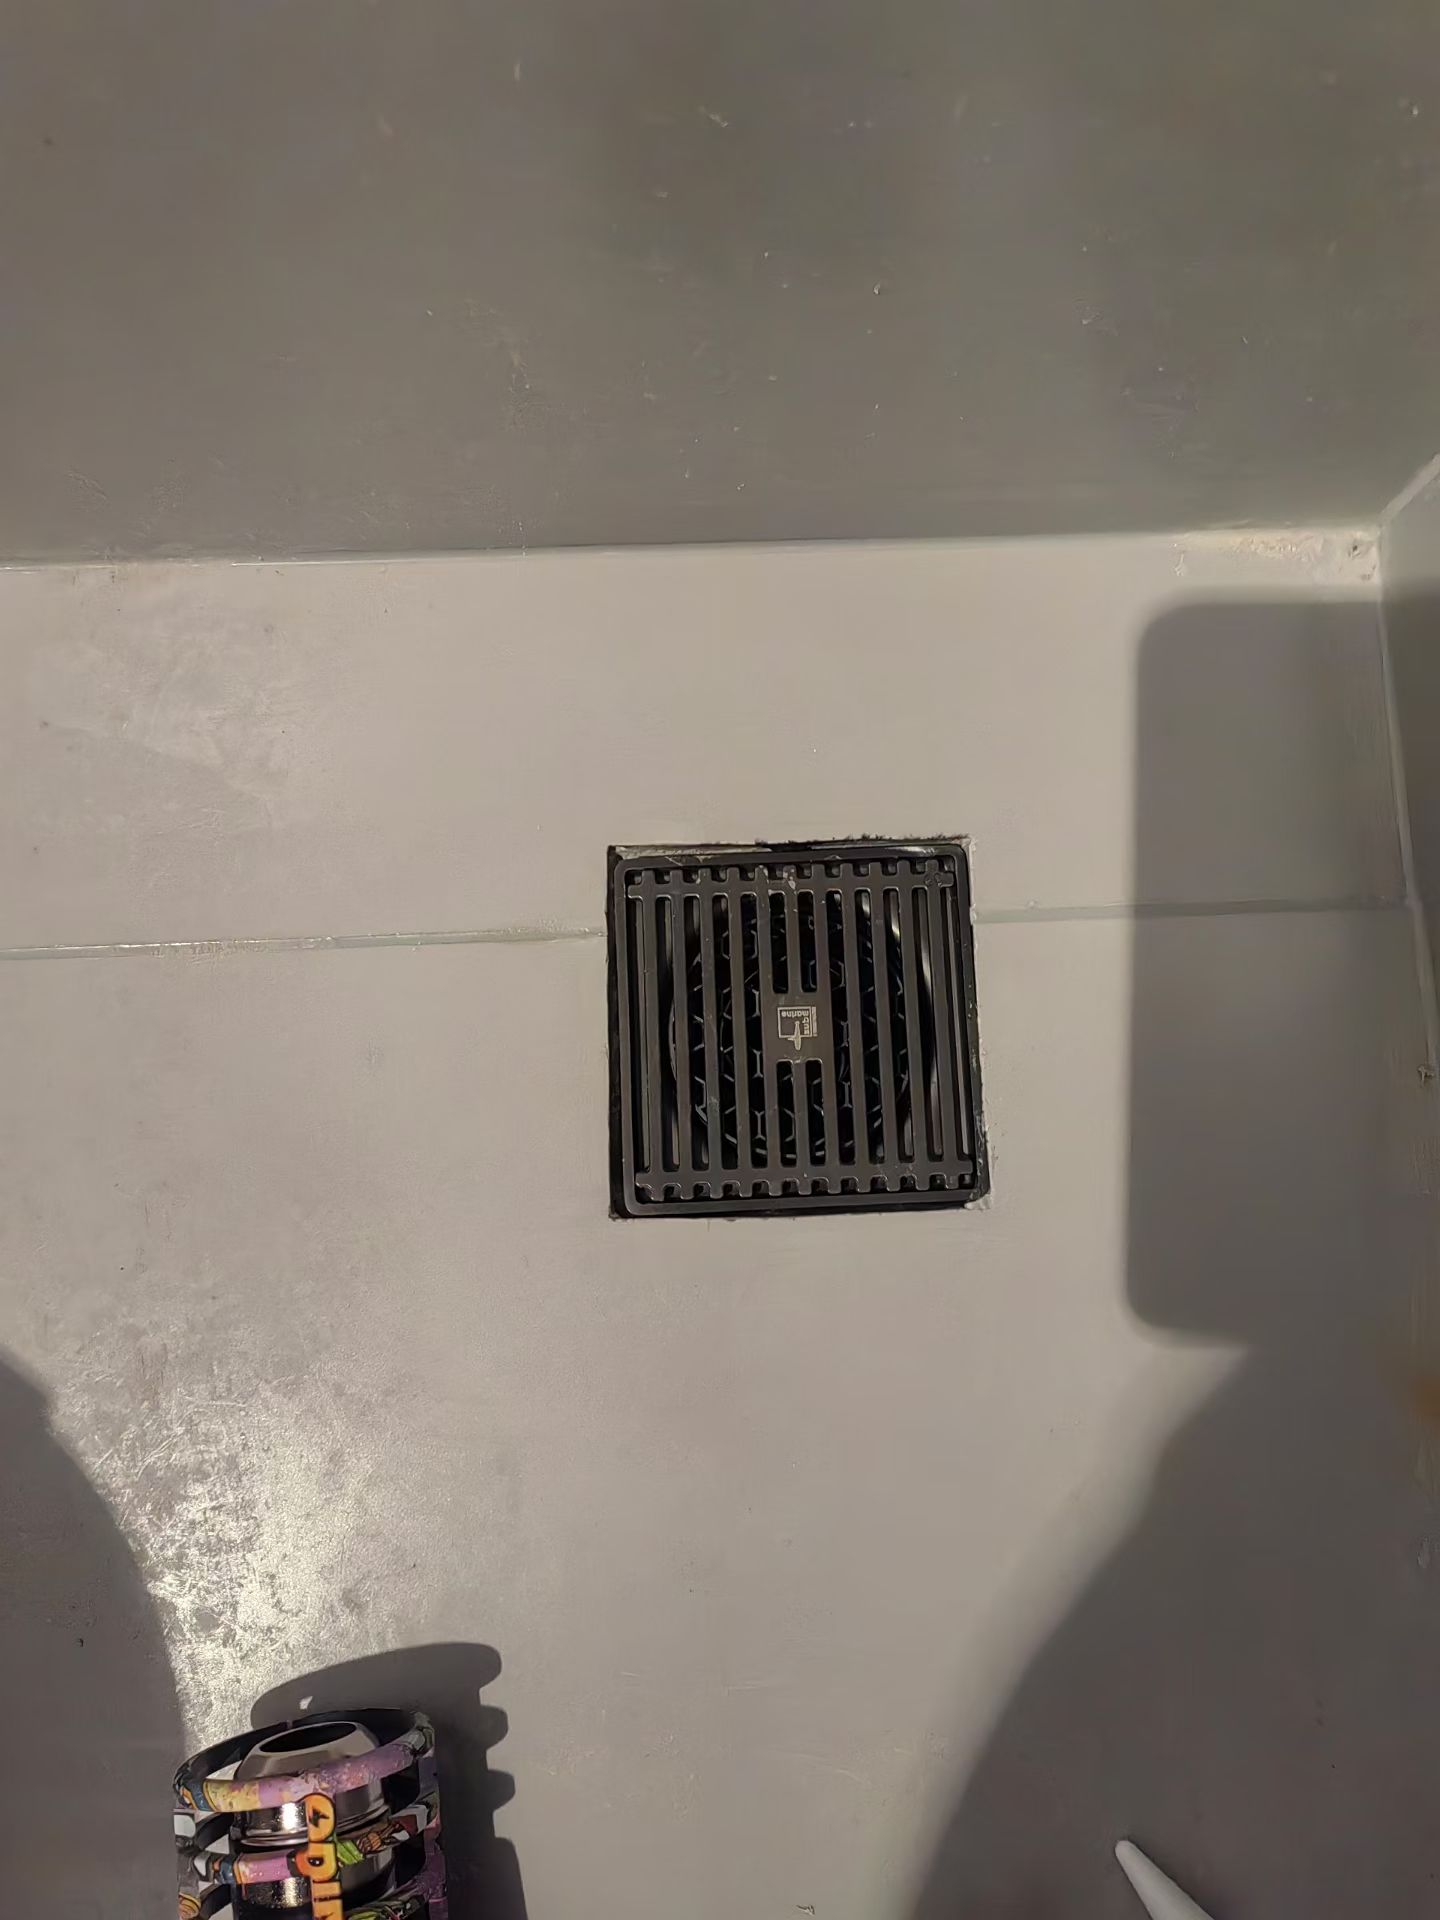
AfterFloor Drain Surround Repair — After: The surface around the drain after repair.
The surface around the drain after repair.
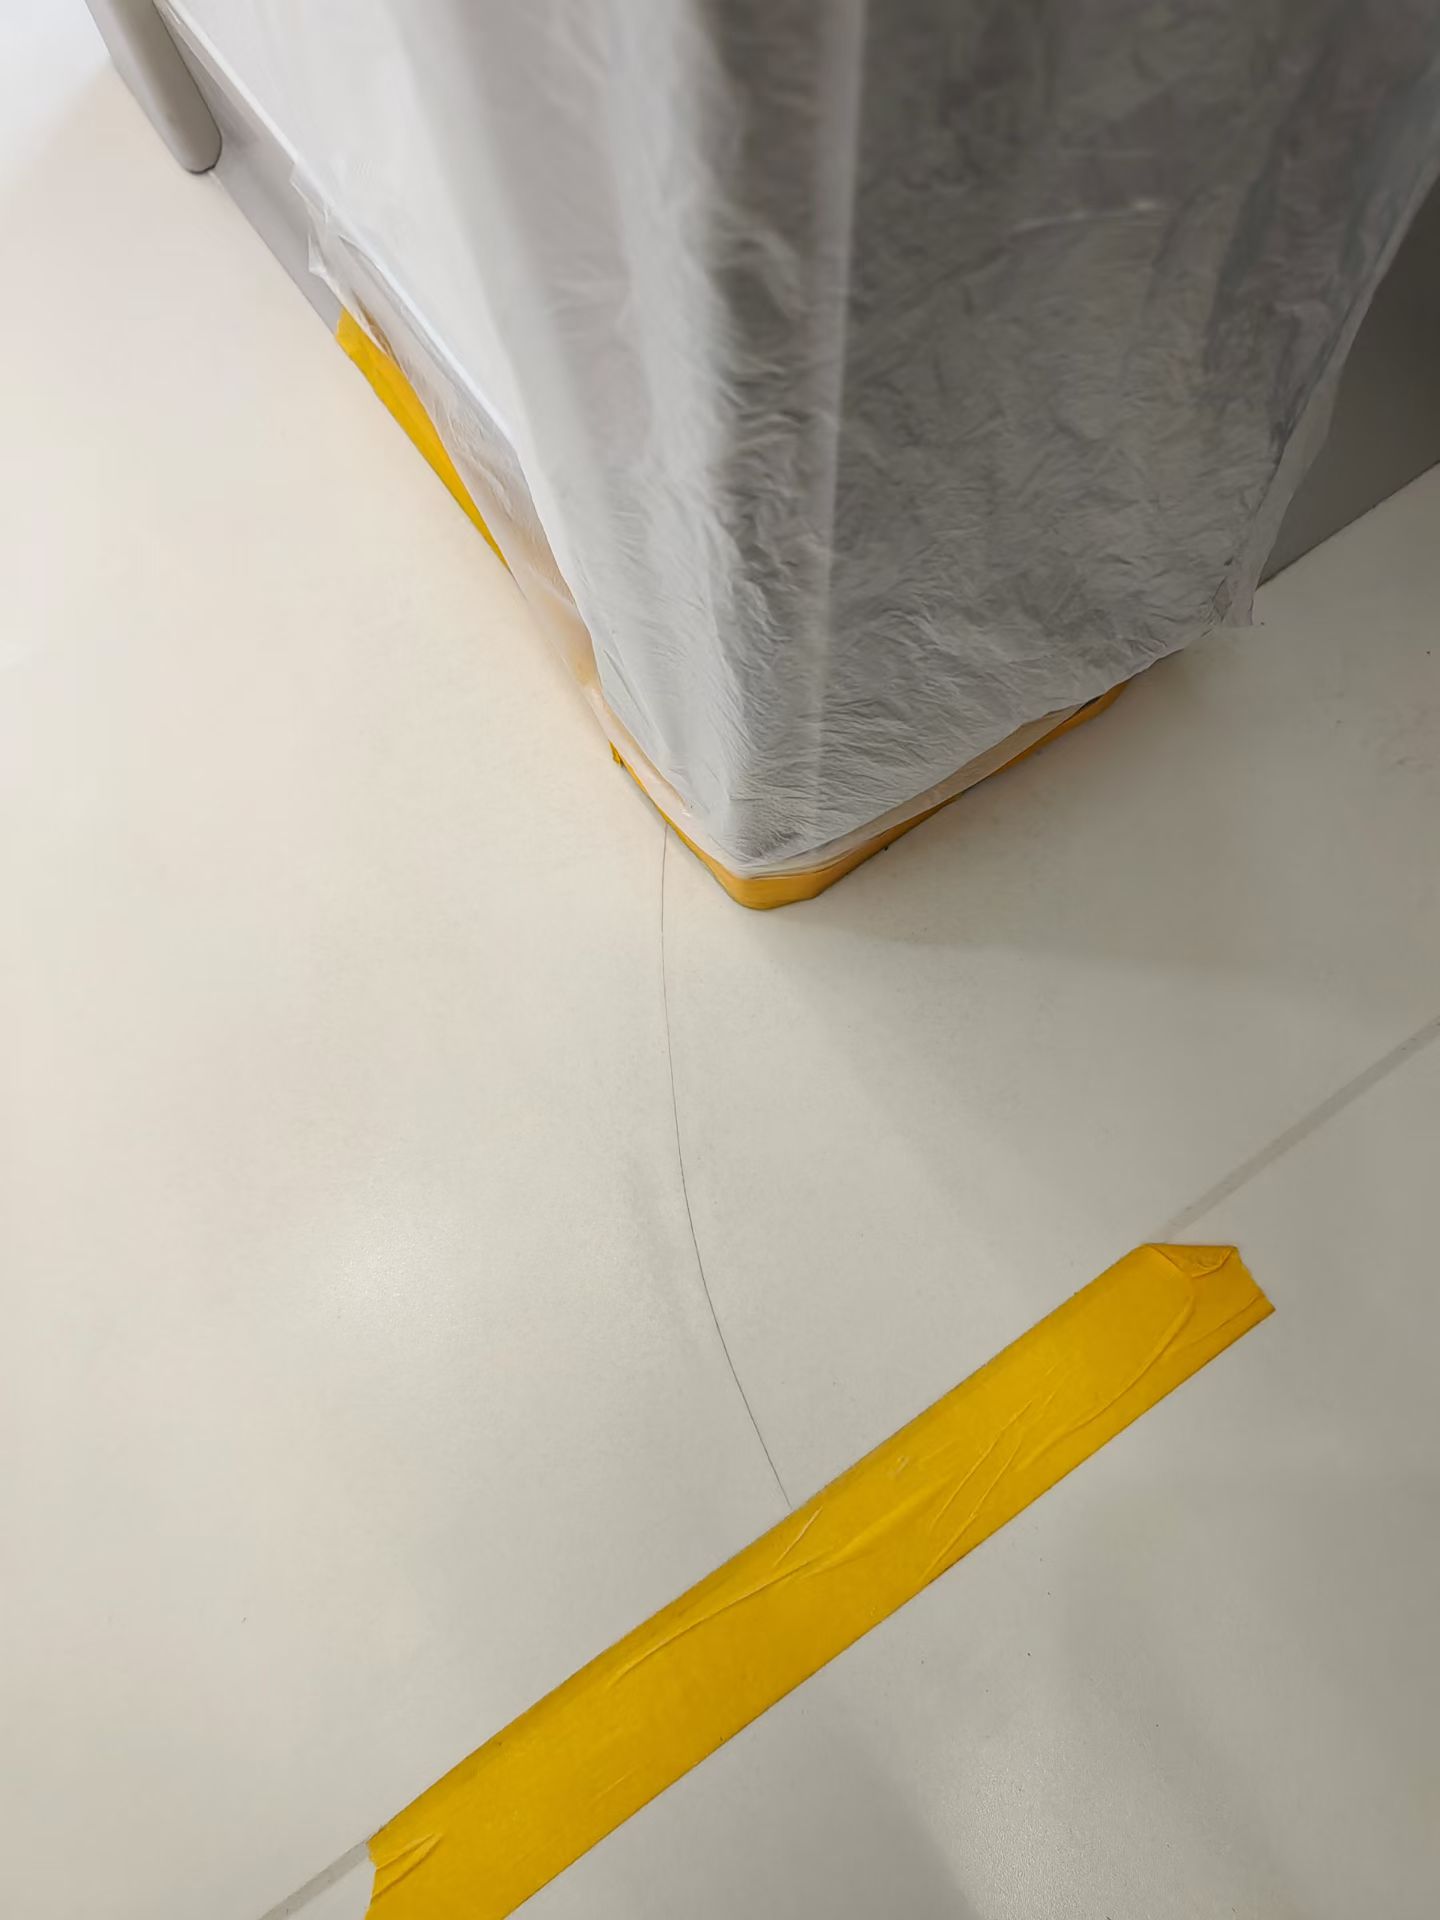
BeforePale Floor Surface Crack Repair — Before: A visible crack in the pale floor surface near the column.
A visible crack in the pale floor surface near the column.
AfterPale Floor Surface Crack Repair — After: The same floor area after crack repair.
The same floor area after crack repair.
BeforePatterned Surface Chip Repair — Before: A visible chip in the patterned surface before repair.
A visible chip in the patterned surface before repair.
AfterPatterned Surface Chip Repair — After: The patterned surface after repair and colour matching.
The patterned surface after repair and colour matching.

Furniture Wrapping & Protective Film

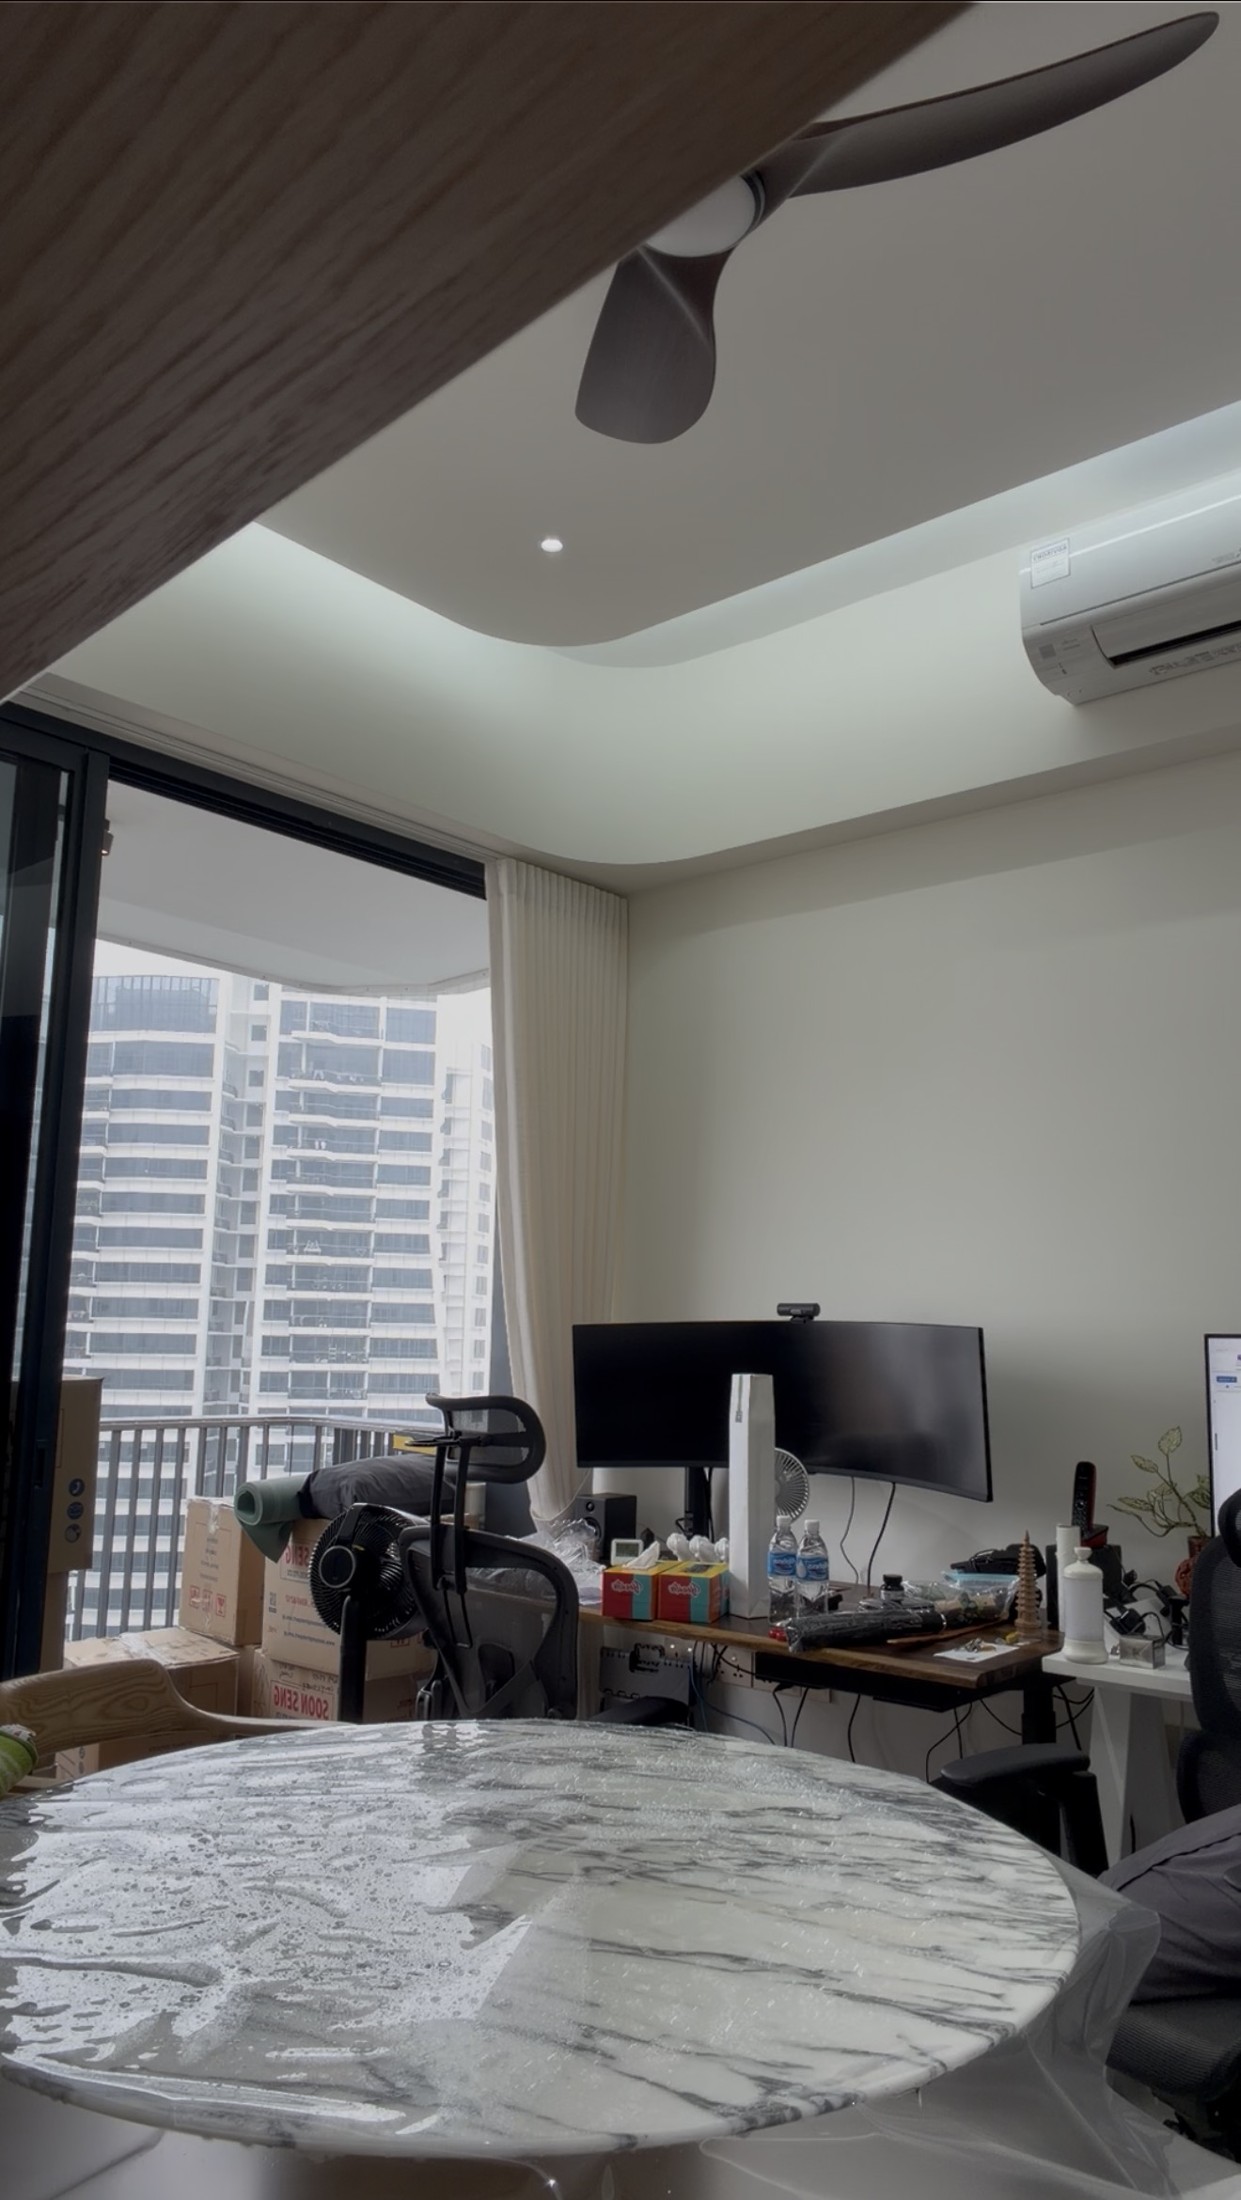
Project PhotoRound Marble Table Protective Film Installation — Project Photo: Round marble dining table during protective film installation.
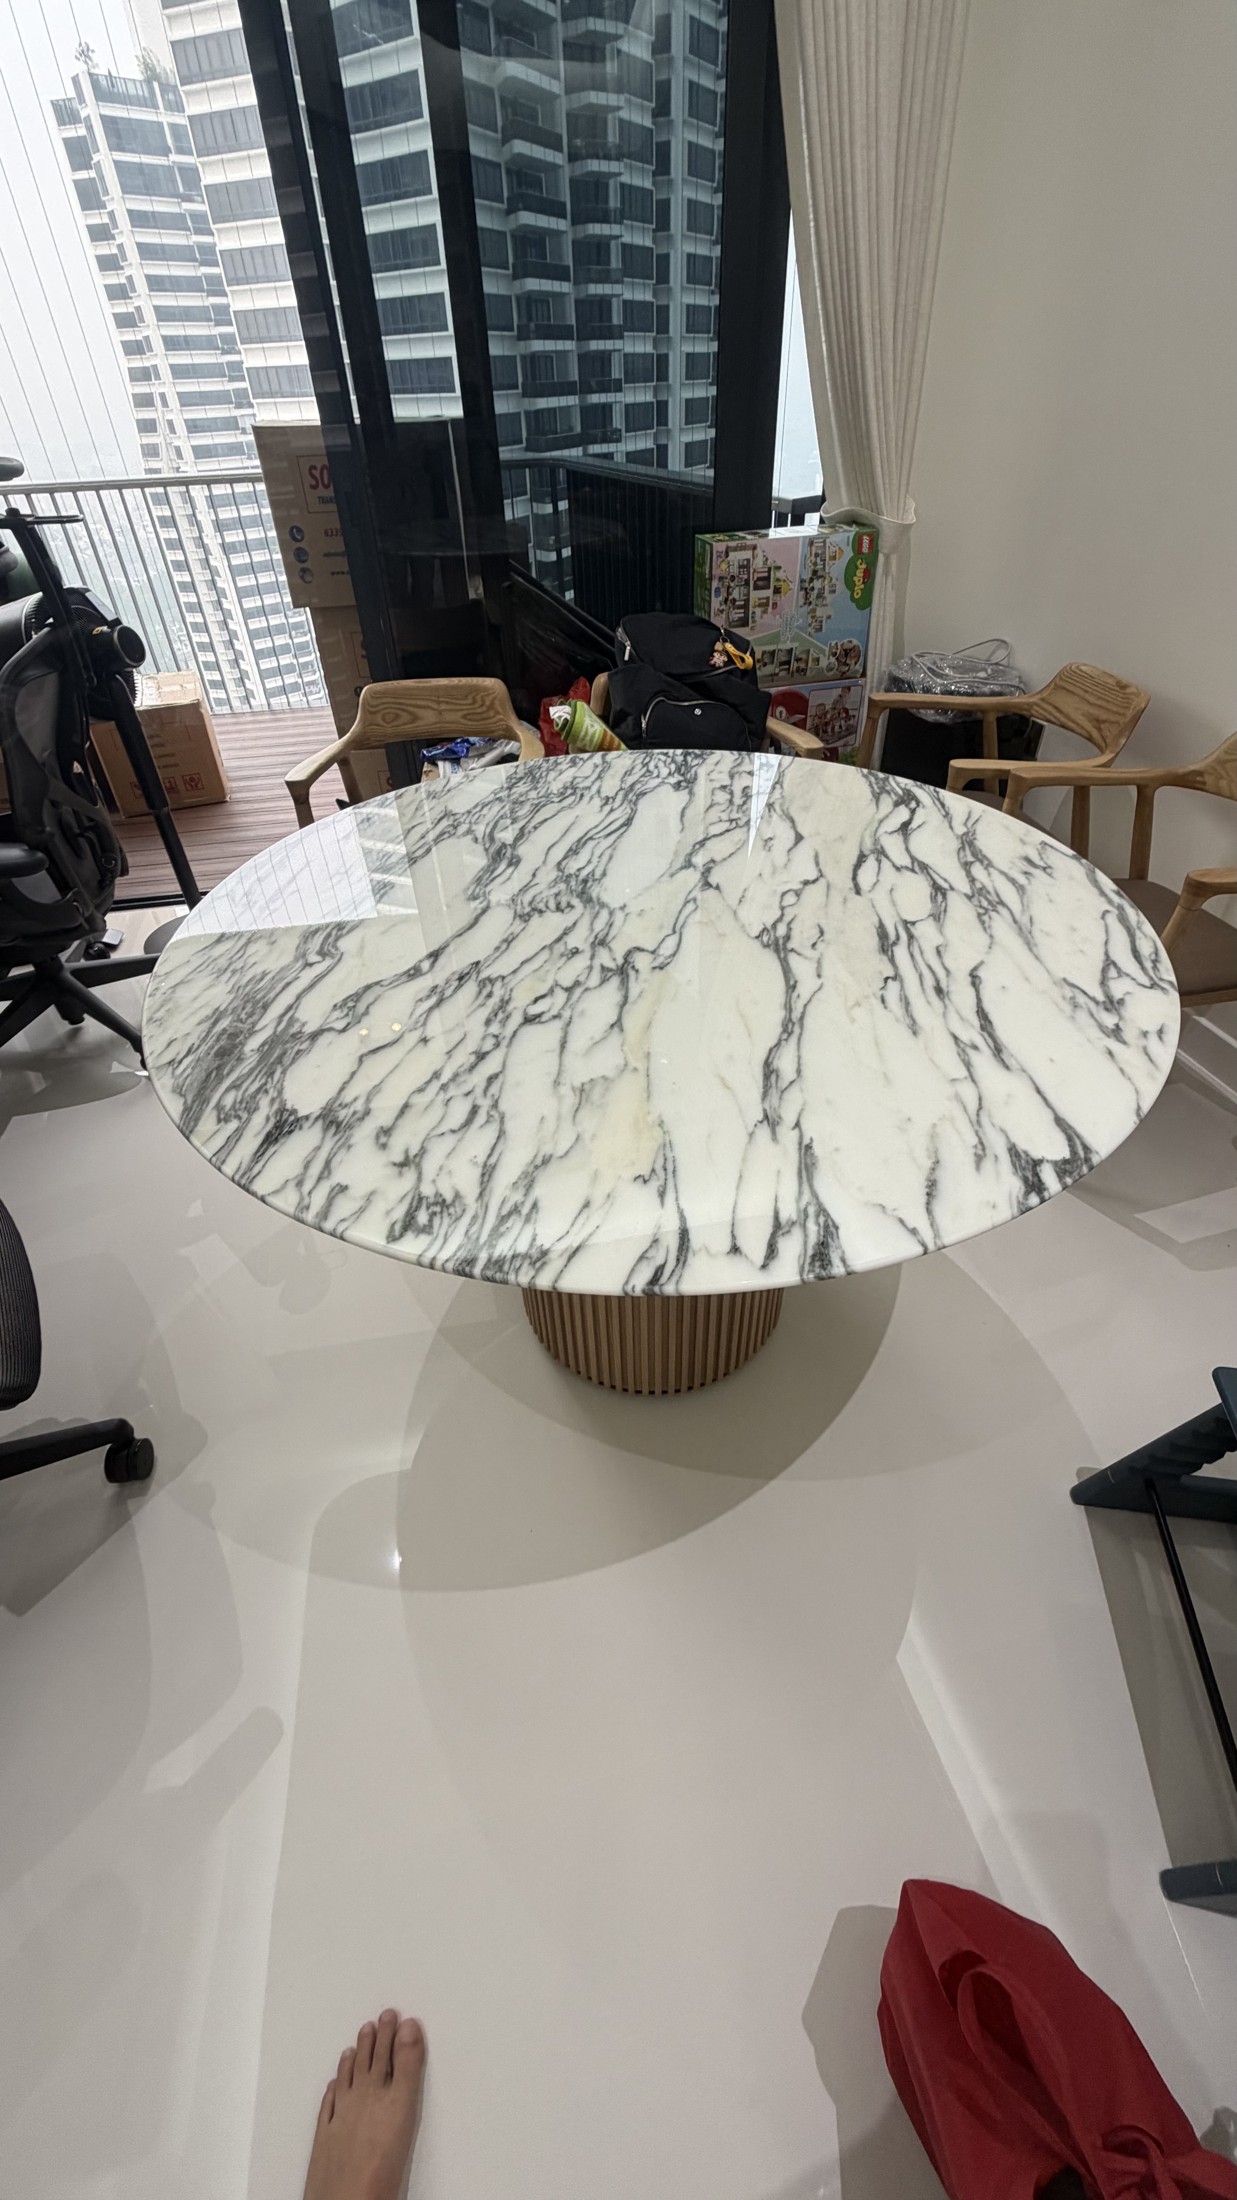
Project PhotoRound Marble Table Protective Film Installation — Project Photo: Round marble dining table with protective film applied.
Round marble dining table with protective film applied.
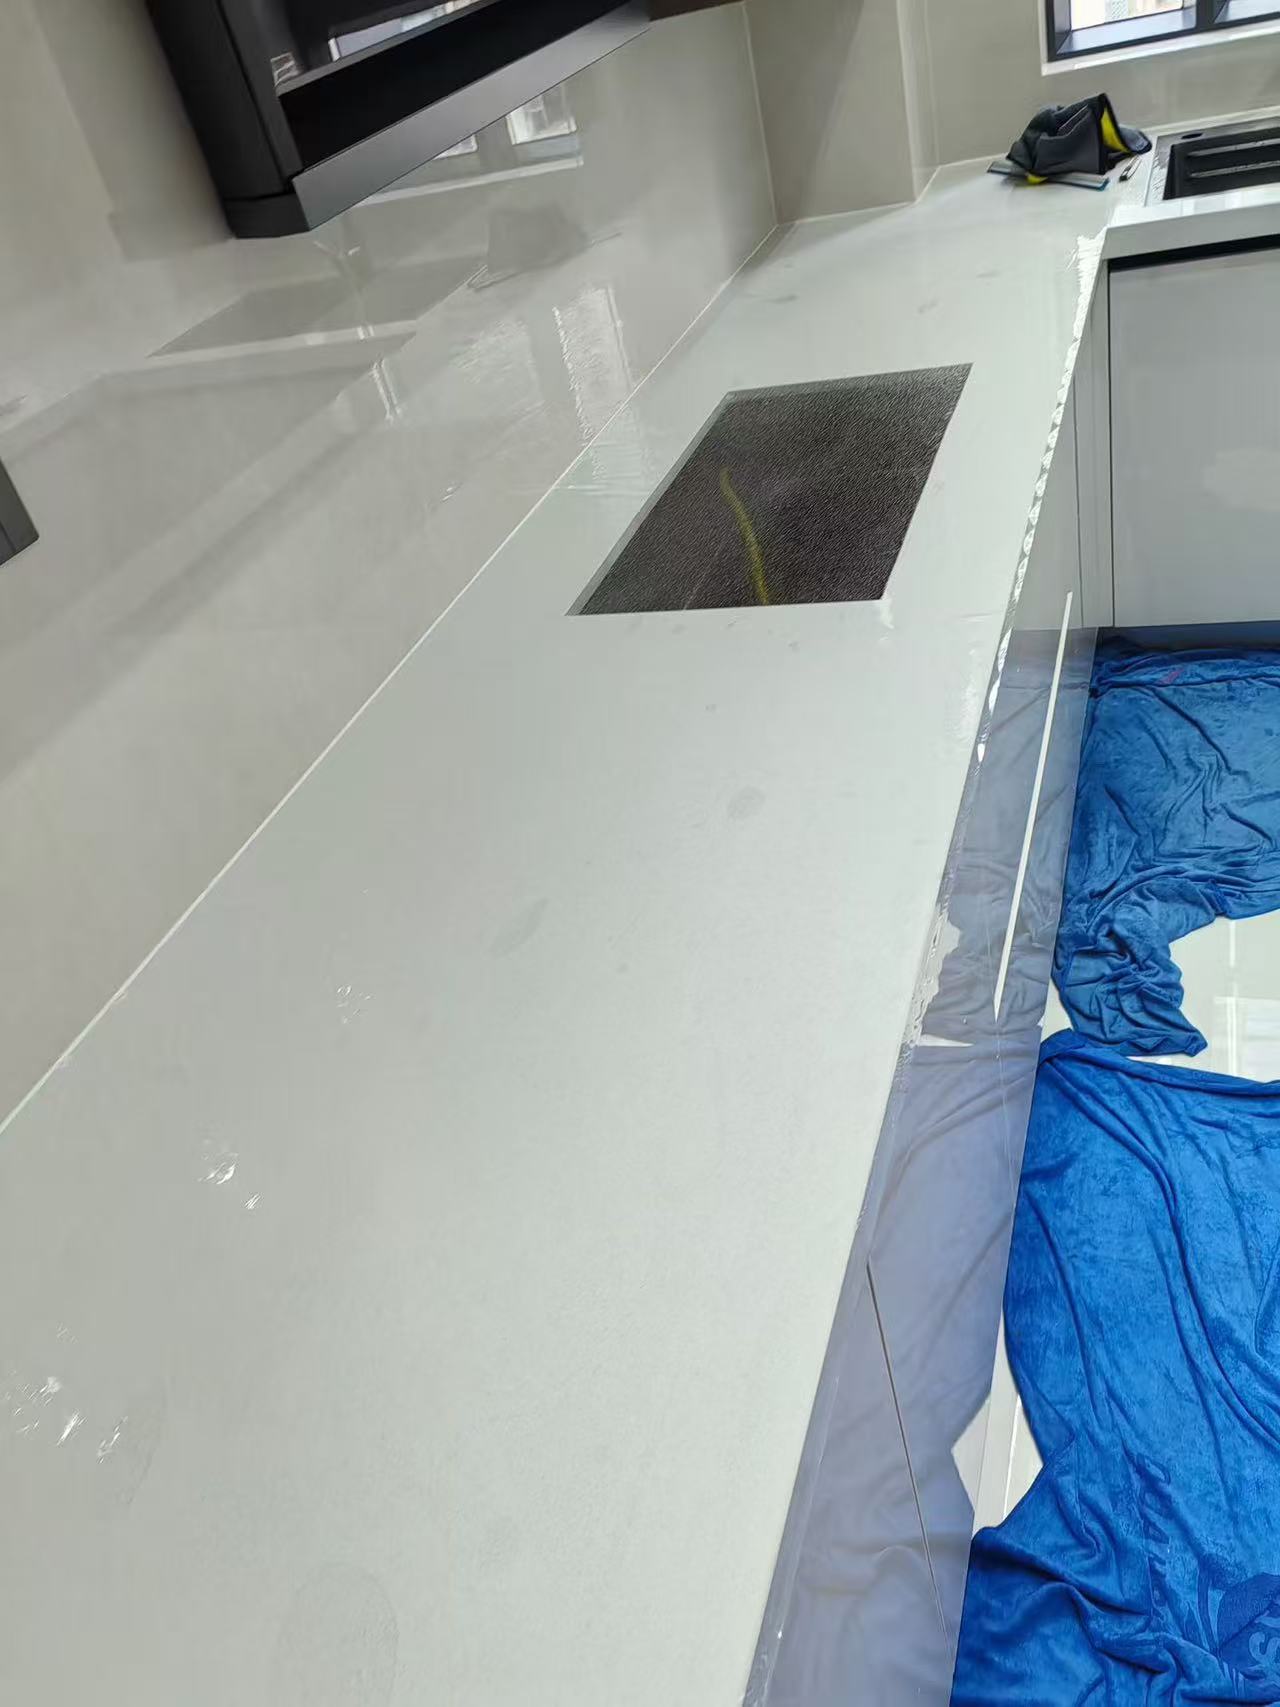
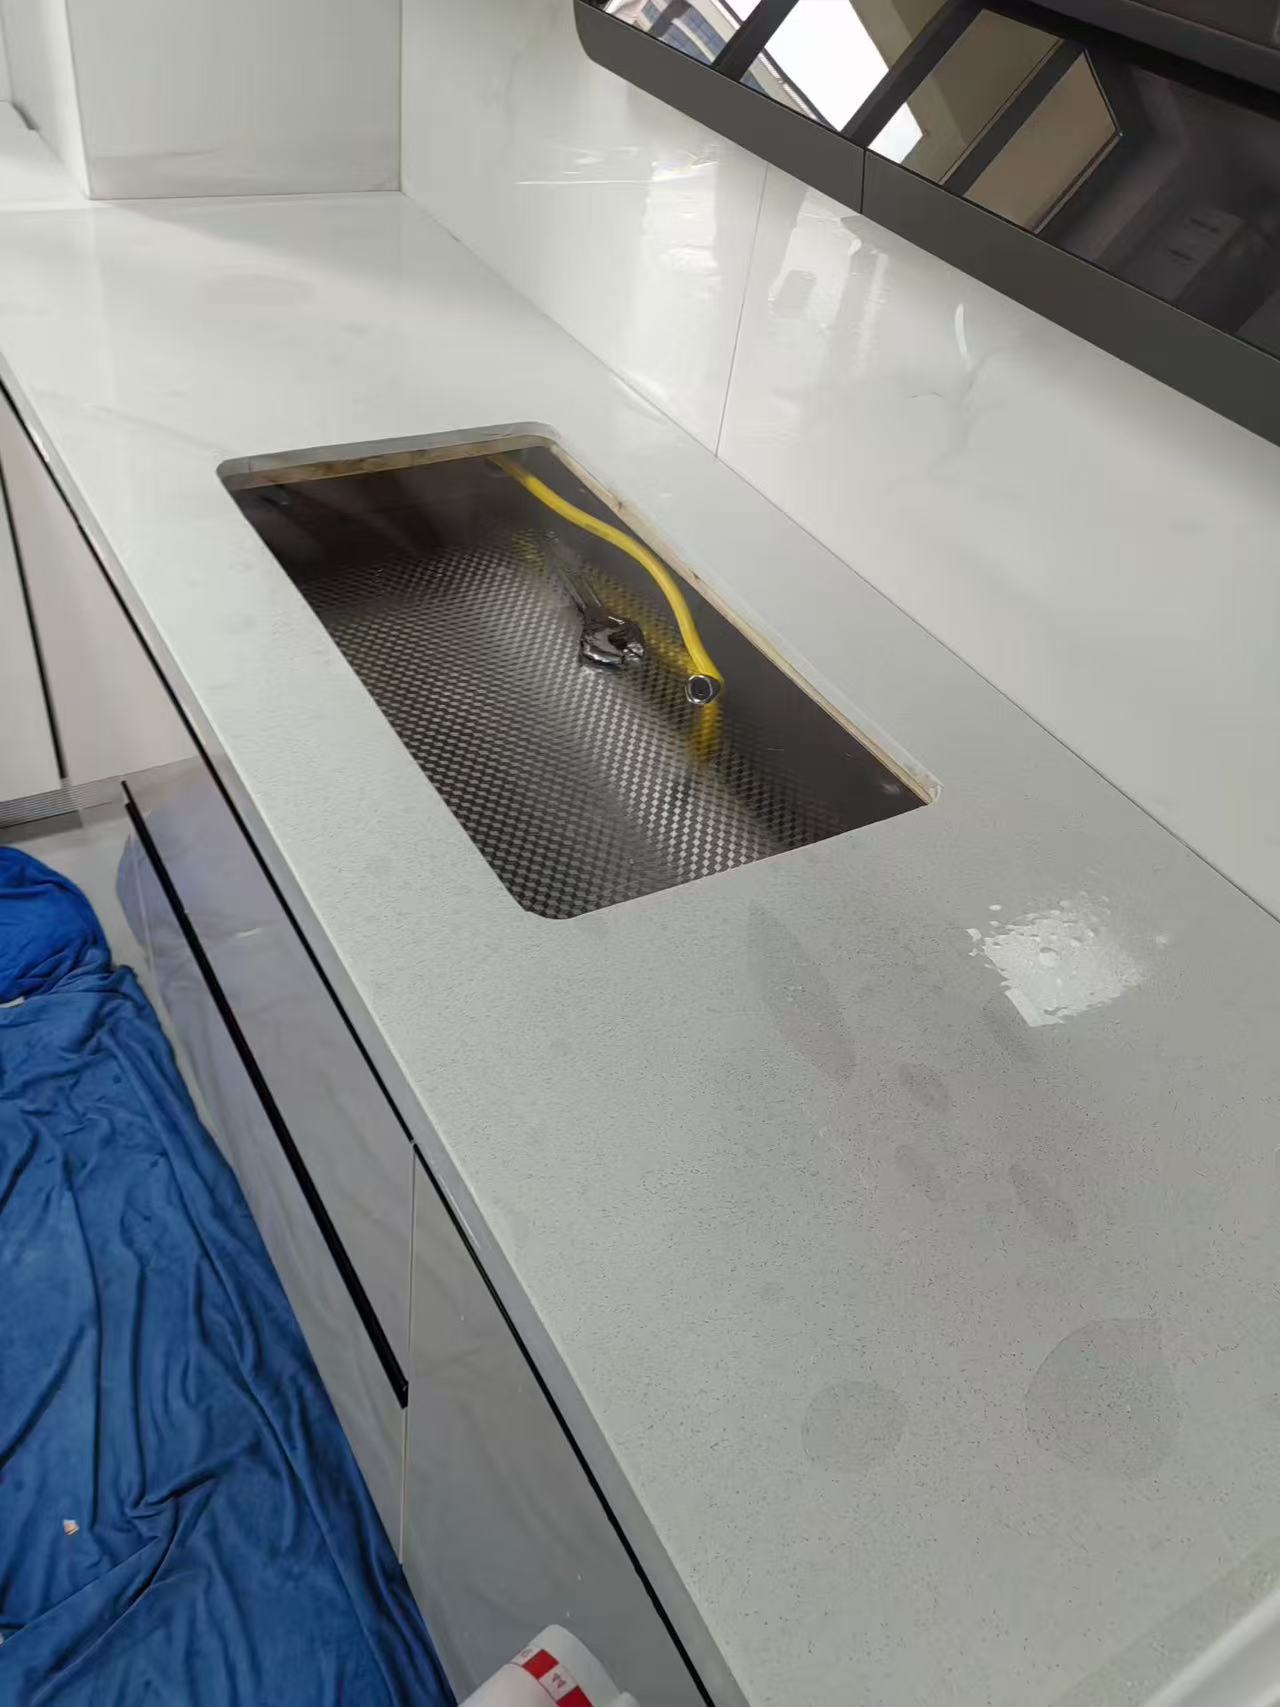
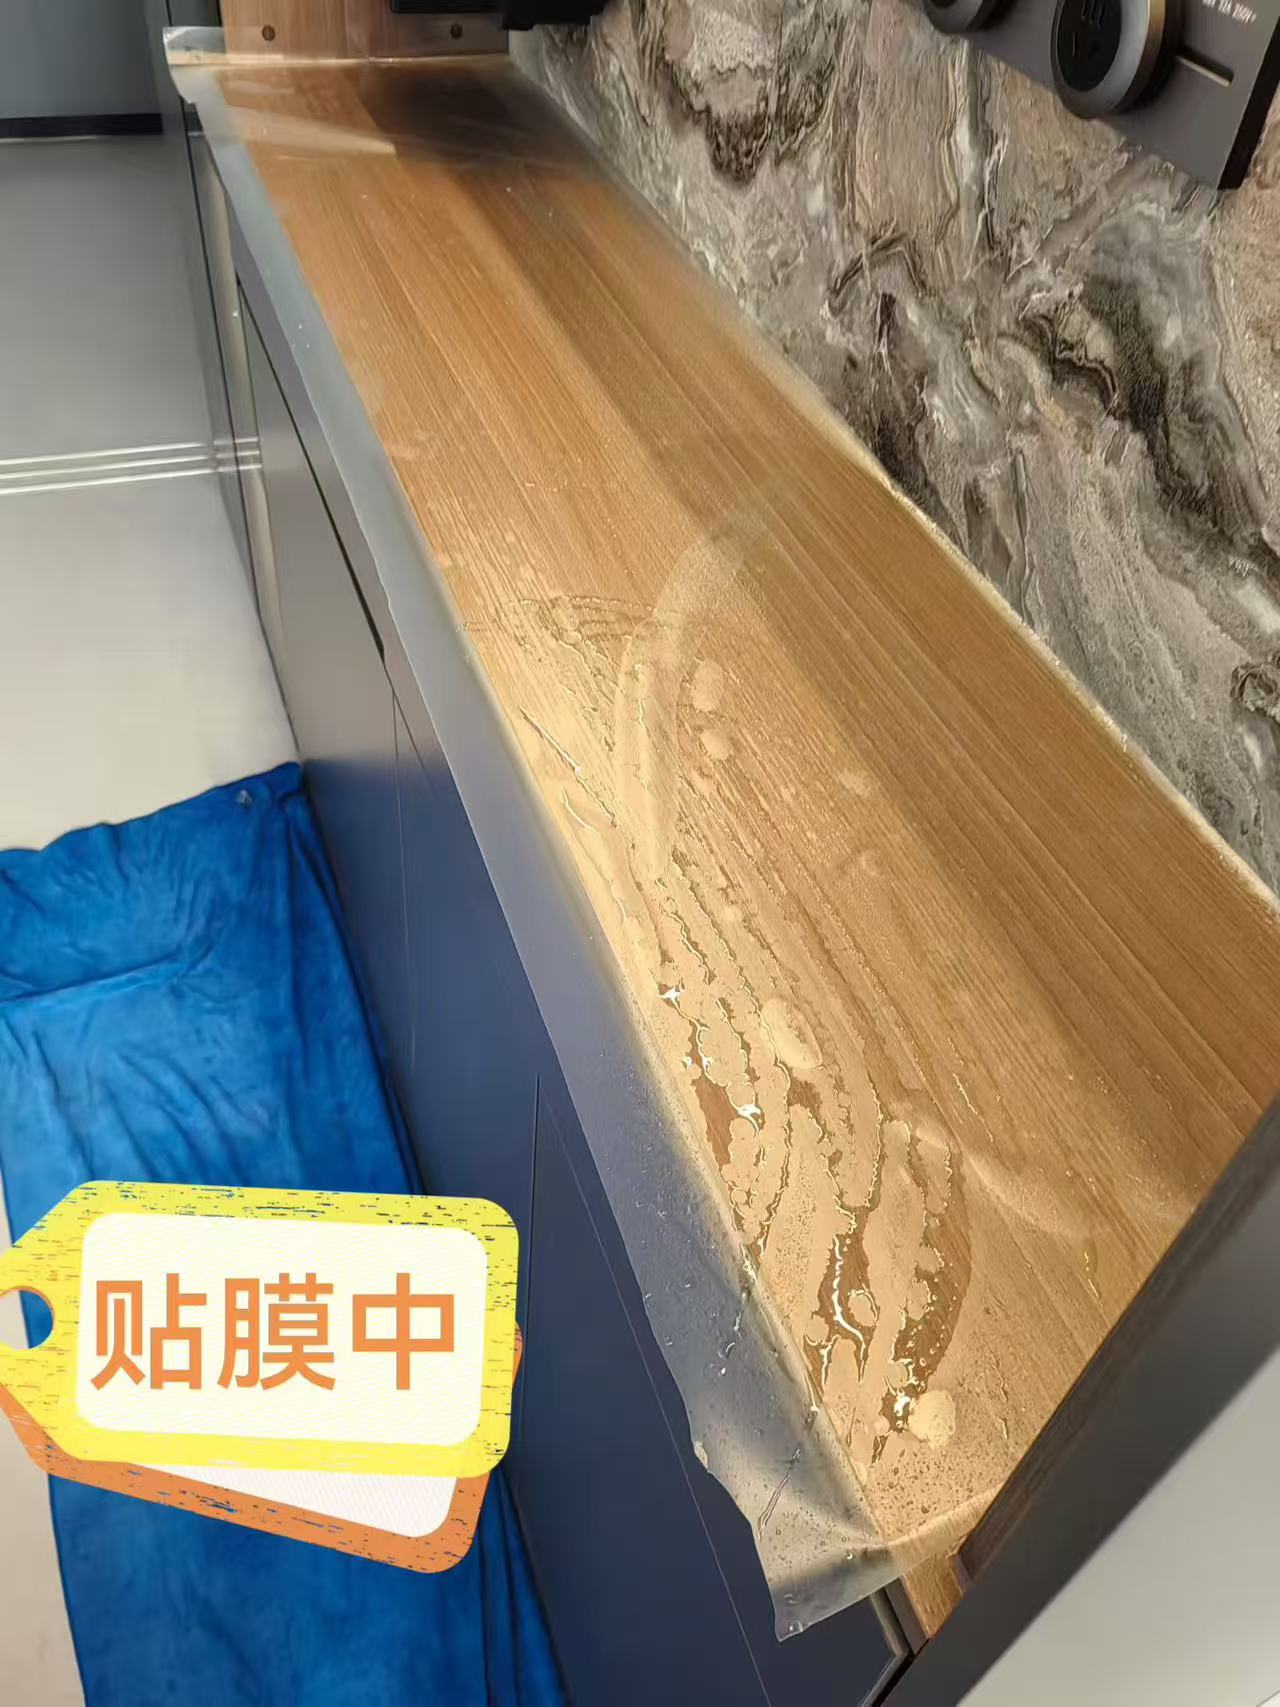
Project PhotoFurniture Wrapping & Protective Film - Photo 9 — Project Photo: Kitchen worktop during protective film installation.
Kitchen worktop during protective film installation.
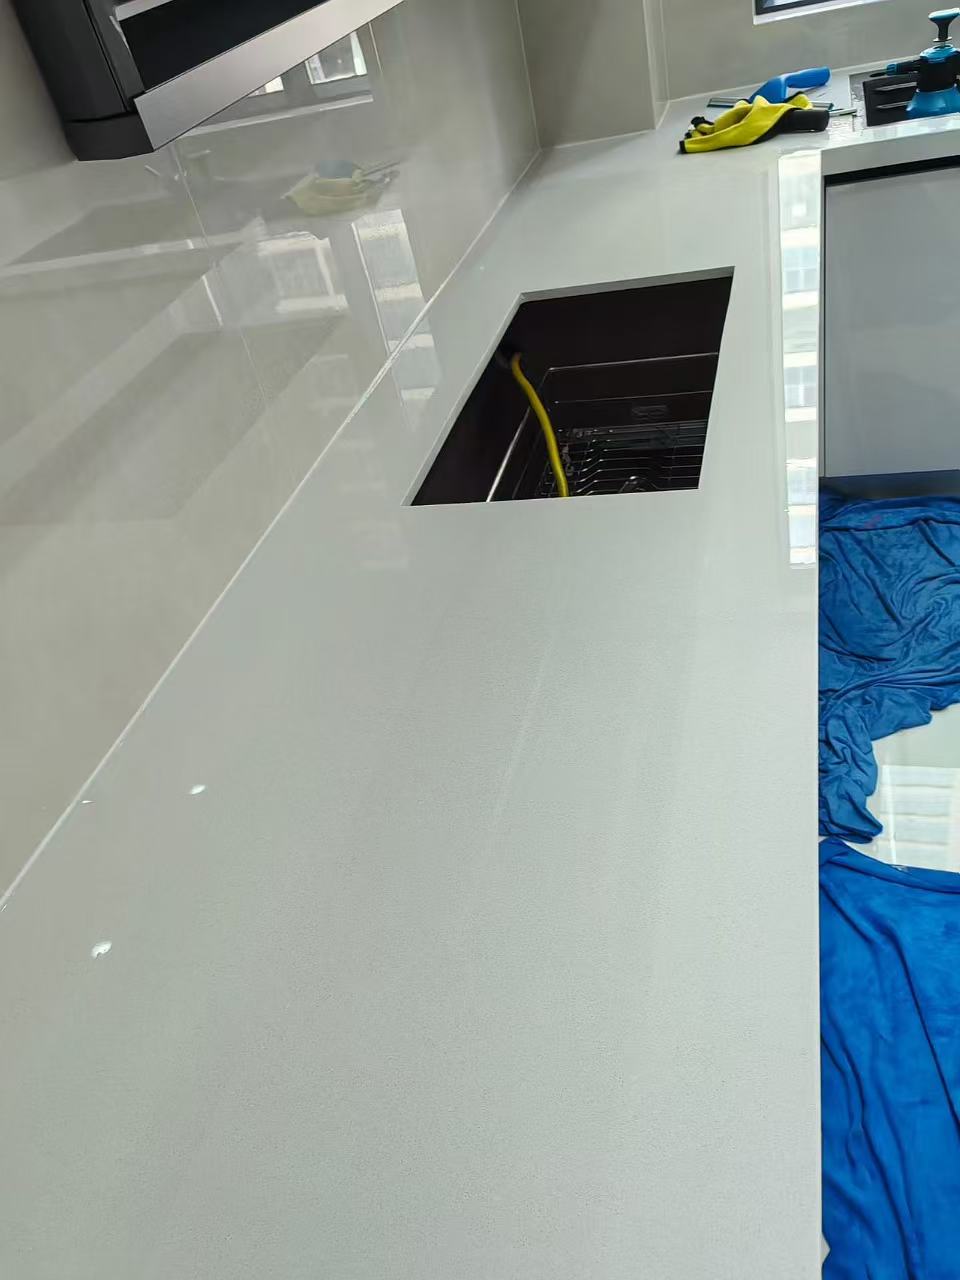
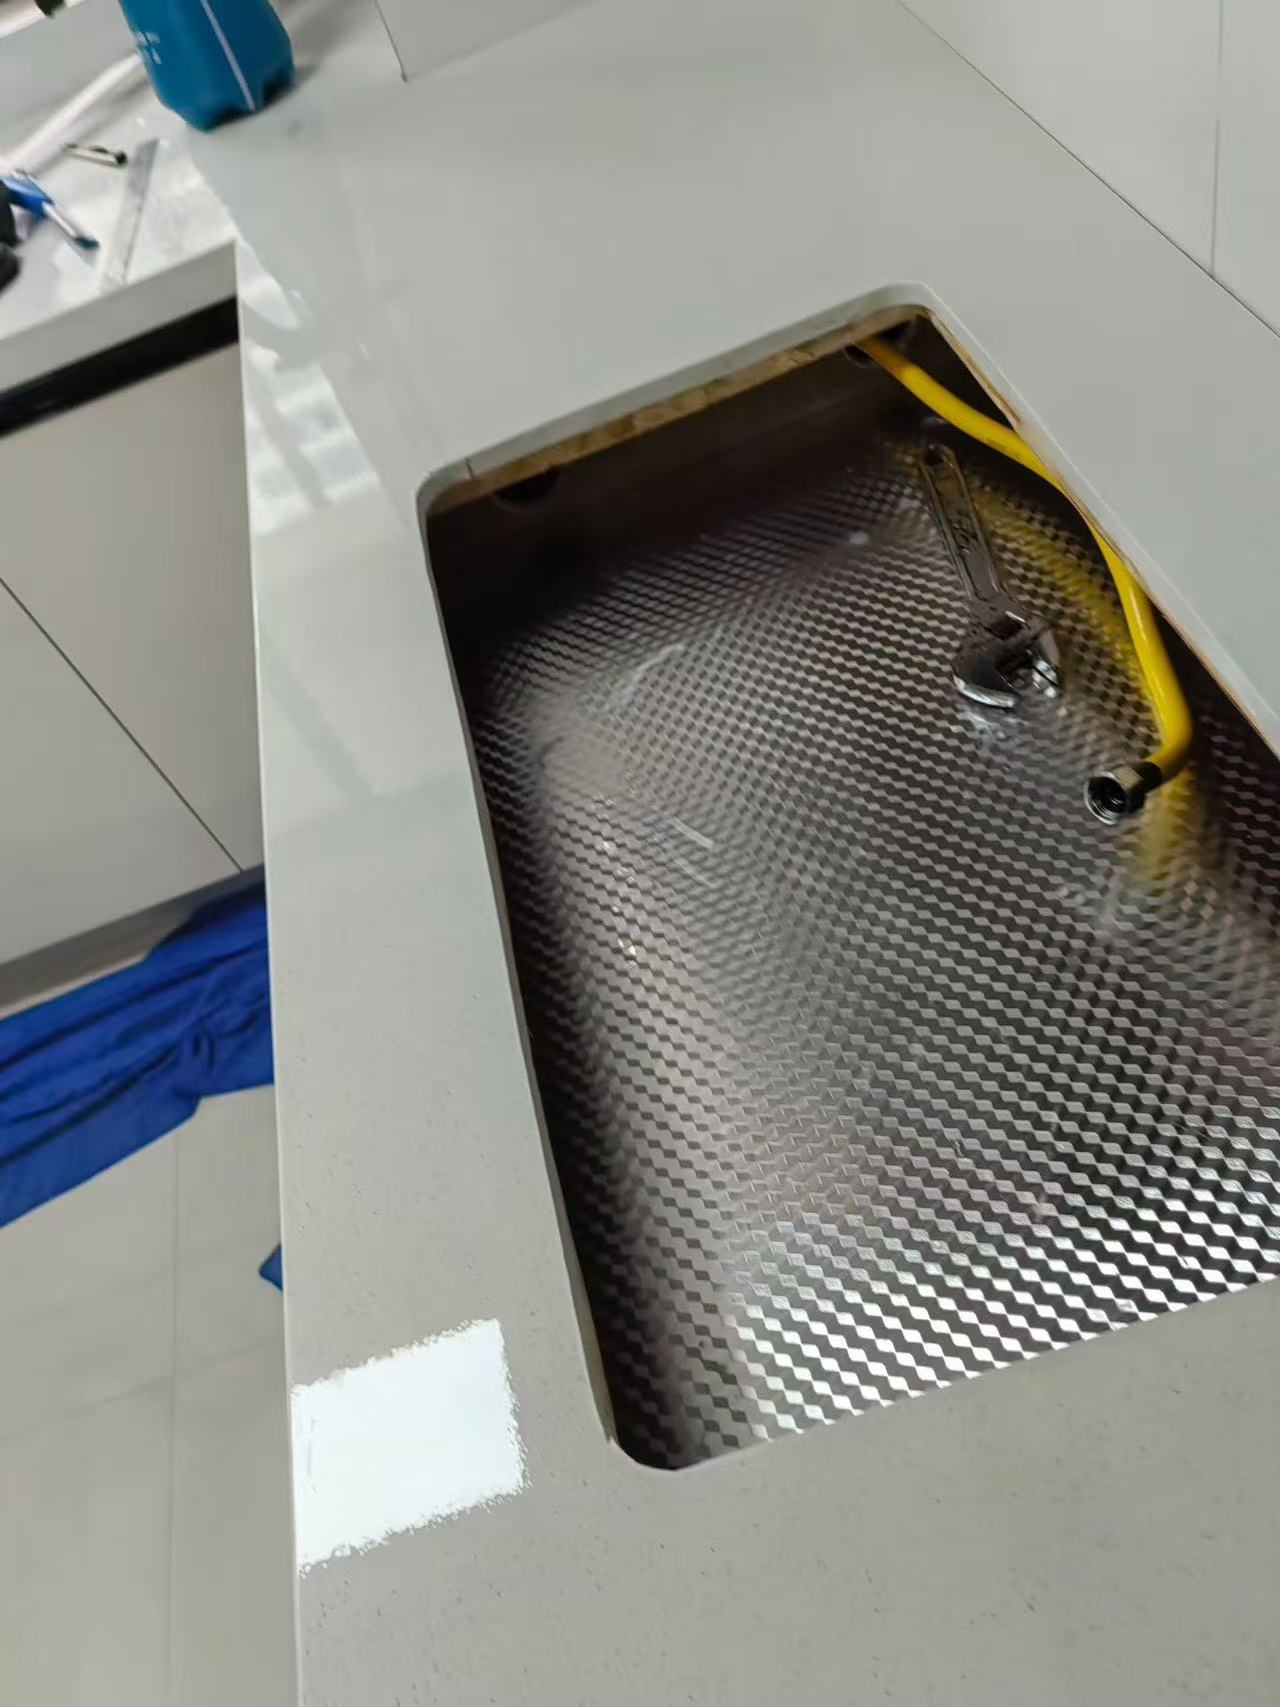
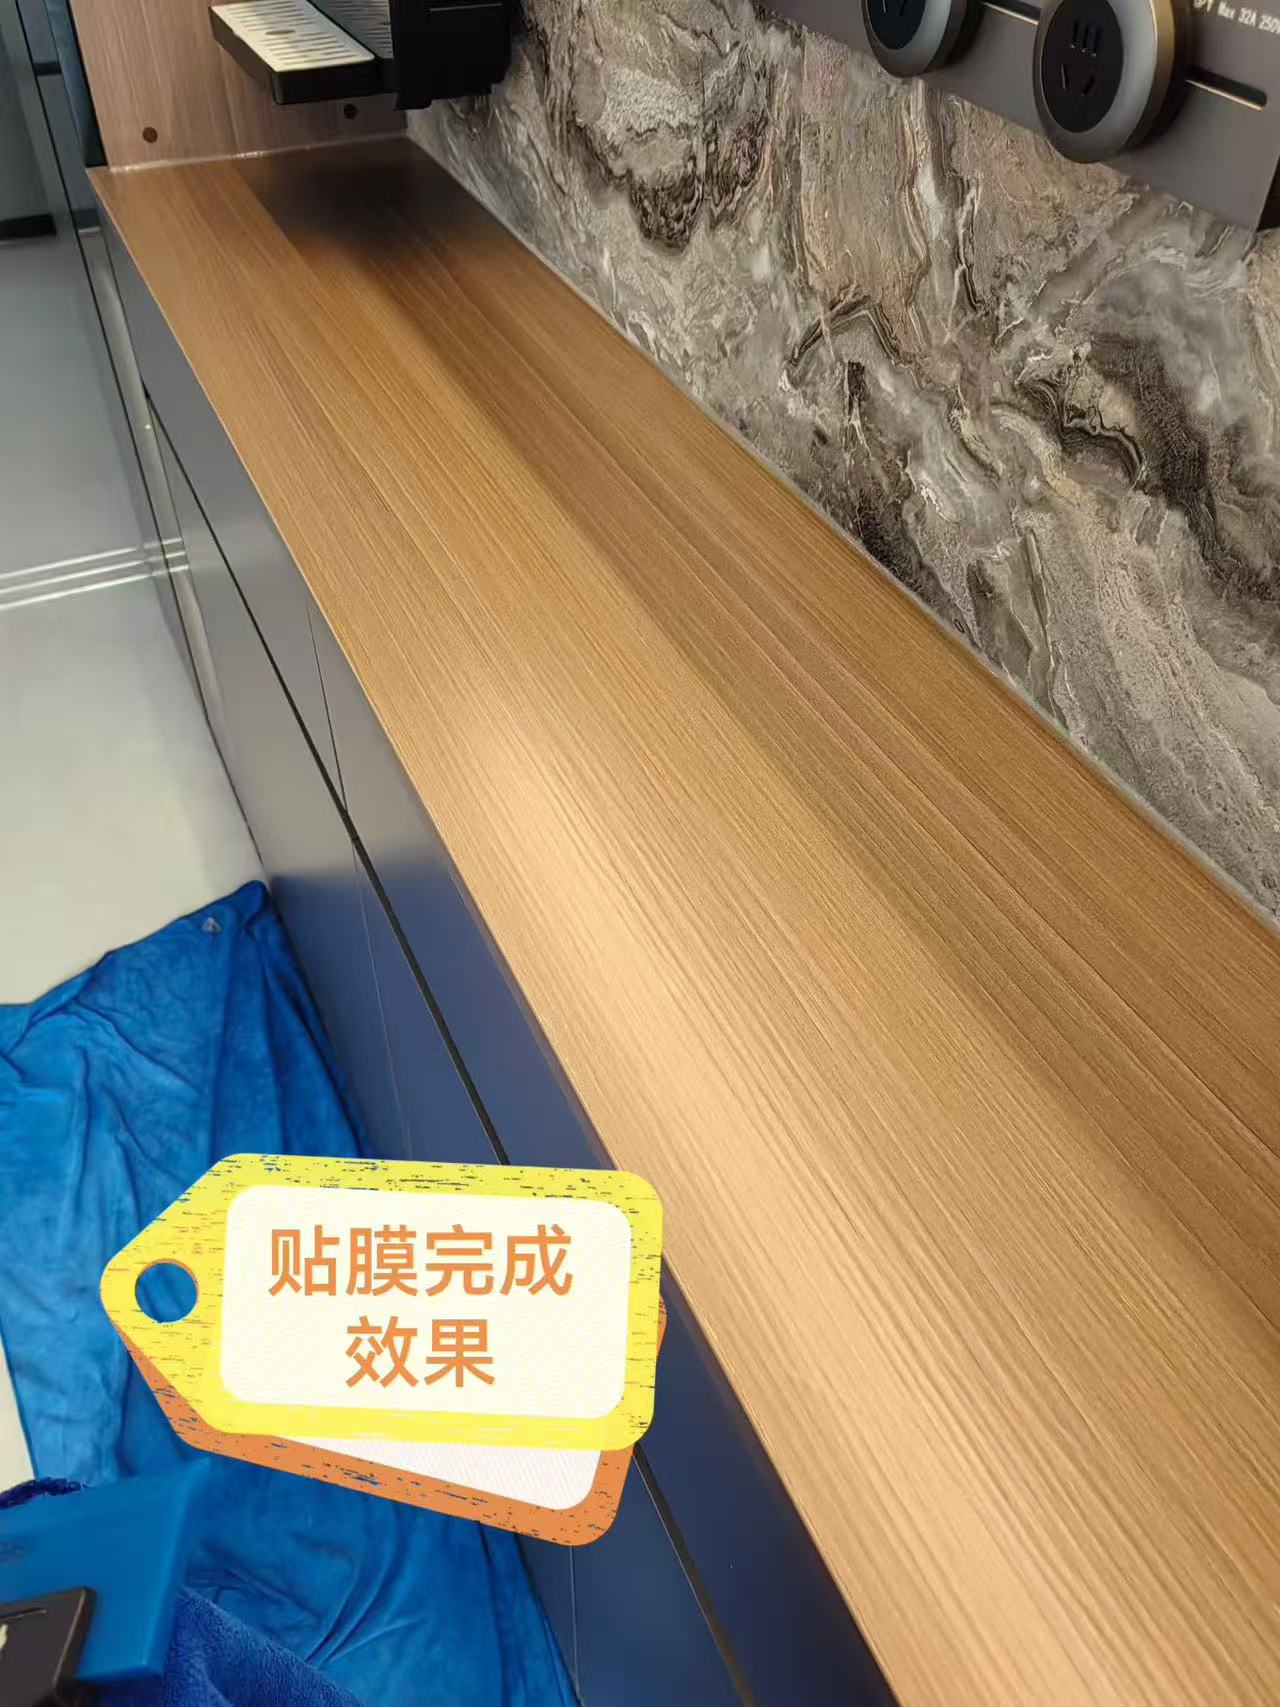
Project PhotoFurniture Wrapping & Protective Film - Photo 10 — Project Photo: Kitchen worktop with protective film applied.
Kitchen worktop with protective film applied.
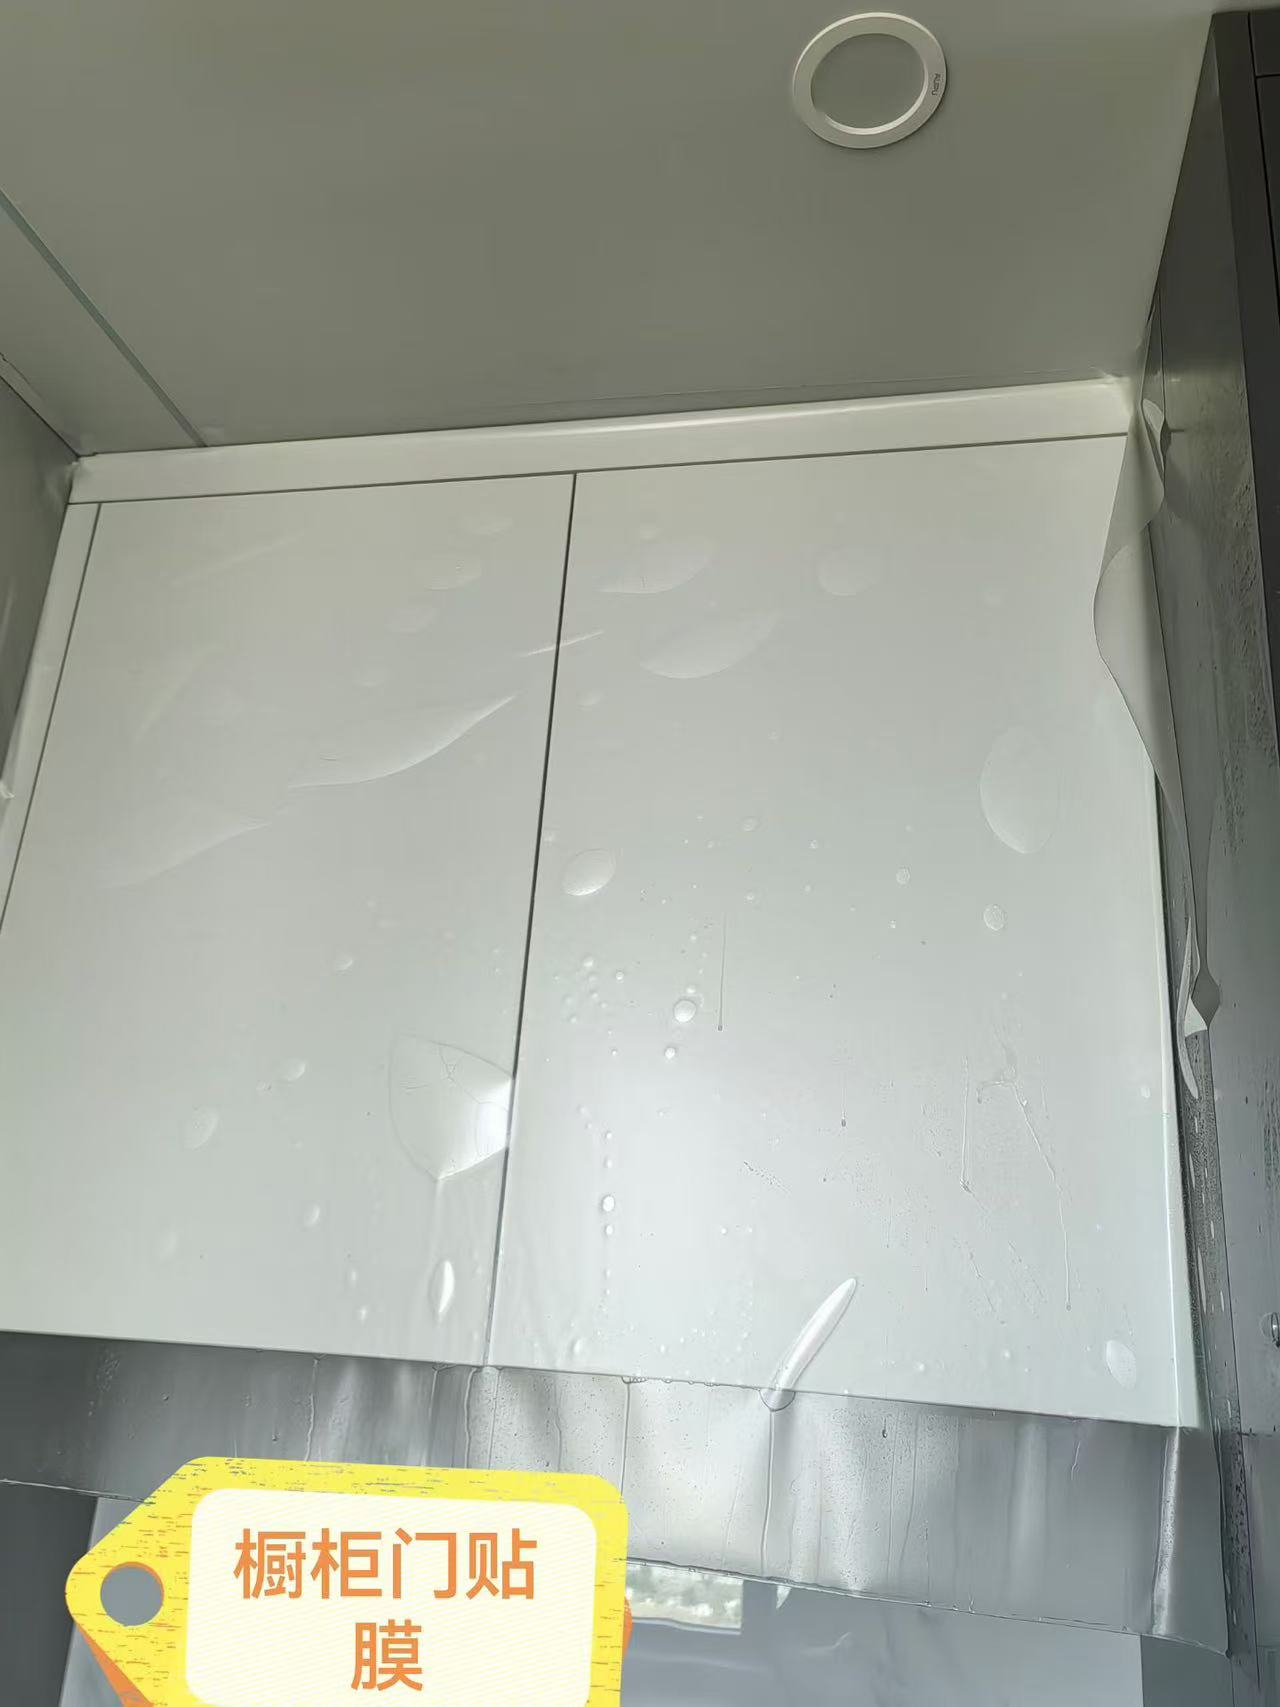
Project PhotoFurniture Wrapping & Protective Film - Photo 1 — Project Photo: Cabinet doors during protective film installation.
Cabinet doors during protective film installation.
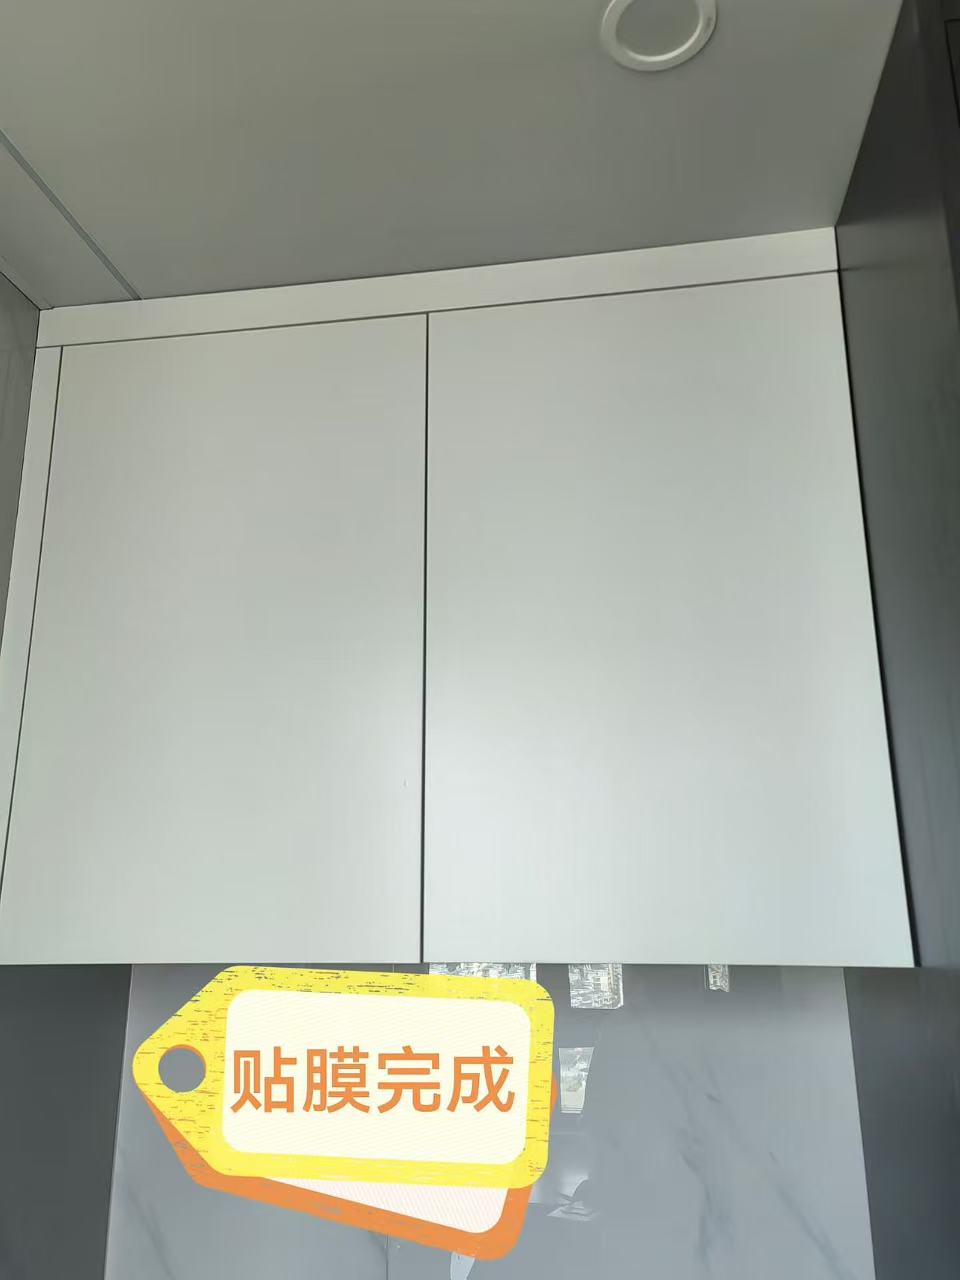
Project PhotoFurniture Wrapping & Protective Film - Photo 2 — Project Photo: Cabinet doors with protective film applied.
Cabinet doors with protective film applied.
Project PhotoFurniture Wrapping & Protective Film - Photo 5 — Project Photo: Kitchen sink surround during protective film installation.
Kitchen sink surround during protective film installation.
Project PhotoFurniture Wrapping & Protective Film - Photo 6 — Project Photo: Kitchen sink surround with protective film applied.
Kitchen sink surround with protective film applied.
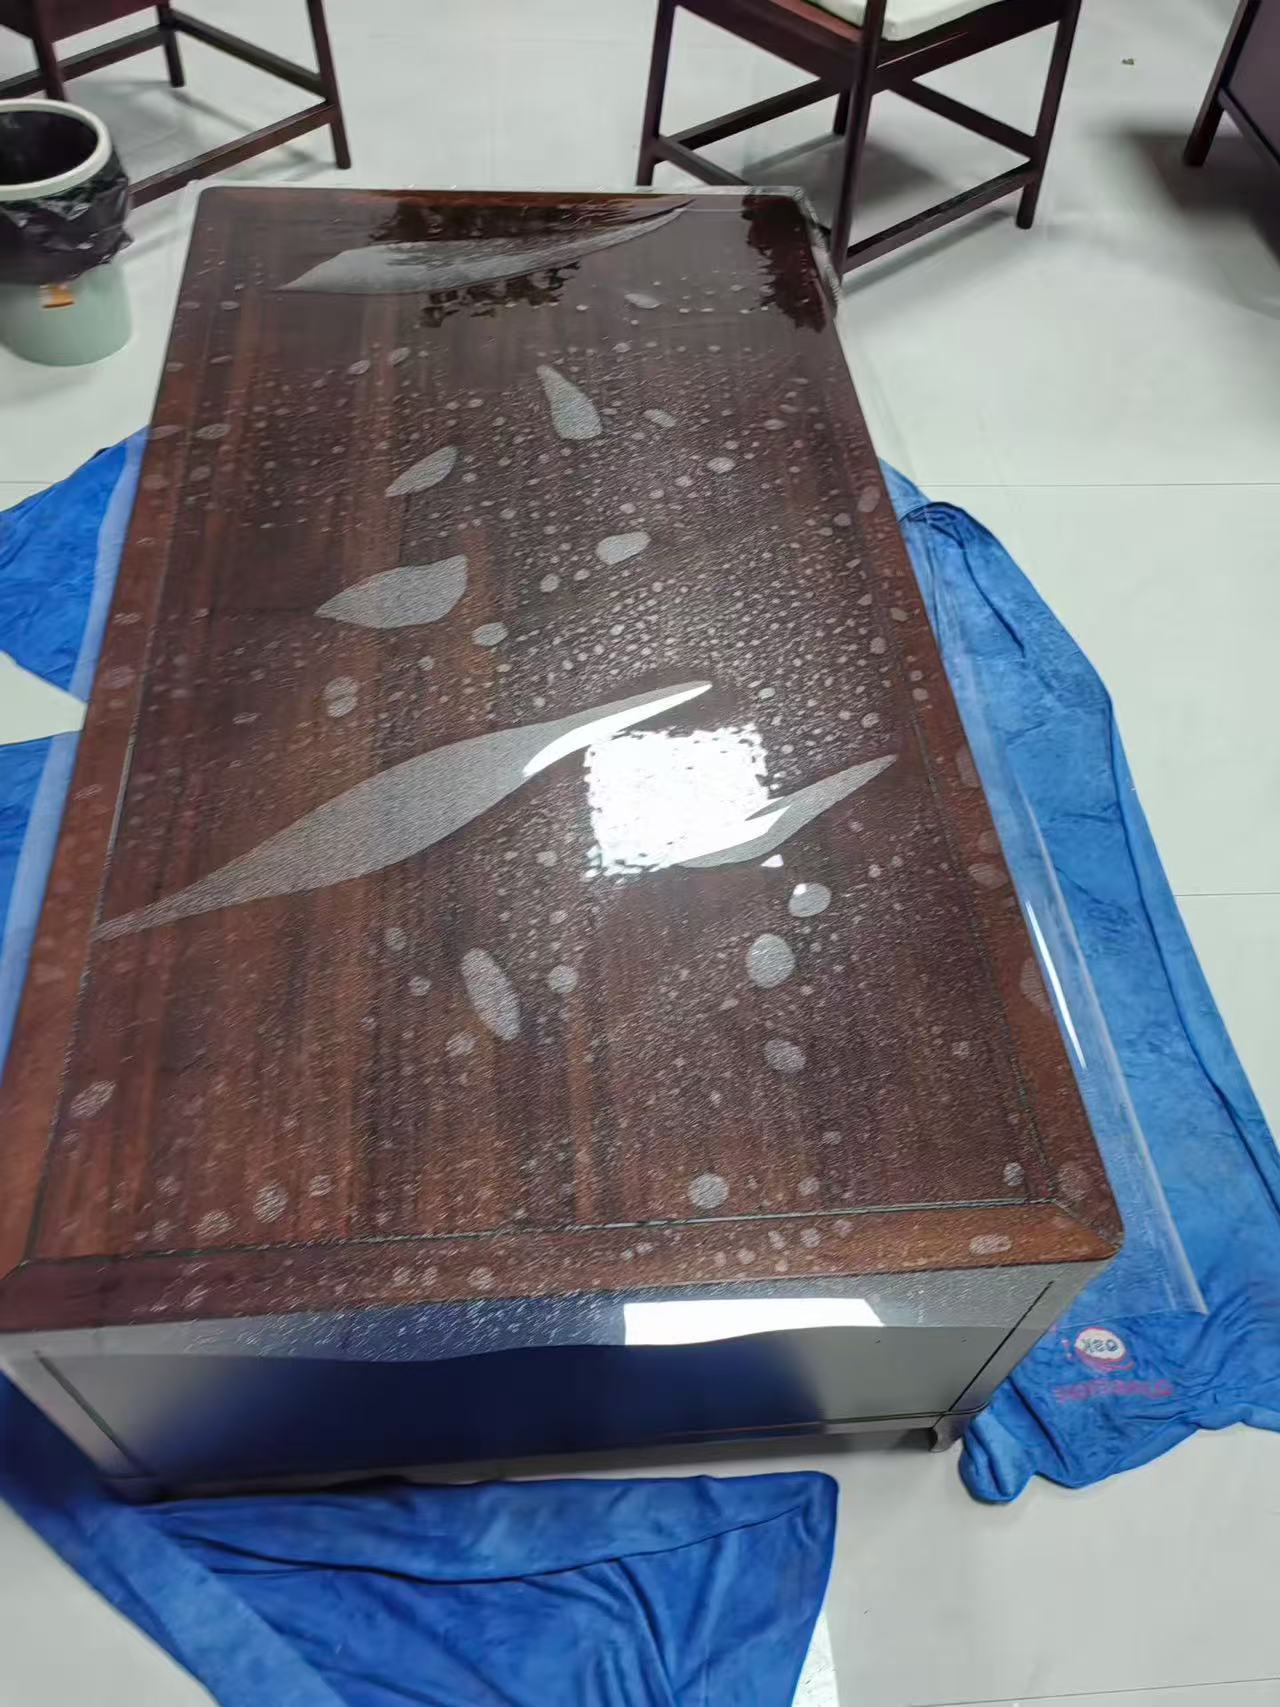
Project PhotoFurniture Wrapping & Protective Film - Photo 7 — Project Photo: Coffee table during protective film installation.
Coffee table during protective film installation.
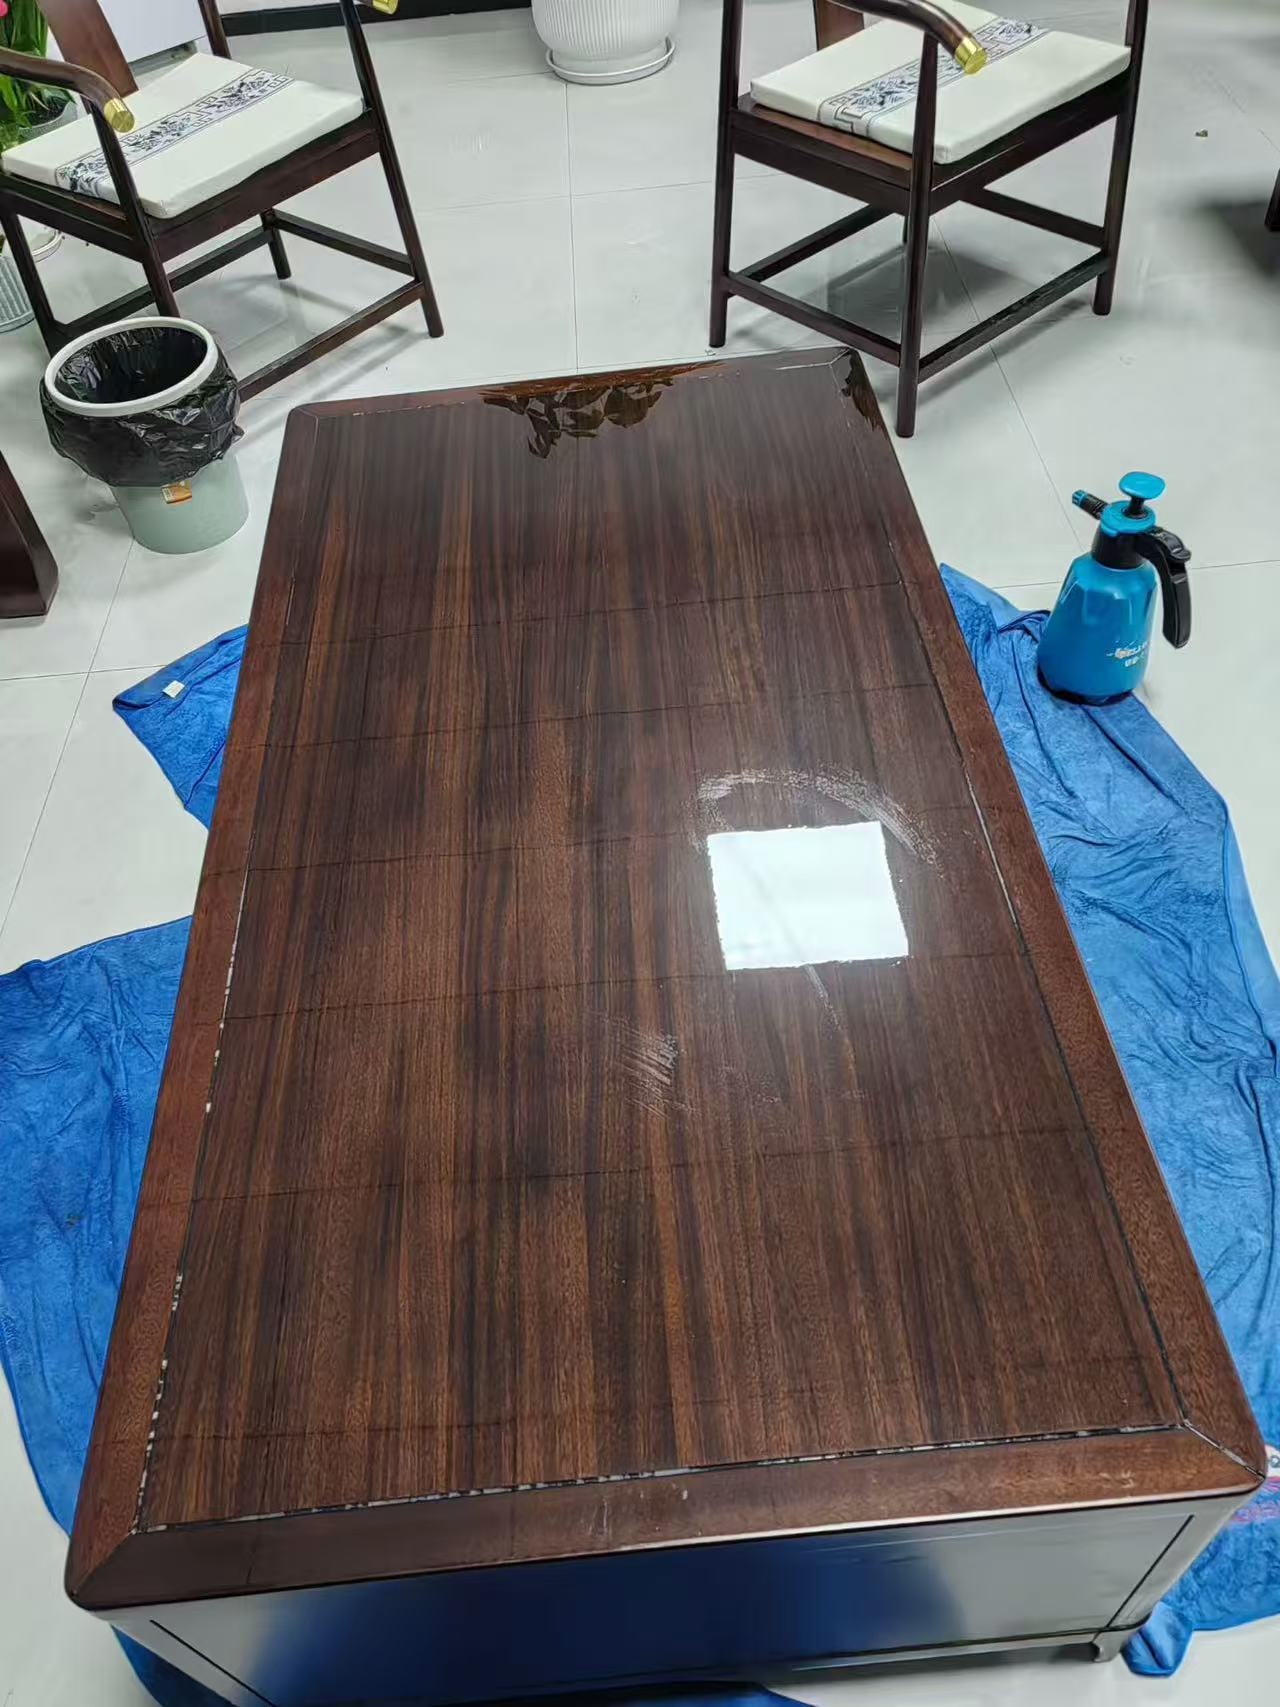
Project PhotoFurniture Wrapping & Protective Film - Photo 8 — Project Photo: Coffee table with protective film applied.
Coffee table with protective film applied.
Project PhotoFurniture Wrapping & Protective Film - Photo 11 — Project Photo: Wooden counter during protective film installation.
Wooden counter during protective film installation.
Project PhotoFurniture Wrapping & Protective Film - Photo 12 — Project Photo: Wooden counter with protective film applied.
Wooden counter with protective film applied.
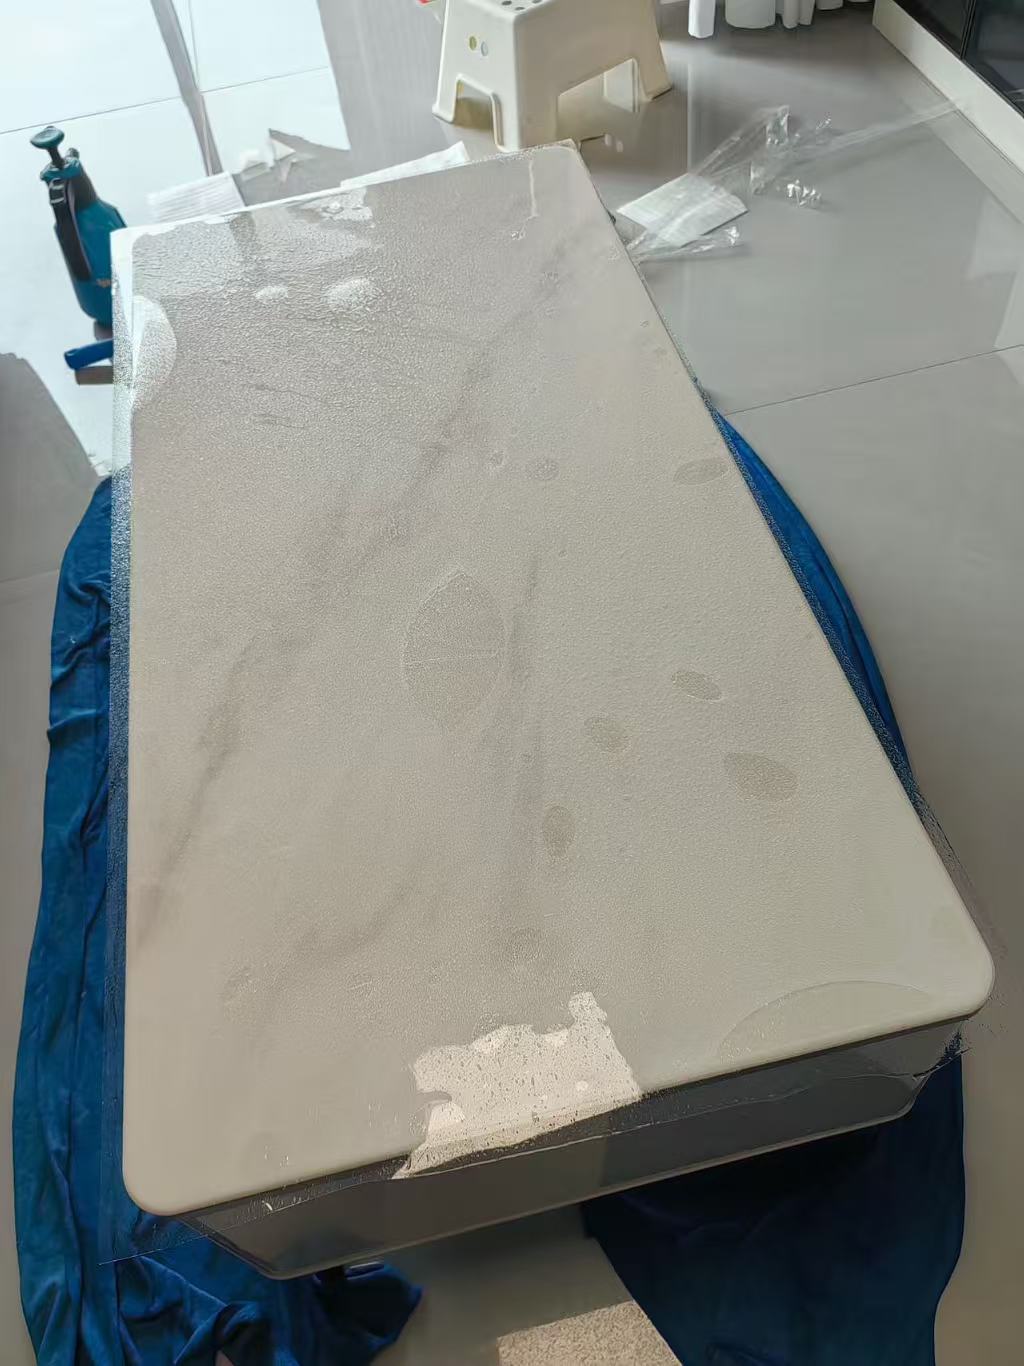
Project PhotoFurniture Wrapping & Protective Film - Photo 13 — Project Photo: Light-coloured coffee table during protective film installation.
Light-coloured coffee table during protective film installation.
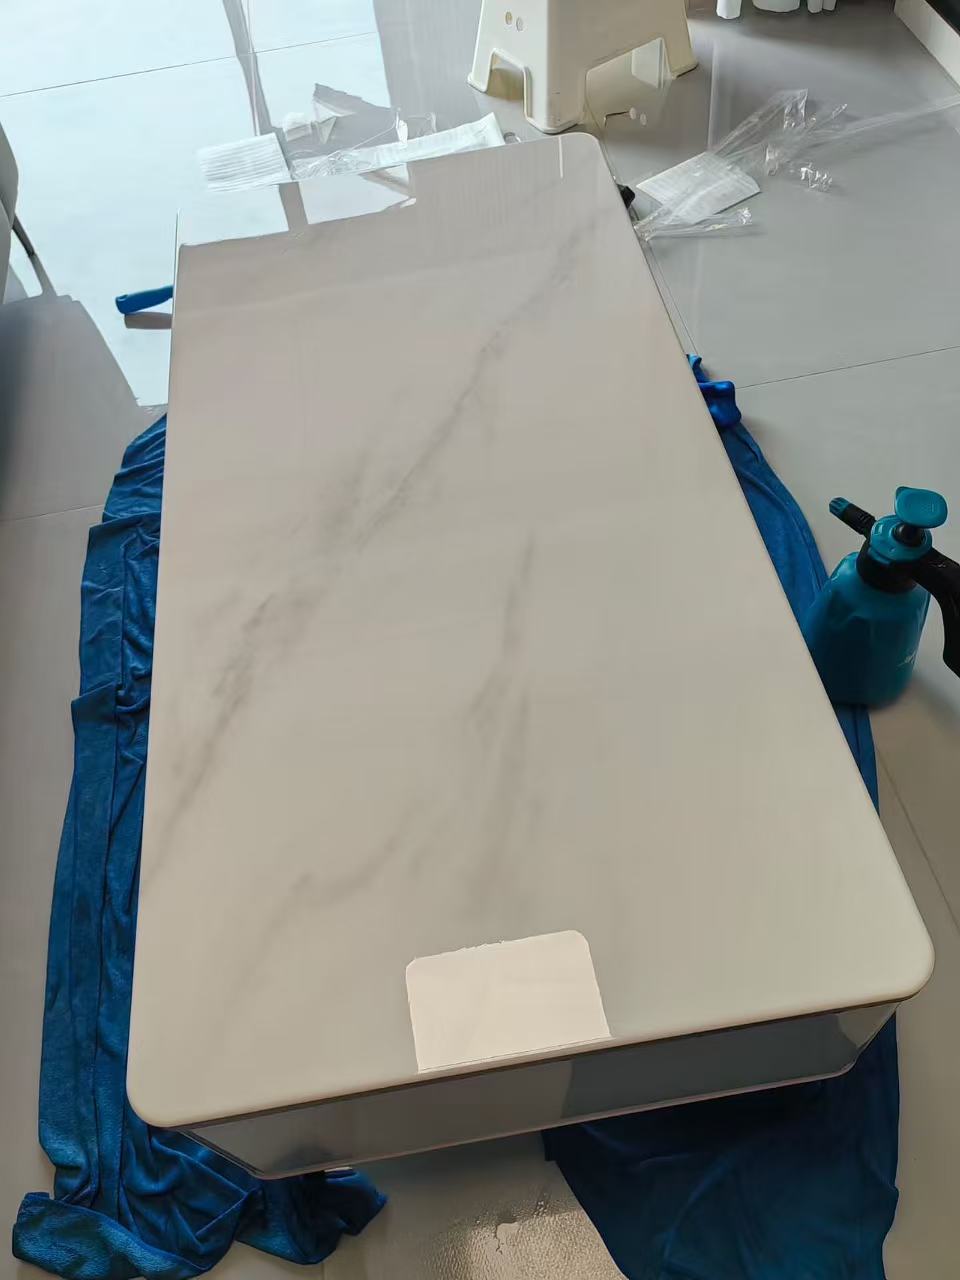
Project PhotoFurniture Wrapping & Protective Film - Photo 14 — Project Photo: Light-coloured coffee table with protective film applied.
Light-coloured coffee table with protective film applied.
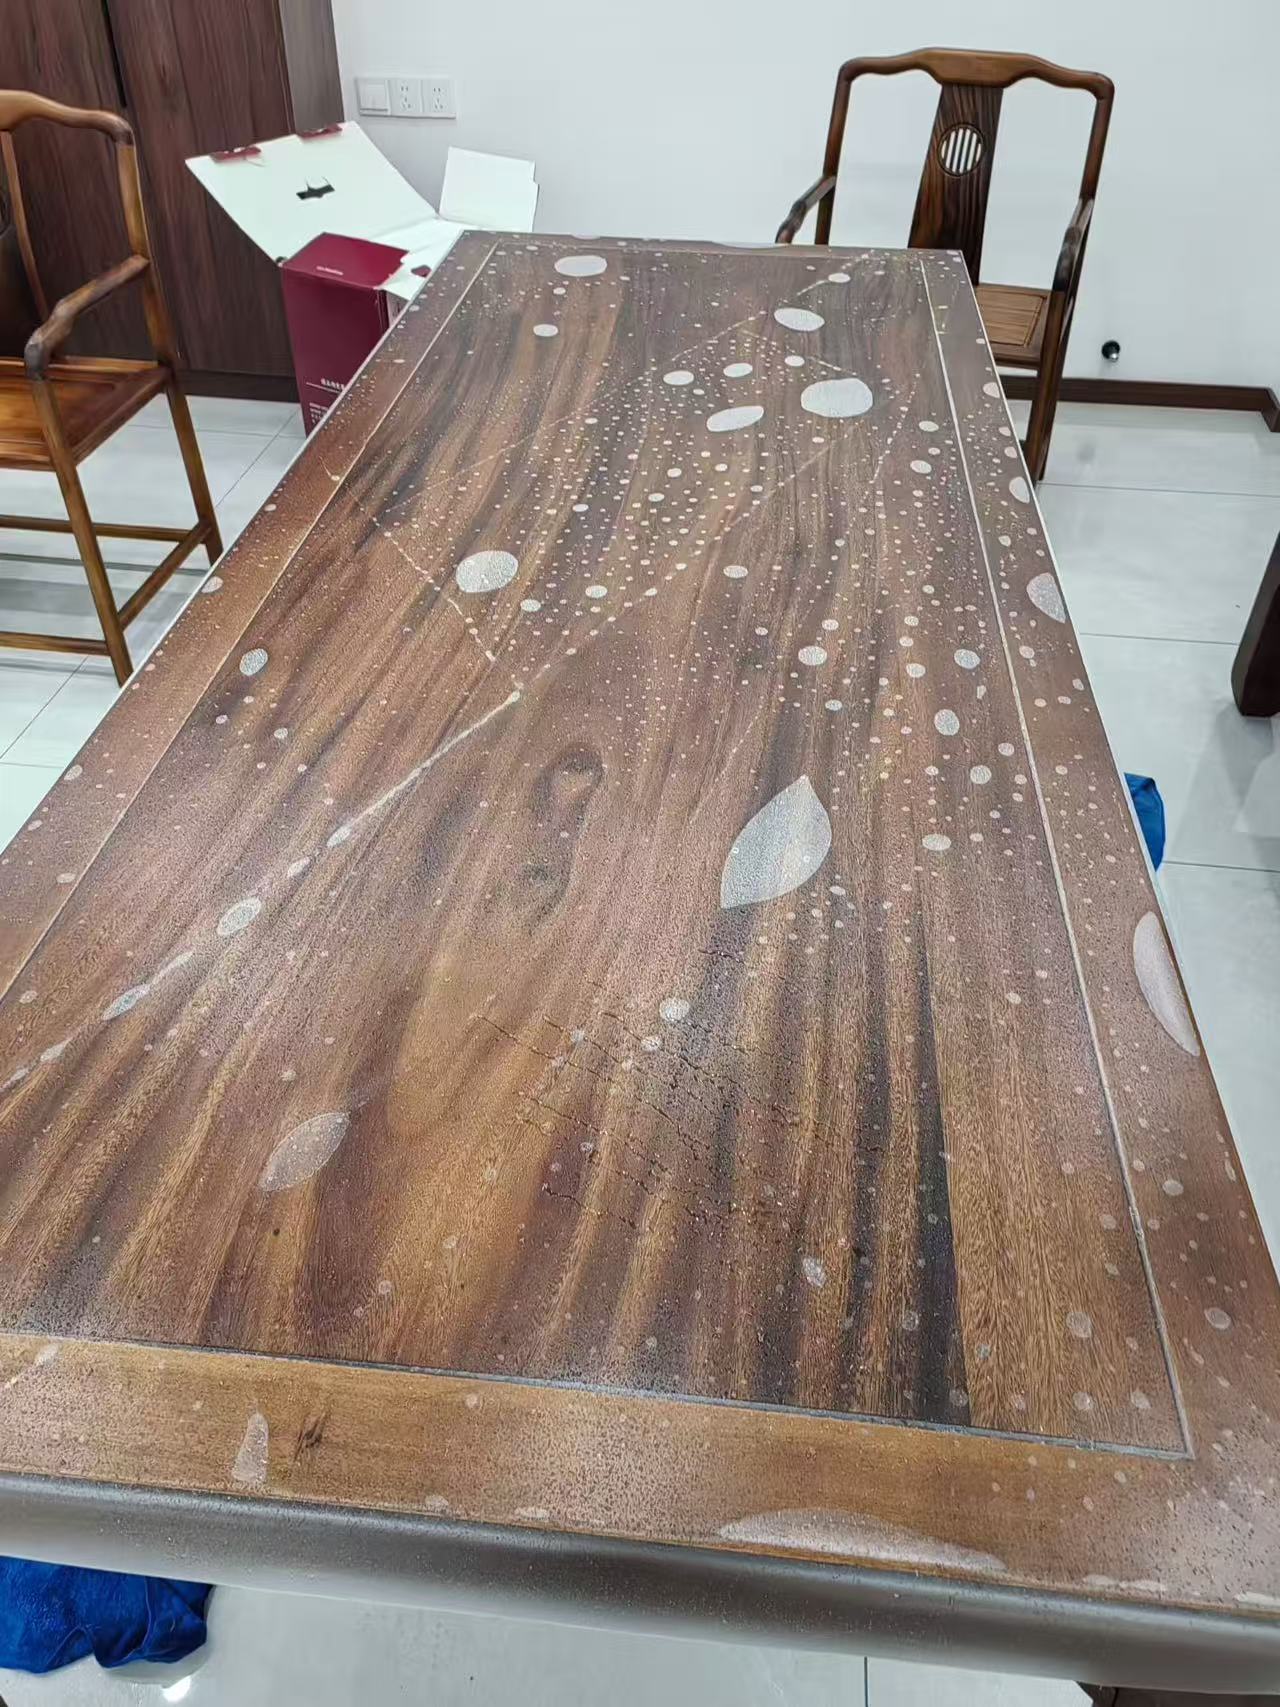
Project PhotoFurniture Wrapping & Protective Film - Photo 15 — Project Photo: Wooden dining table during protective film installation.
Wooden dining table during protective film installation.
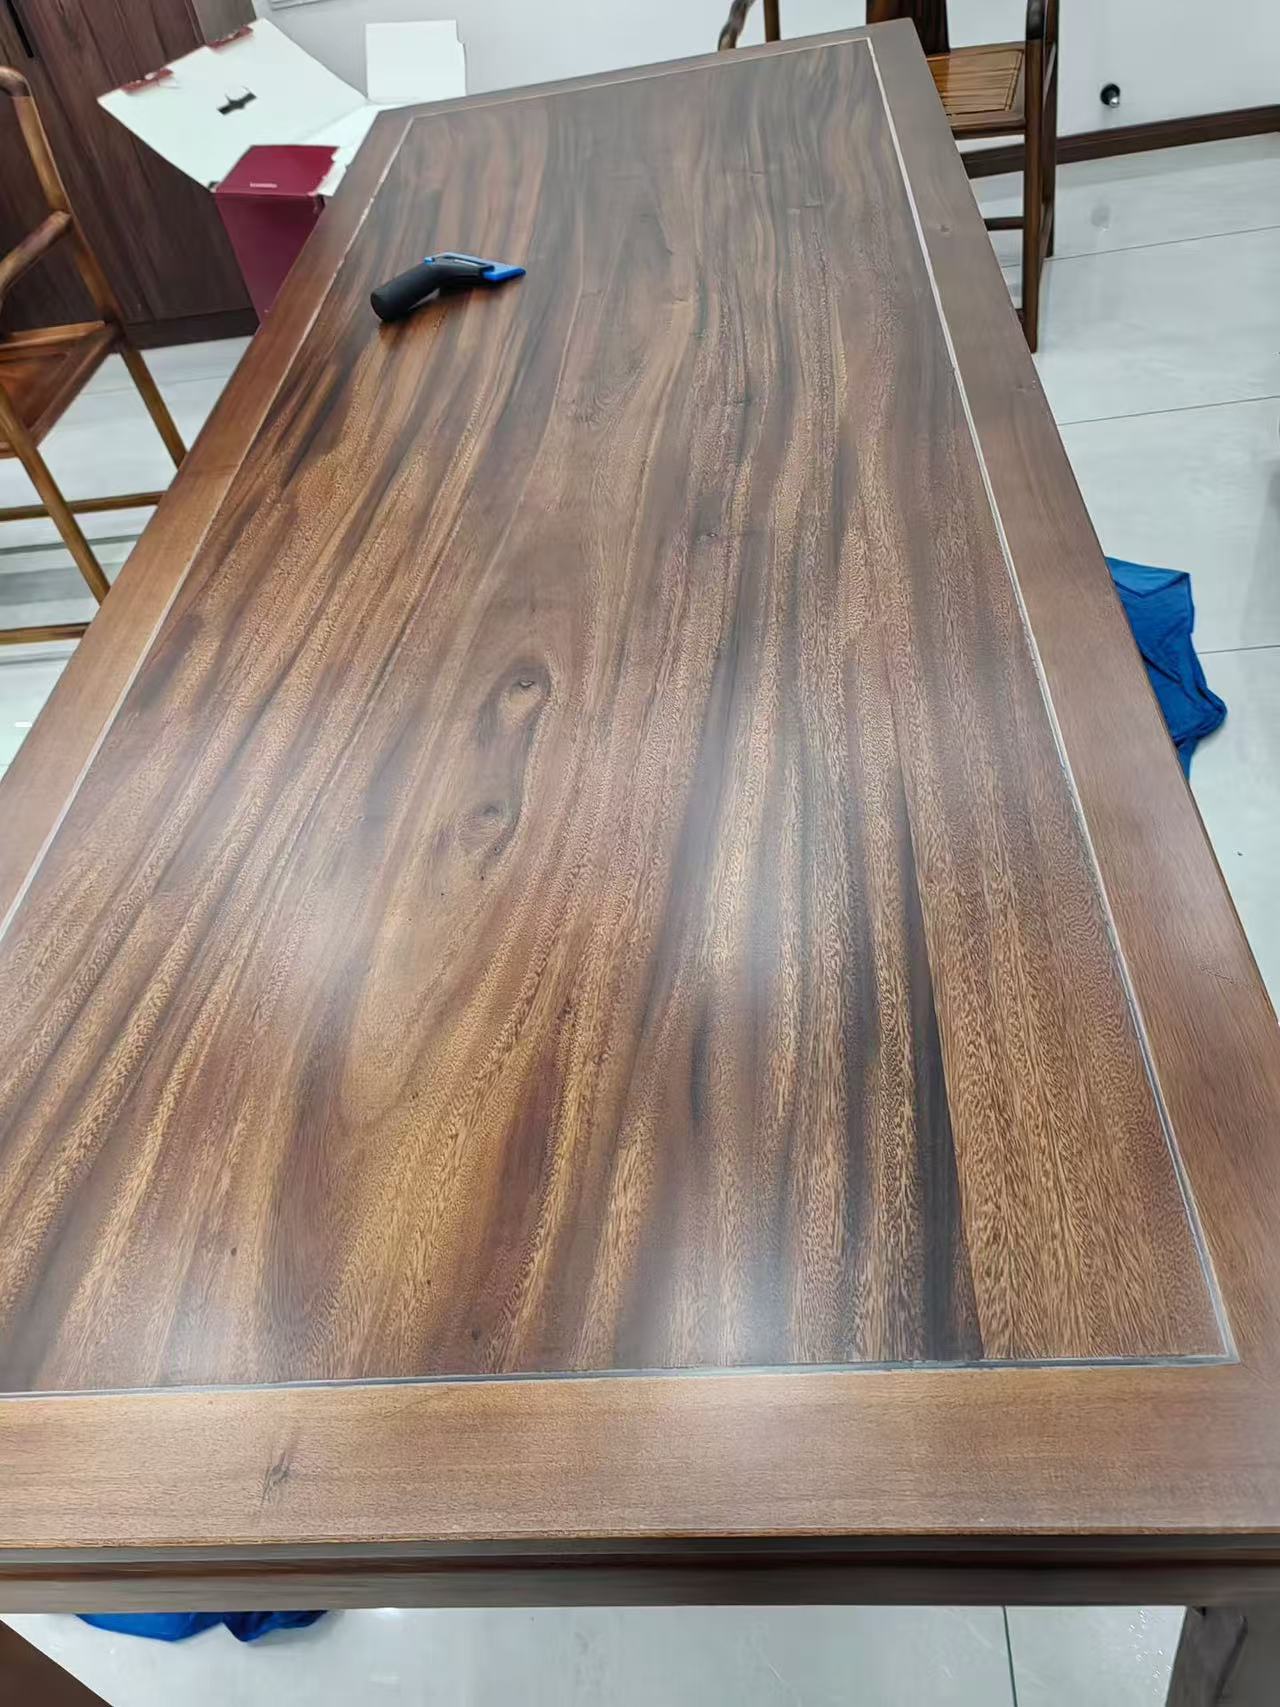
Project PhotoFurniture Wrapping & Protective Film - Photo 16 — Project Photo: Wooden dining table with protective film applied.
Wooden dining table with protective film applied.
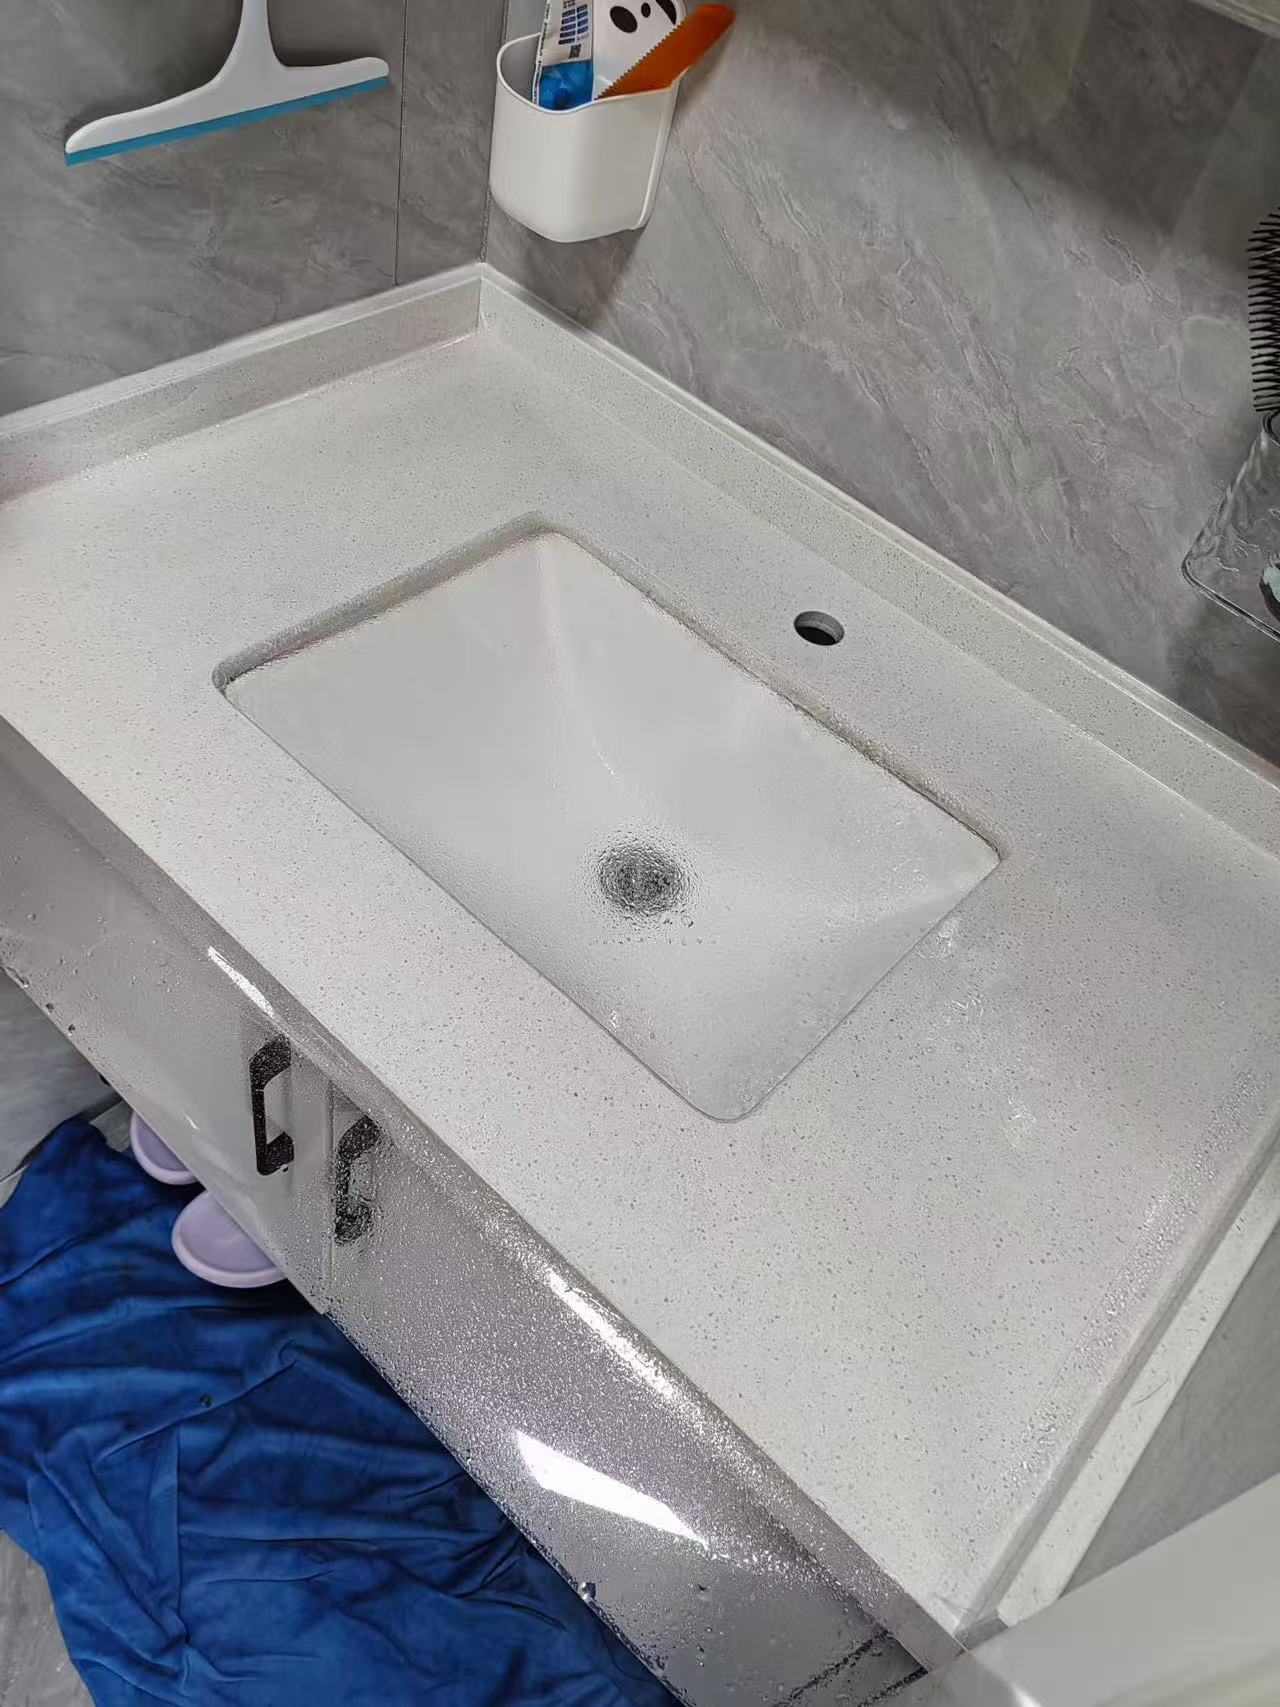
Project PhotoFurniture Wrapping & Protective Film - Photo 17 — Project Photo: Bathroom vanity during protective film installation.
Bathroom vanity during protective film installation.
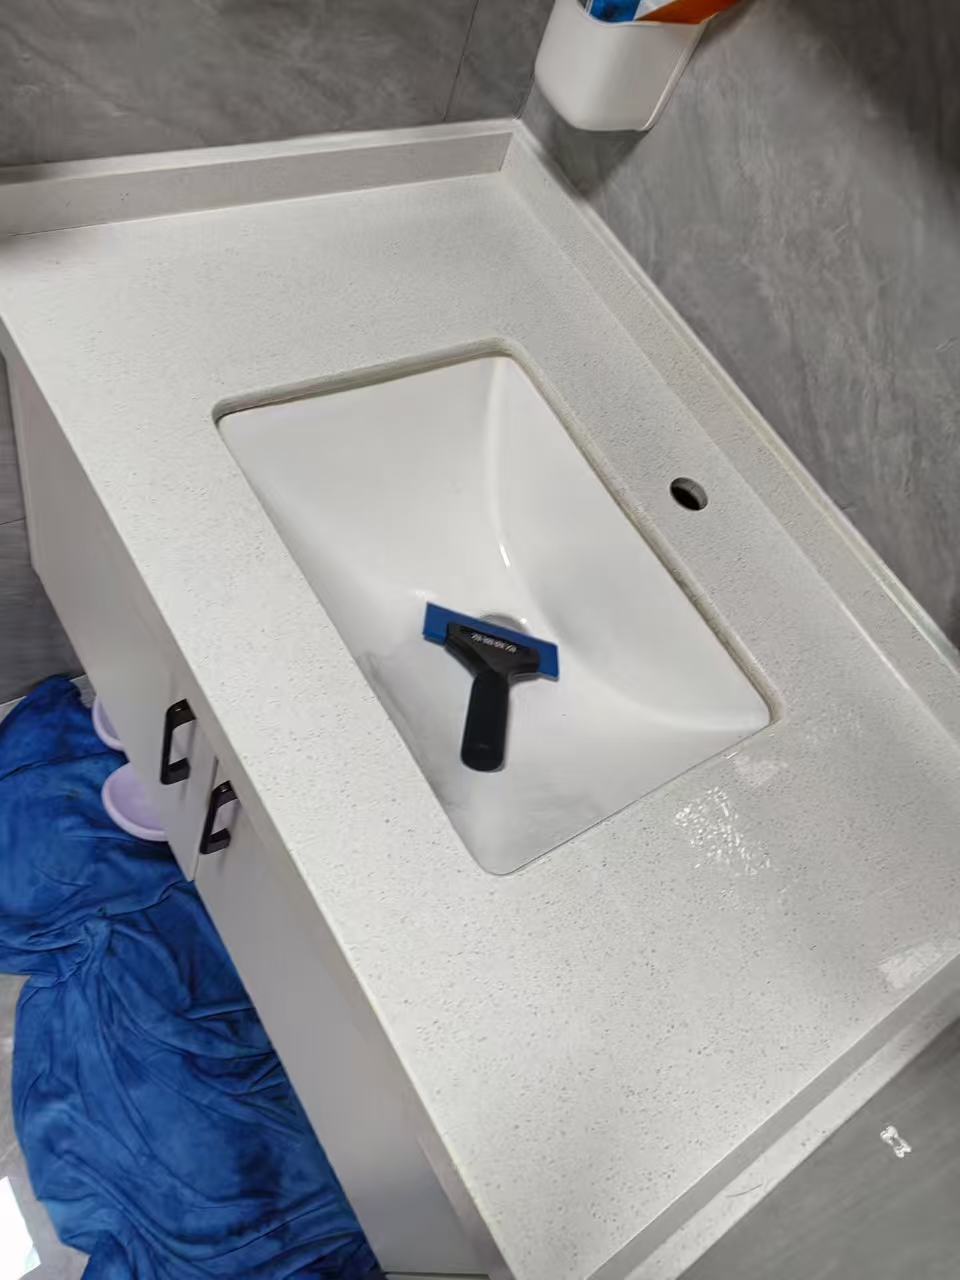
Project PhotoFurniture Wrapping & Protective Film - Photo 18 — Project Photo: Bathroom vanity with protective film applied.
Bathroom vanity with protective film applied.

Stainless Steel, Metal & Glass Repair

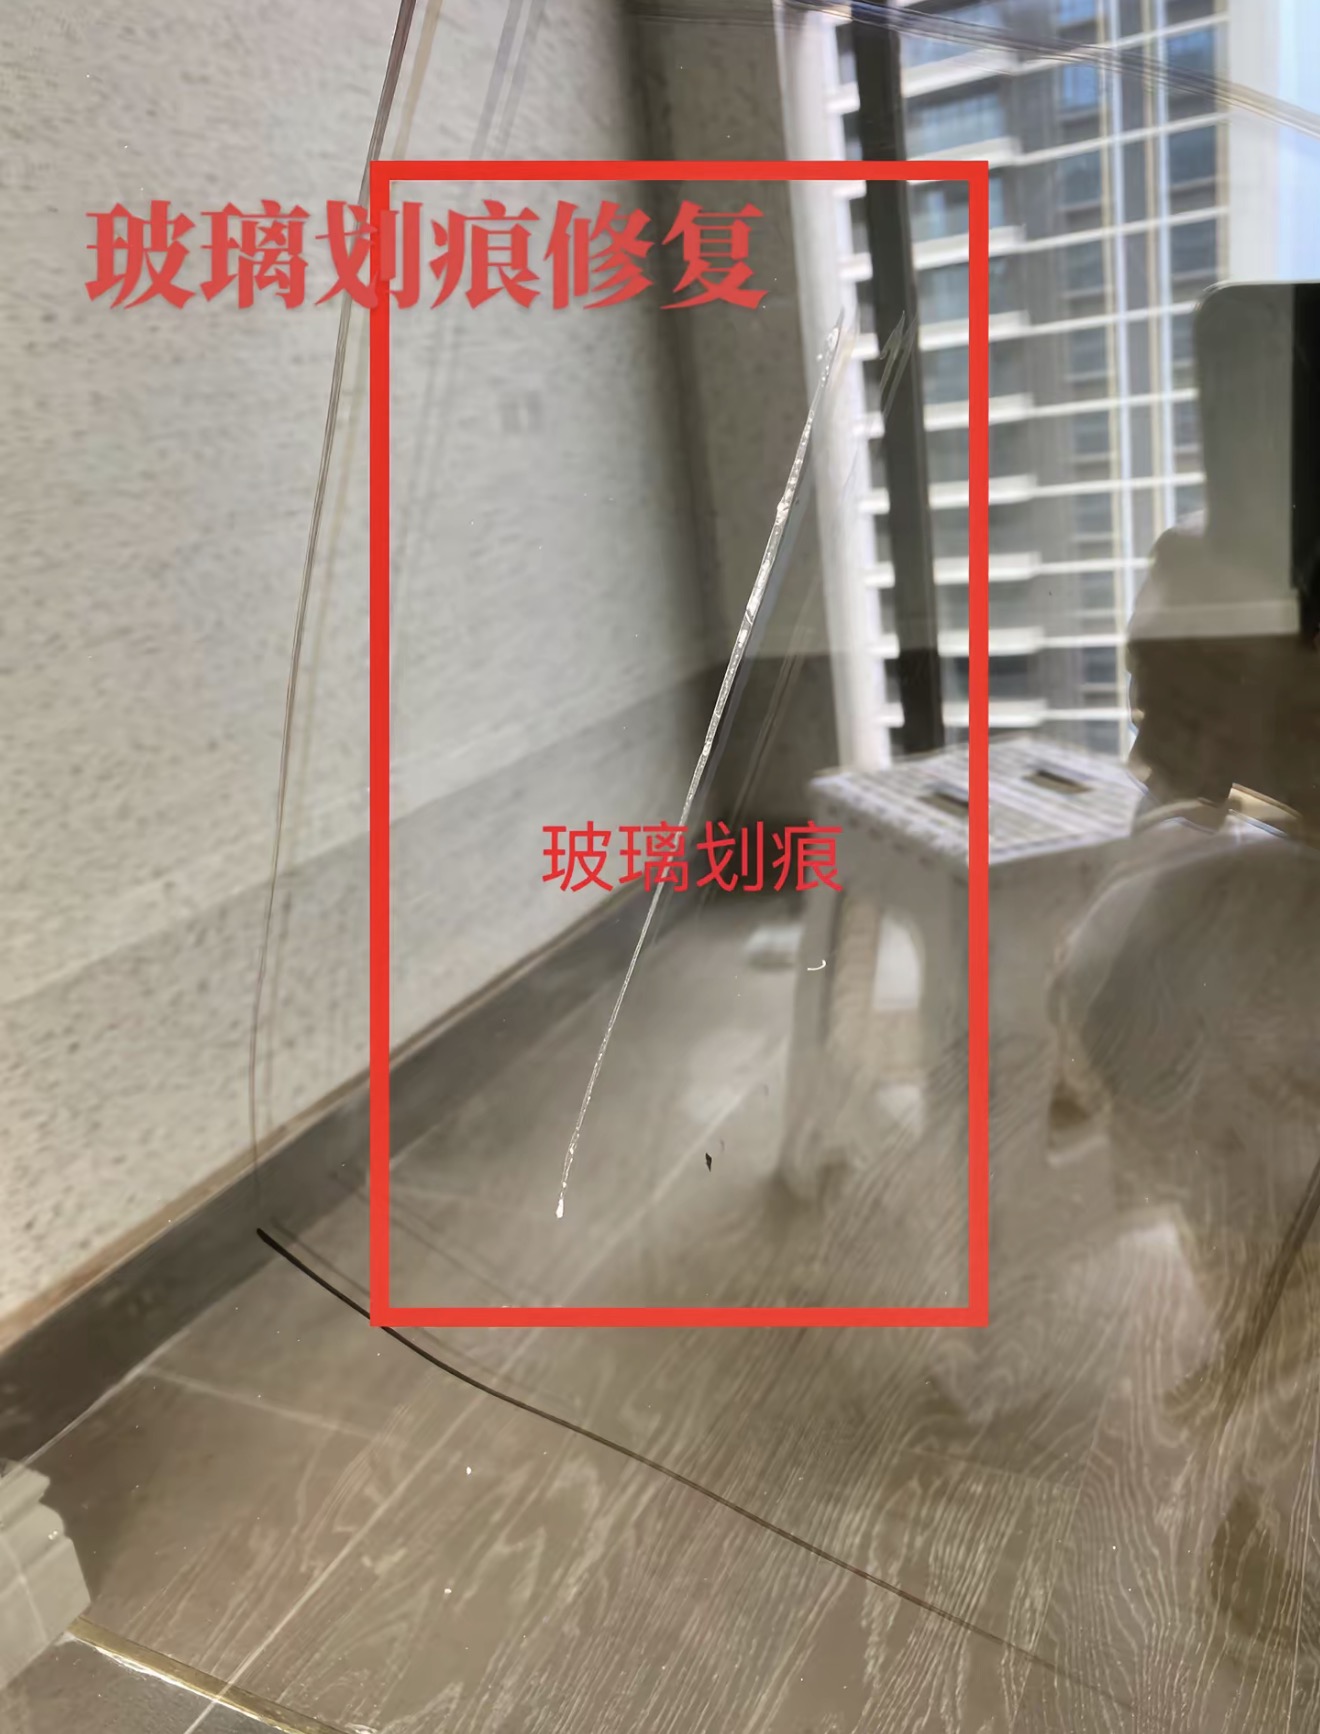
BeforeGlass Panel Scratch Repair — Before: A long visible scratch on the glass, highlighted in the original photograph.
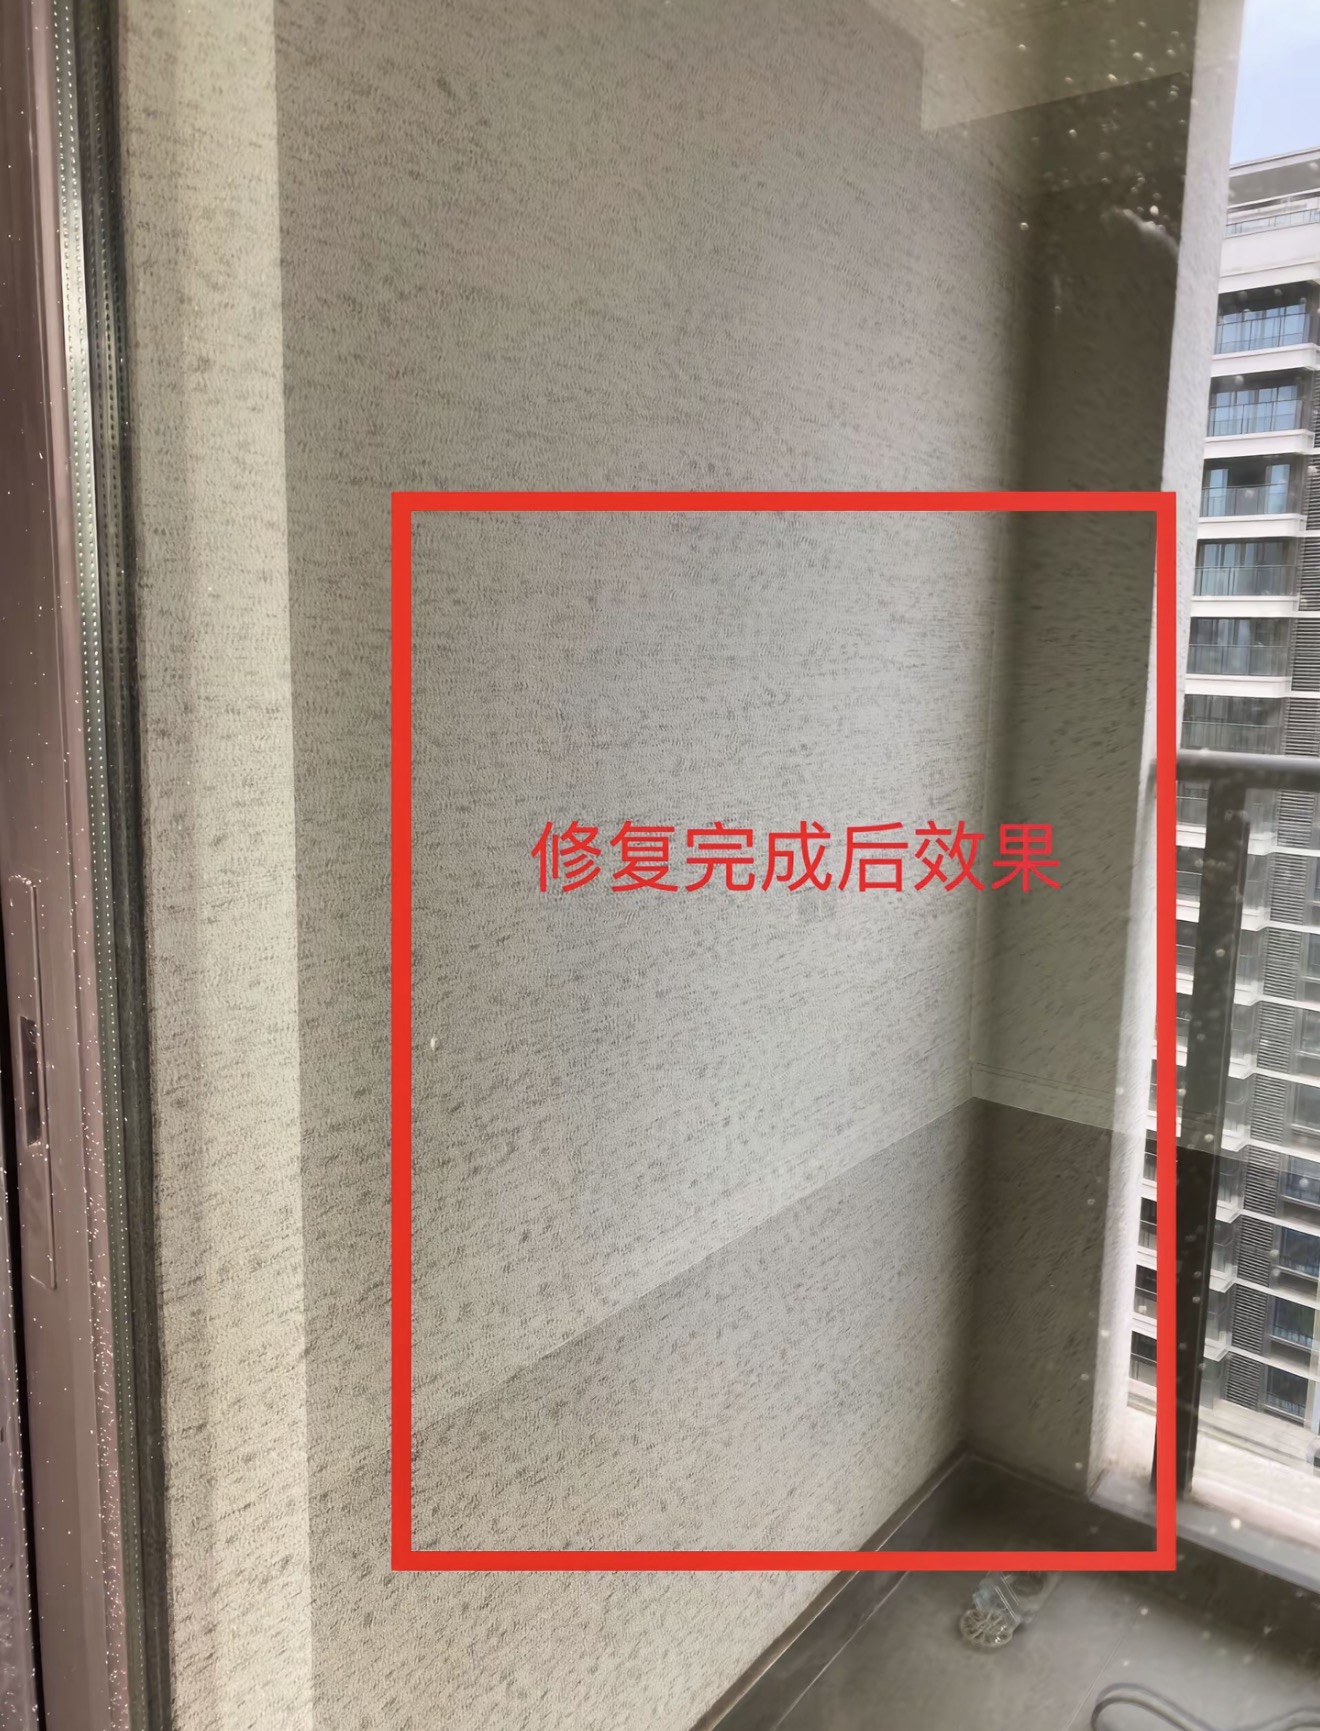
AfterGlass Panel Scratch Repair — After: The treated glass area after scratch repair.
The treated glass area after scratch repair.
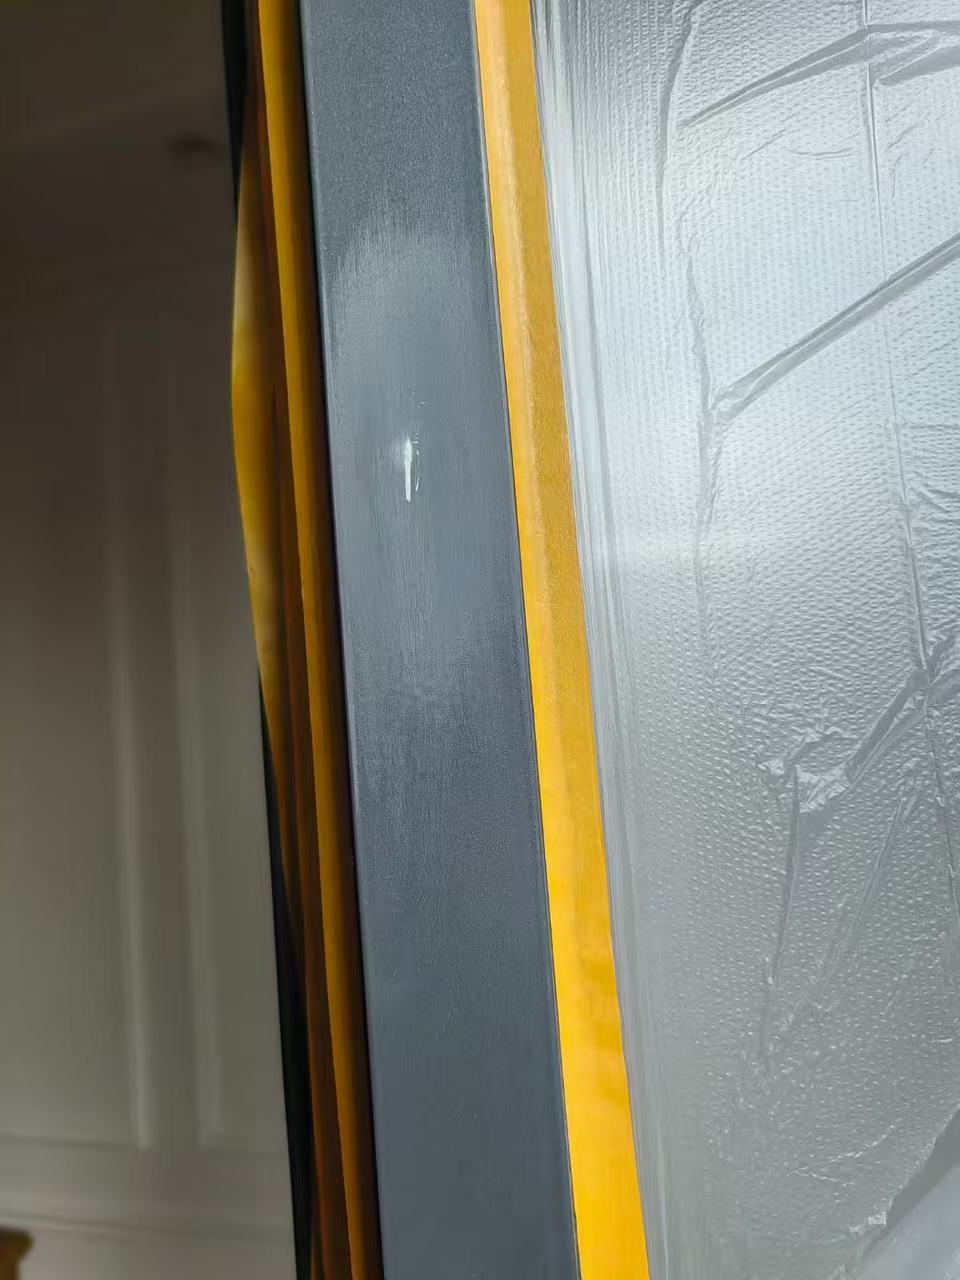
BeforeBlue Metal Frame Repair — Before: A marked area on the blue metal frame before finishing.
A marked area on the blue metal frame before finishing.
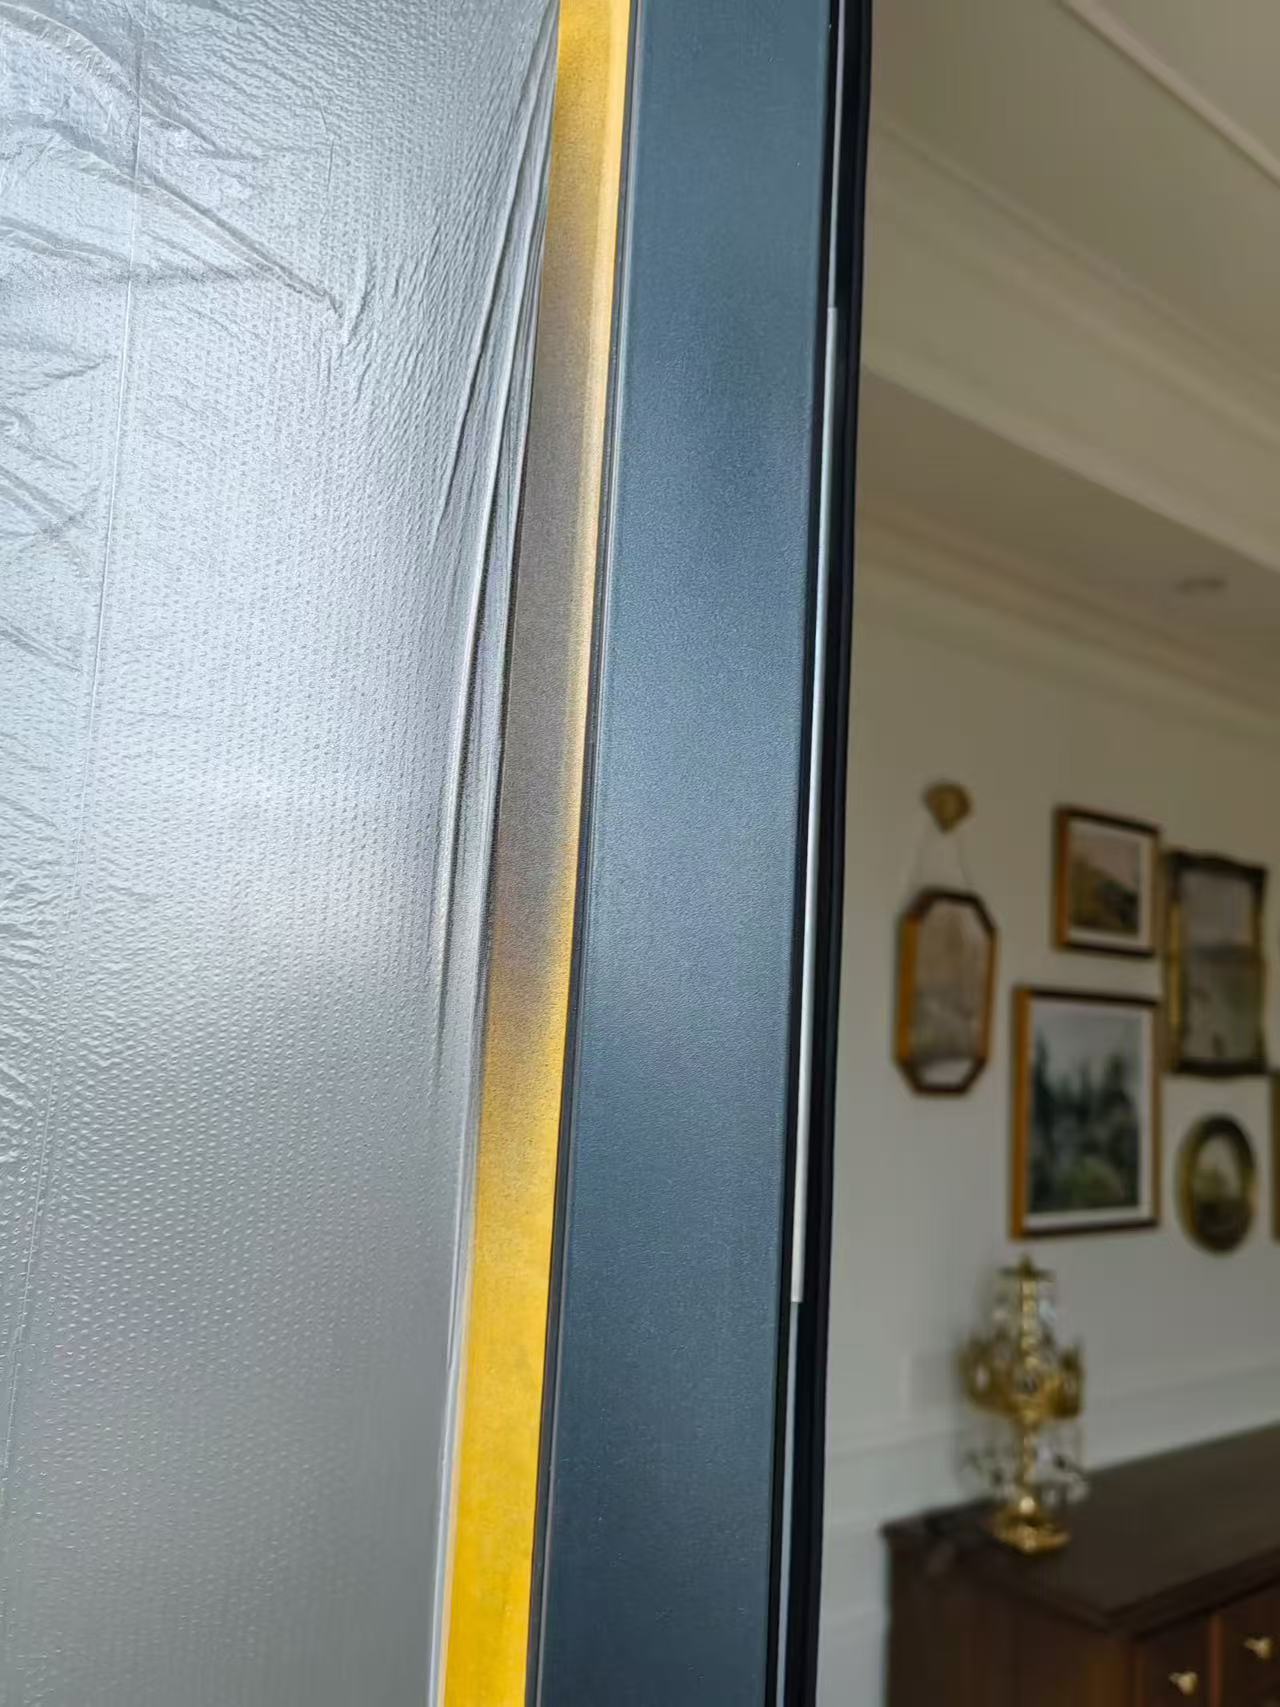
AfterBlue Metal Frame Repair — After: The blue metal frame after repair.
The blue metal frame after repair.
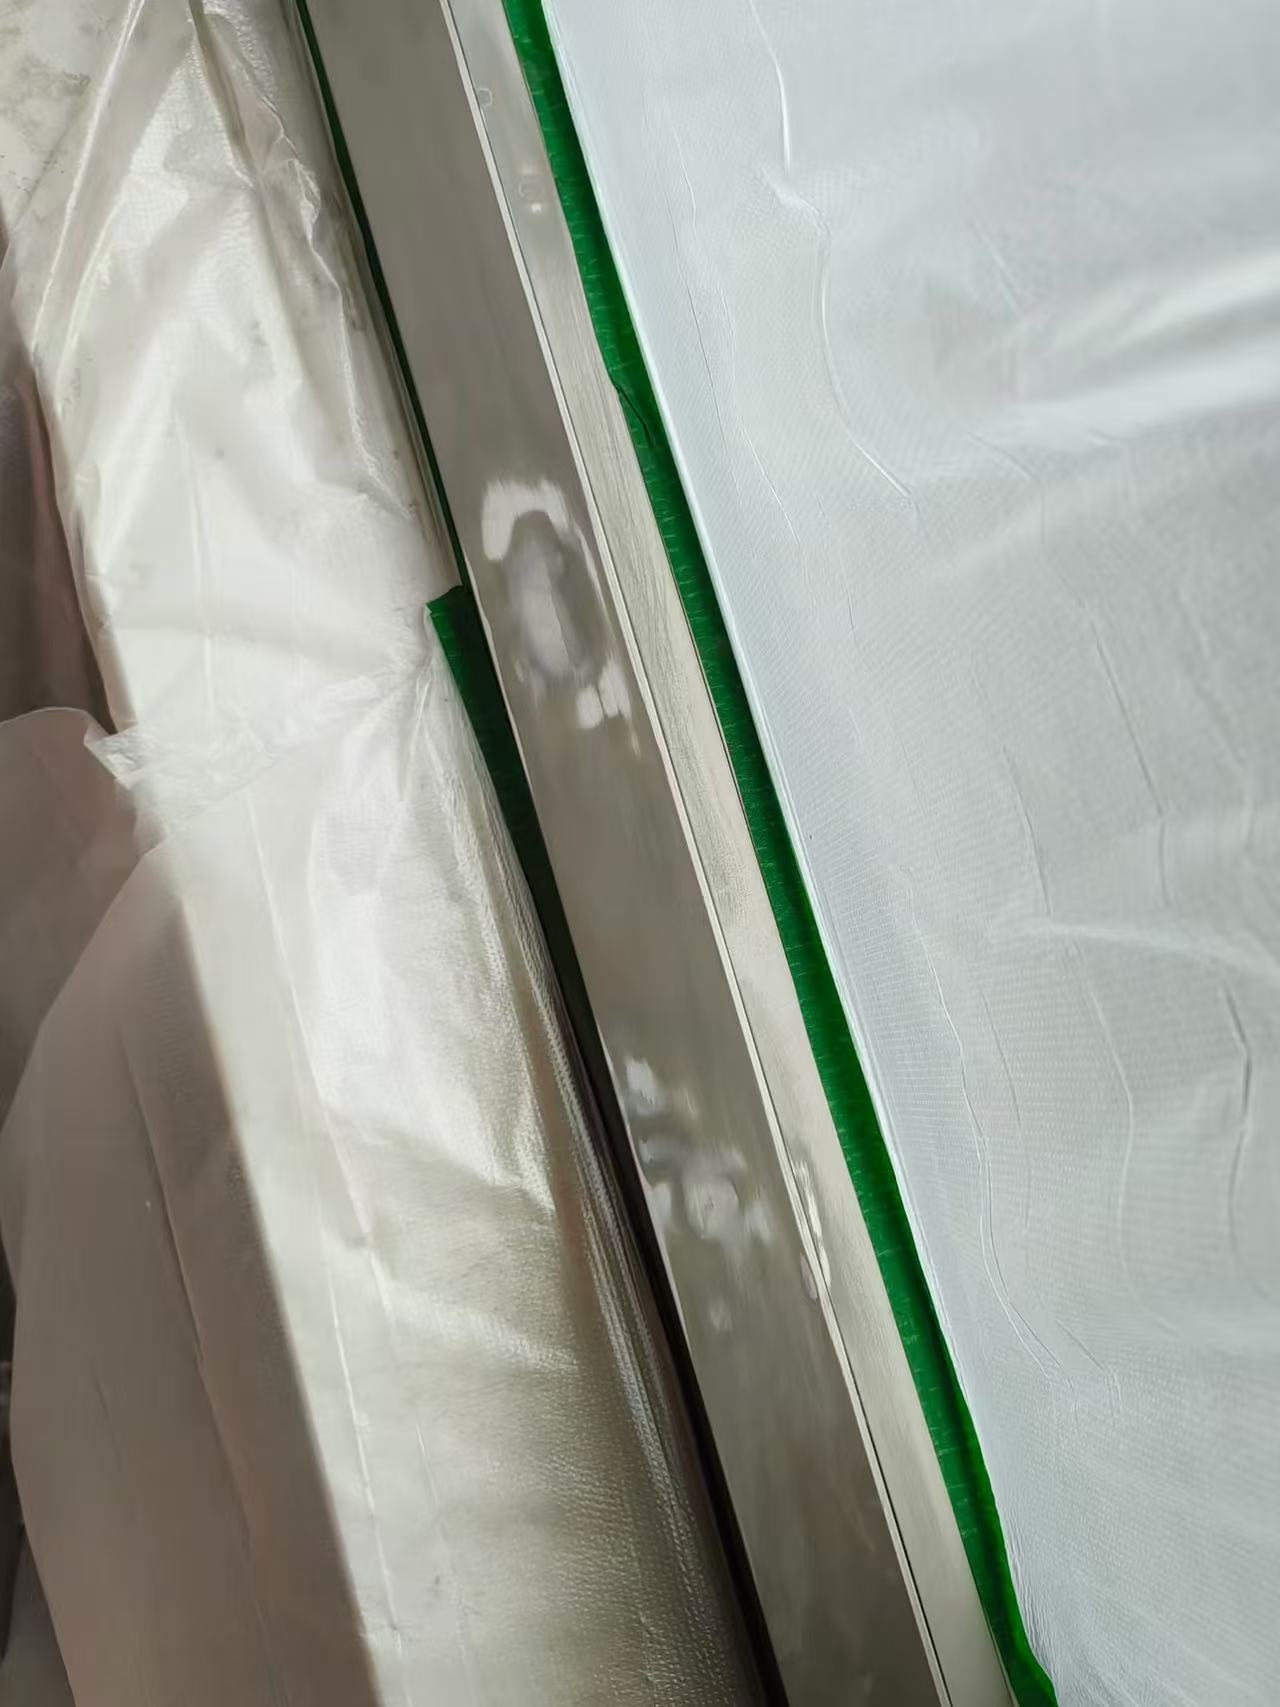
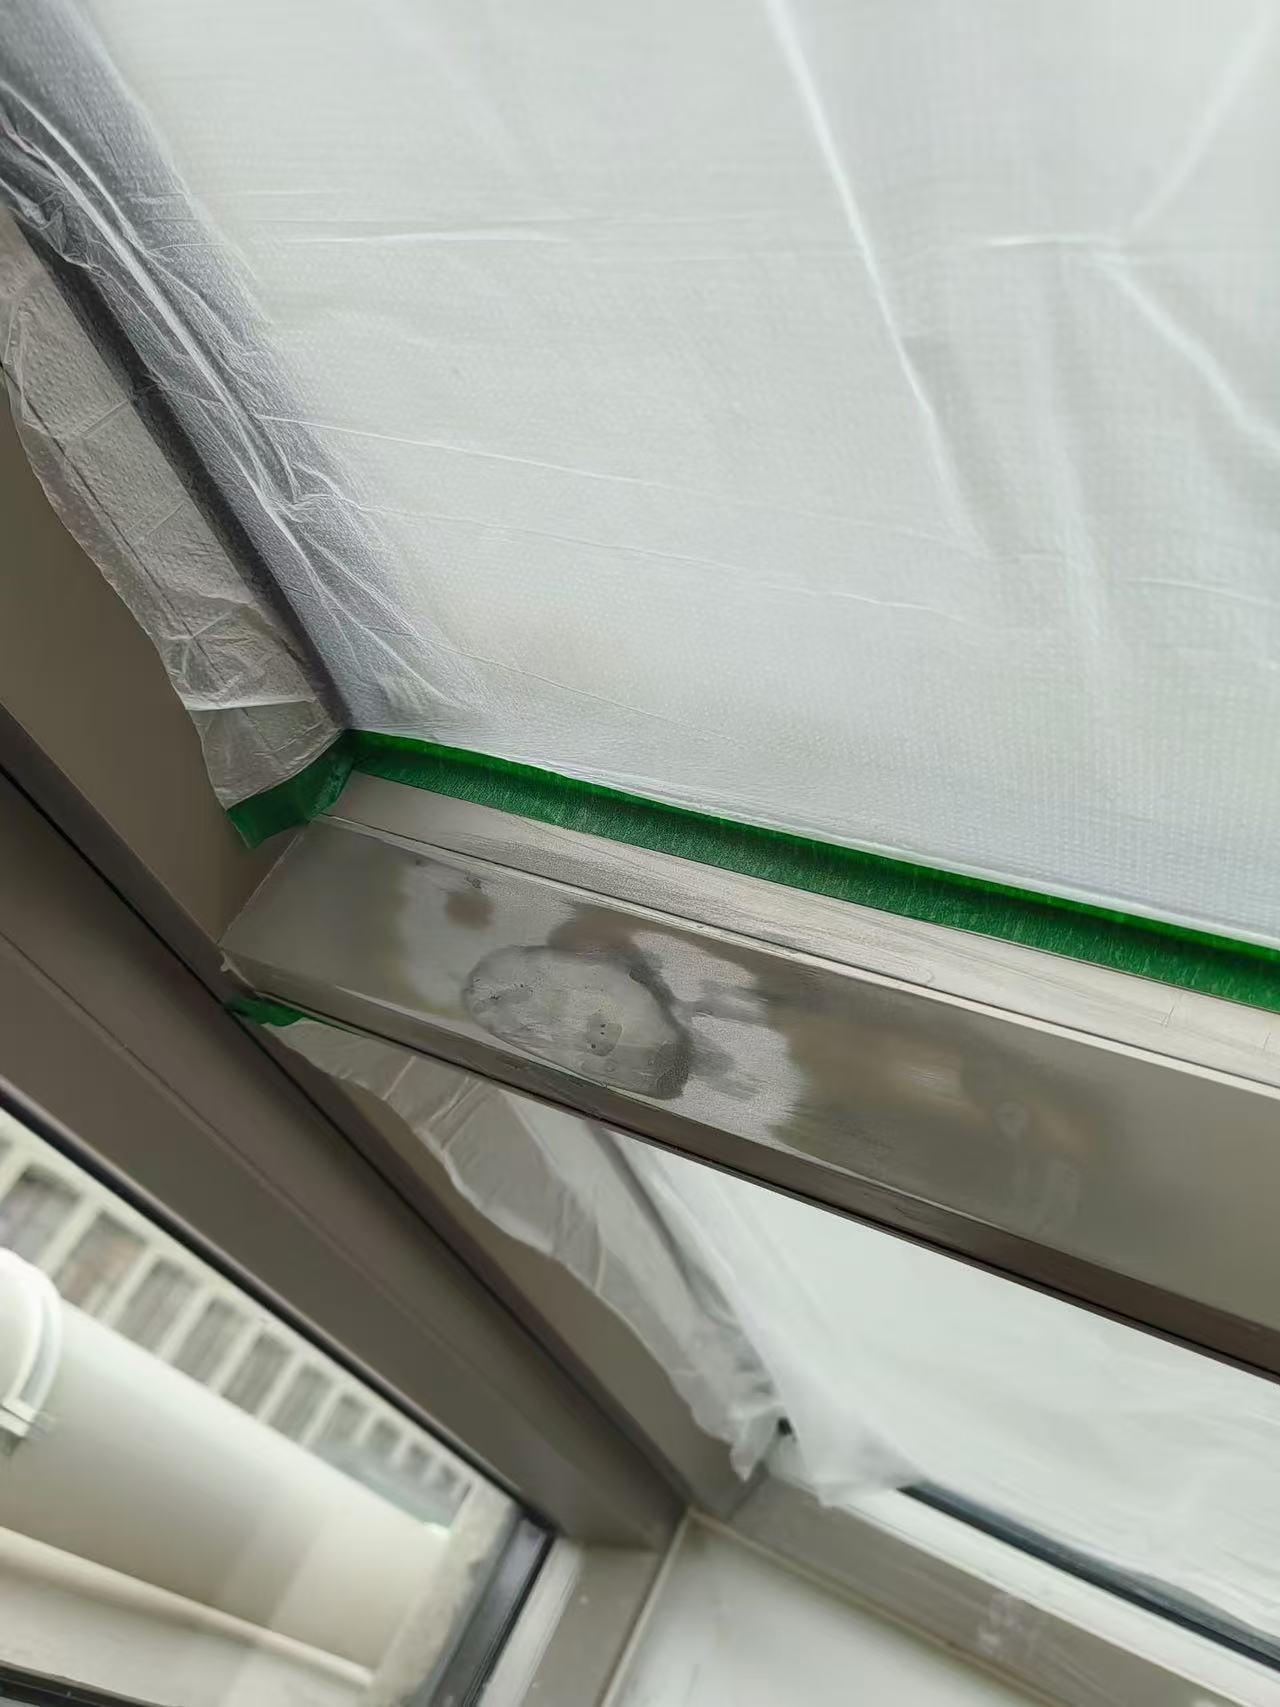
BeforeMetal Frame Side Refinishing — Before: Prepared repair areas on the metal frame before finishing.
Prepared repair areas on the metal frame before finishing.
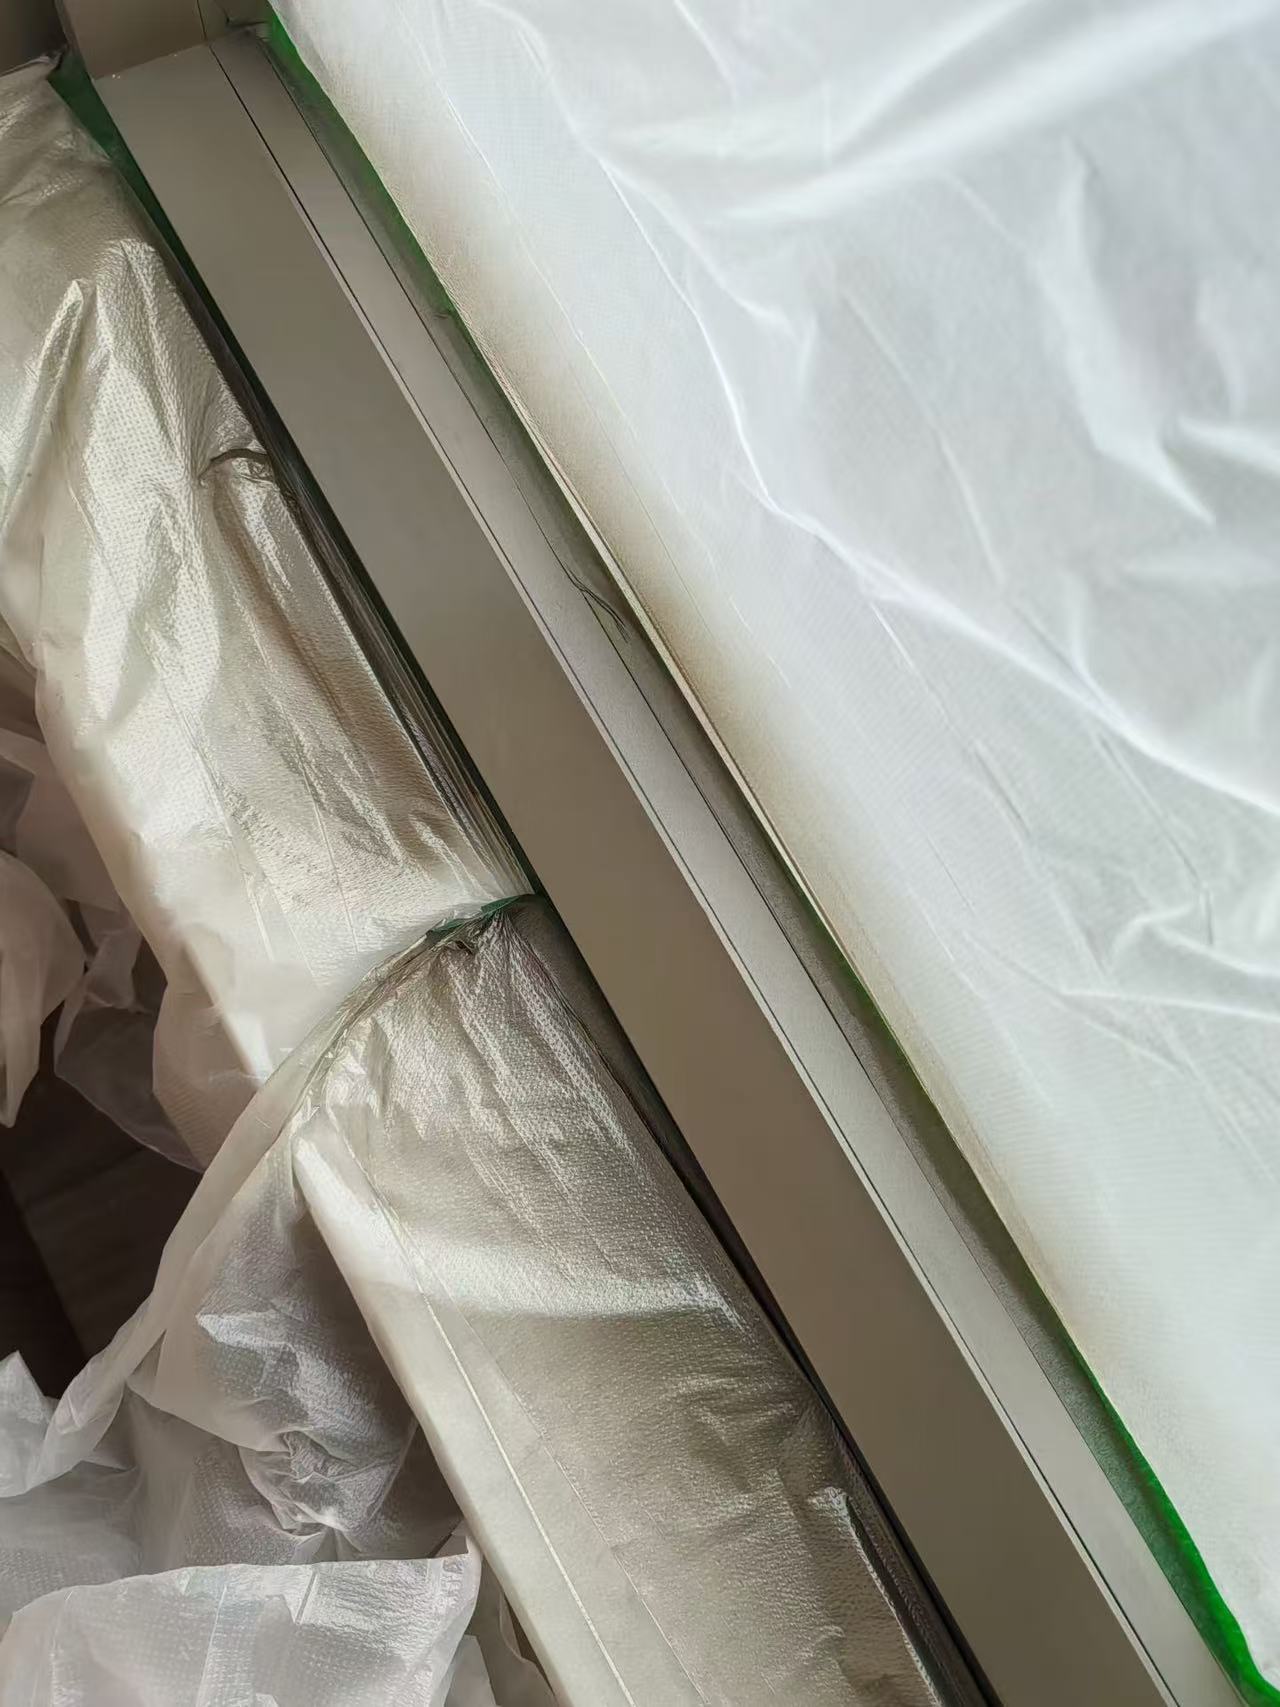
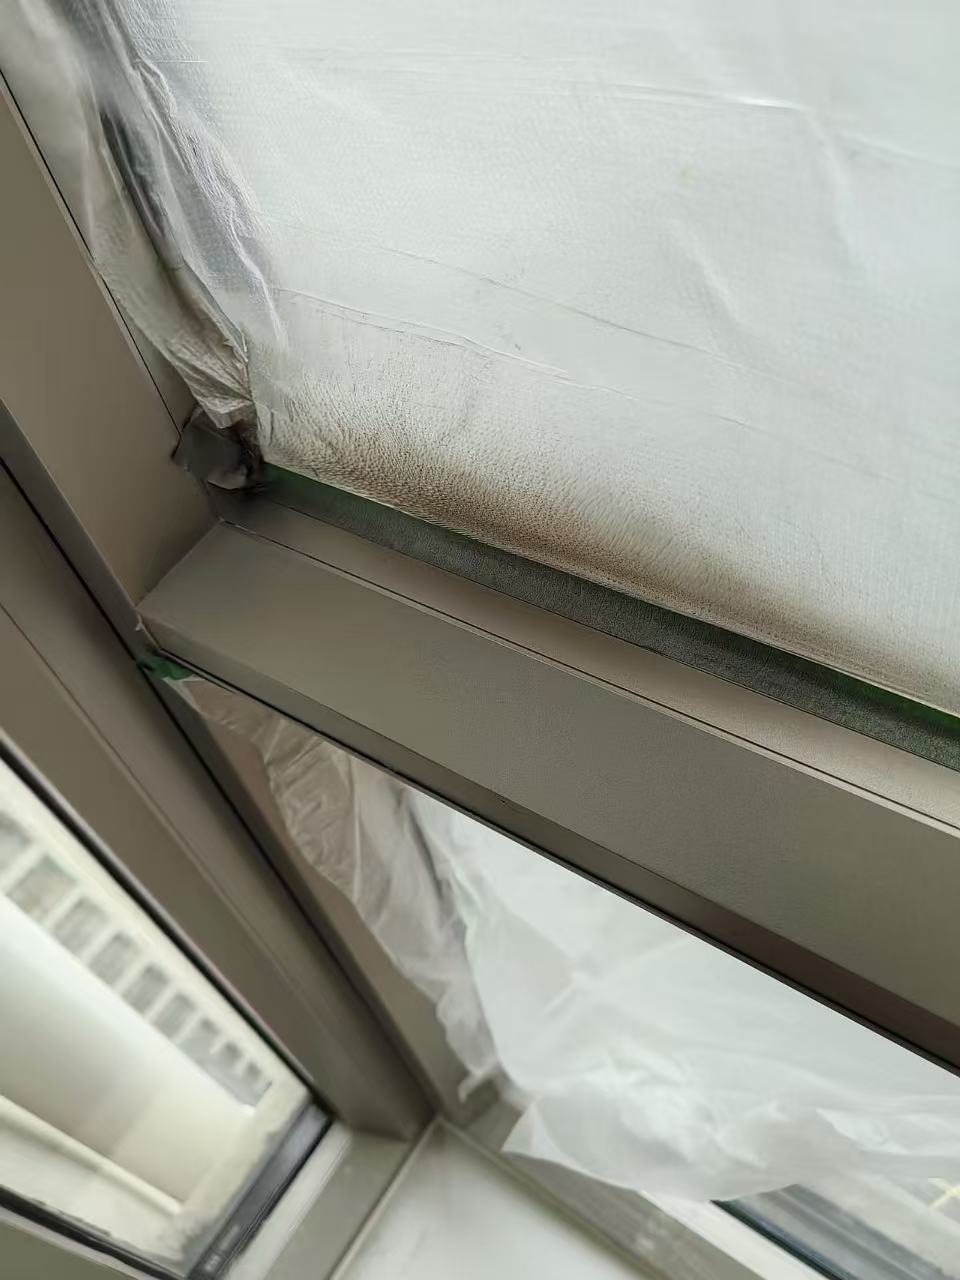
AfterMetal Frame Side Refinishing — After: The same metal frame after refinishing.
The same metal frame after refinishing.
BeforeMetal Frame Crossbar Refinishing — Before: The metal crossbar with prepared repair areas before finishing.
The metal crossbar with prepared repair areas before finishing.
AfterMetal Frame Crossbar Refinishing — After: The metal crossbar after refinishing.
The metal crossbar after refinishing.
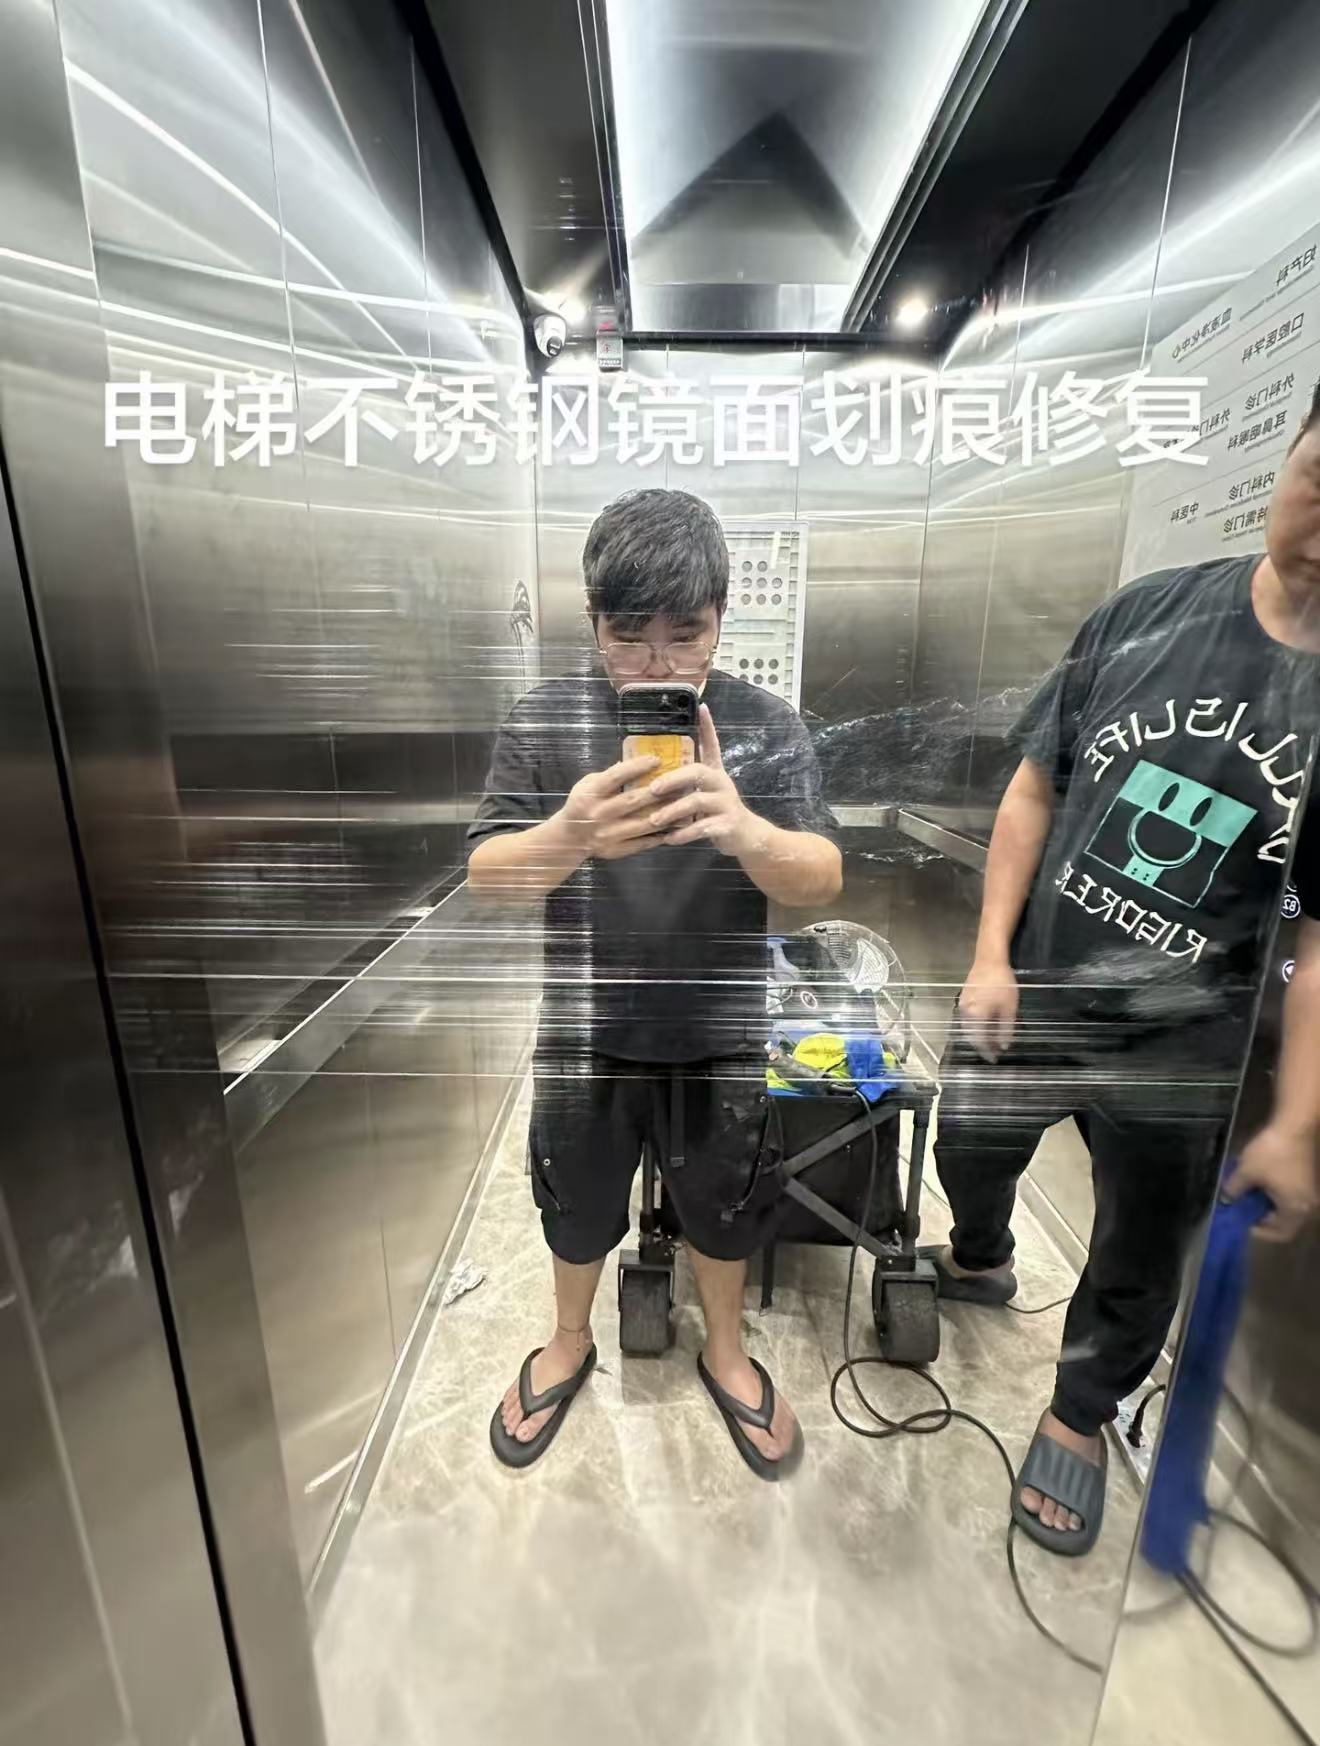
BeforeLift Stainless Steel Mirror-Finish Repair — Before: Visible scratches across the reflective stainless steel lift panel.
Visible scratches across the reflective stainless steel lift panel.
AfterLift Stainless Steel Mirror-Finish Repair — After: The lift panel after scratch treatment and surface finishing.
The lift panel after scratch treatment and surface finishing.
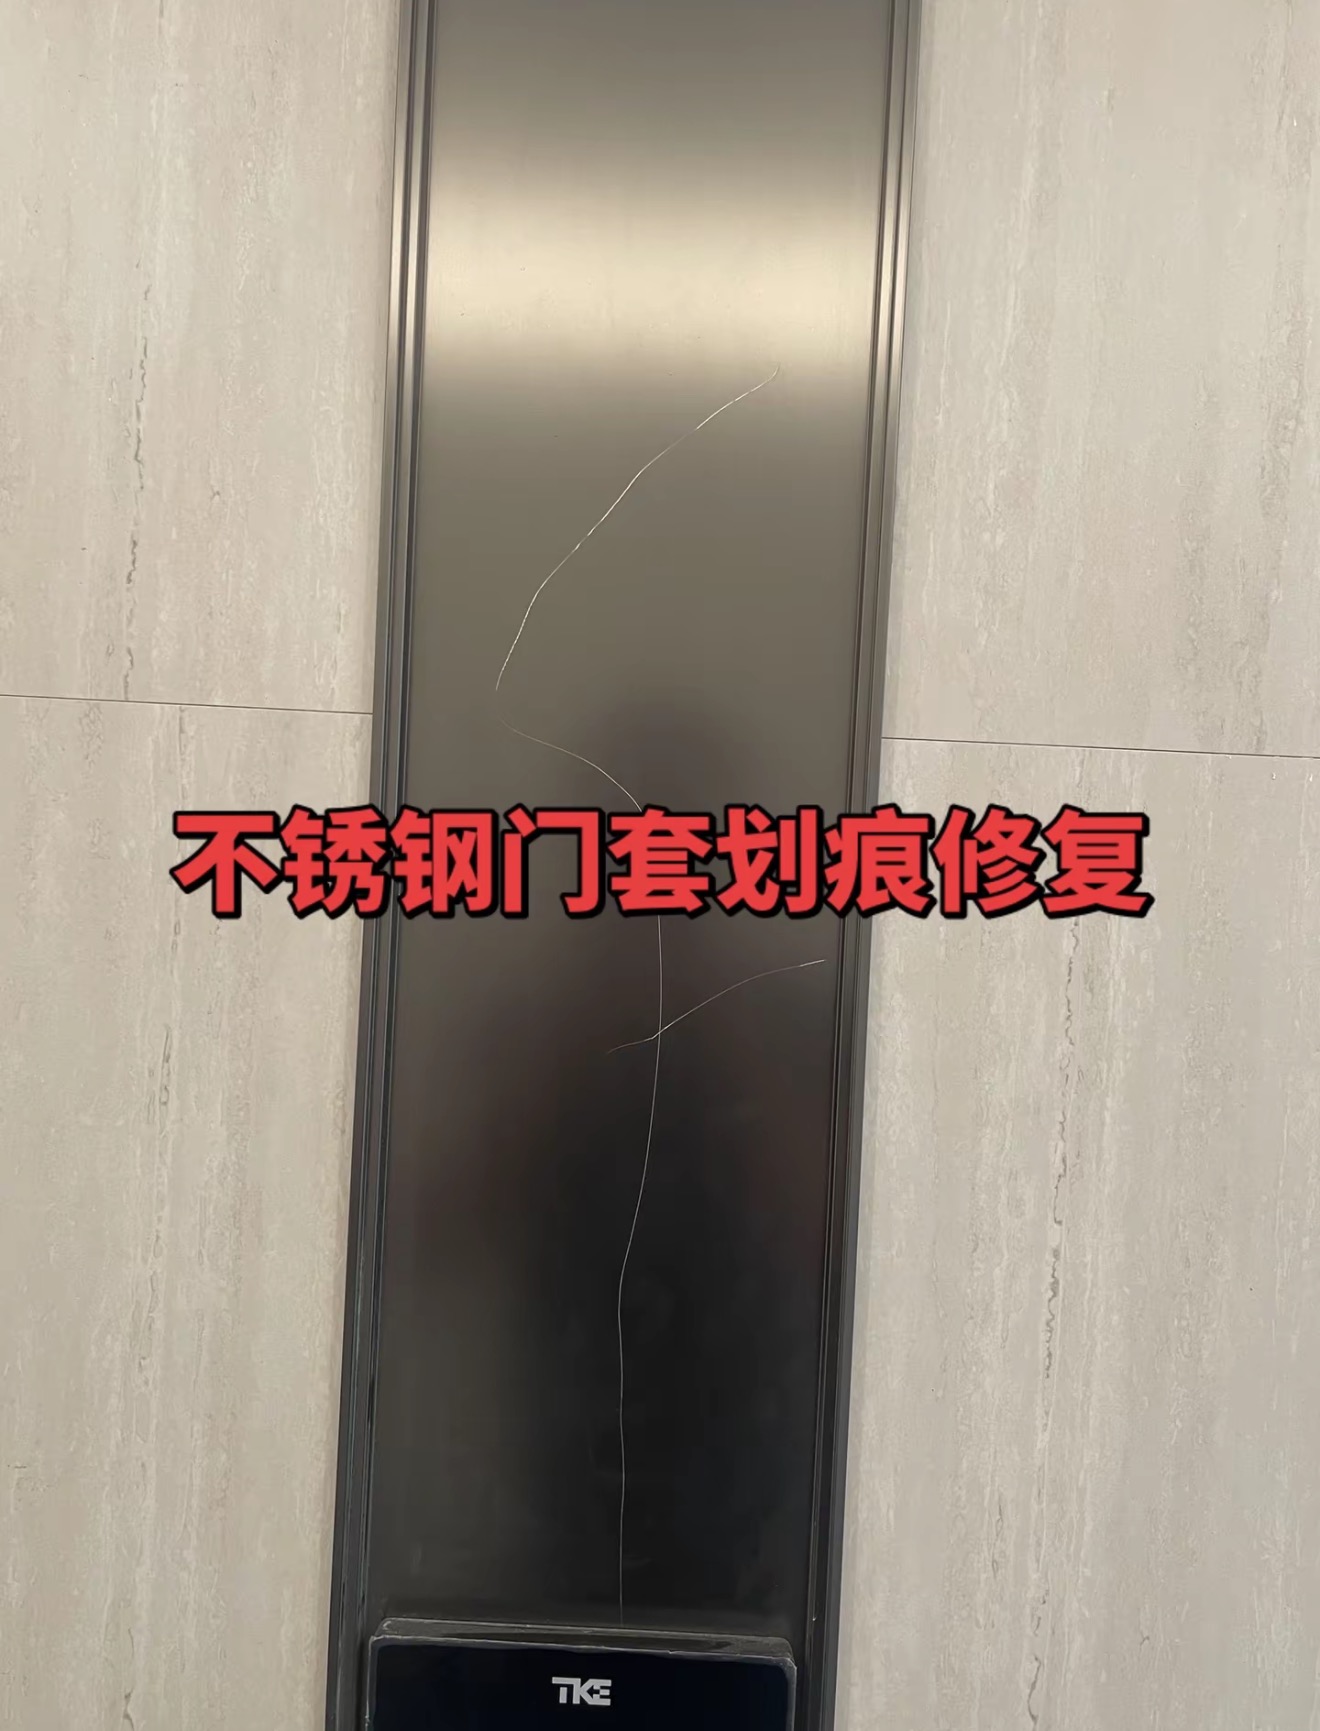
BeforeStainless Steel Door Surround Scratch Repair — Before: Long visible scratches on the stainless steel door surround.
Long visible scratches on the stainless steel door surround.
AfterStainless Steel Door Surround Scratch Repair — After: The same door surround panel after scratch repair and refinishing.
The same door surround panel after scratch repair and refinishing.

Tile Grouting Services

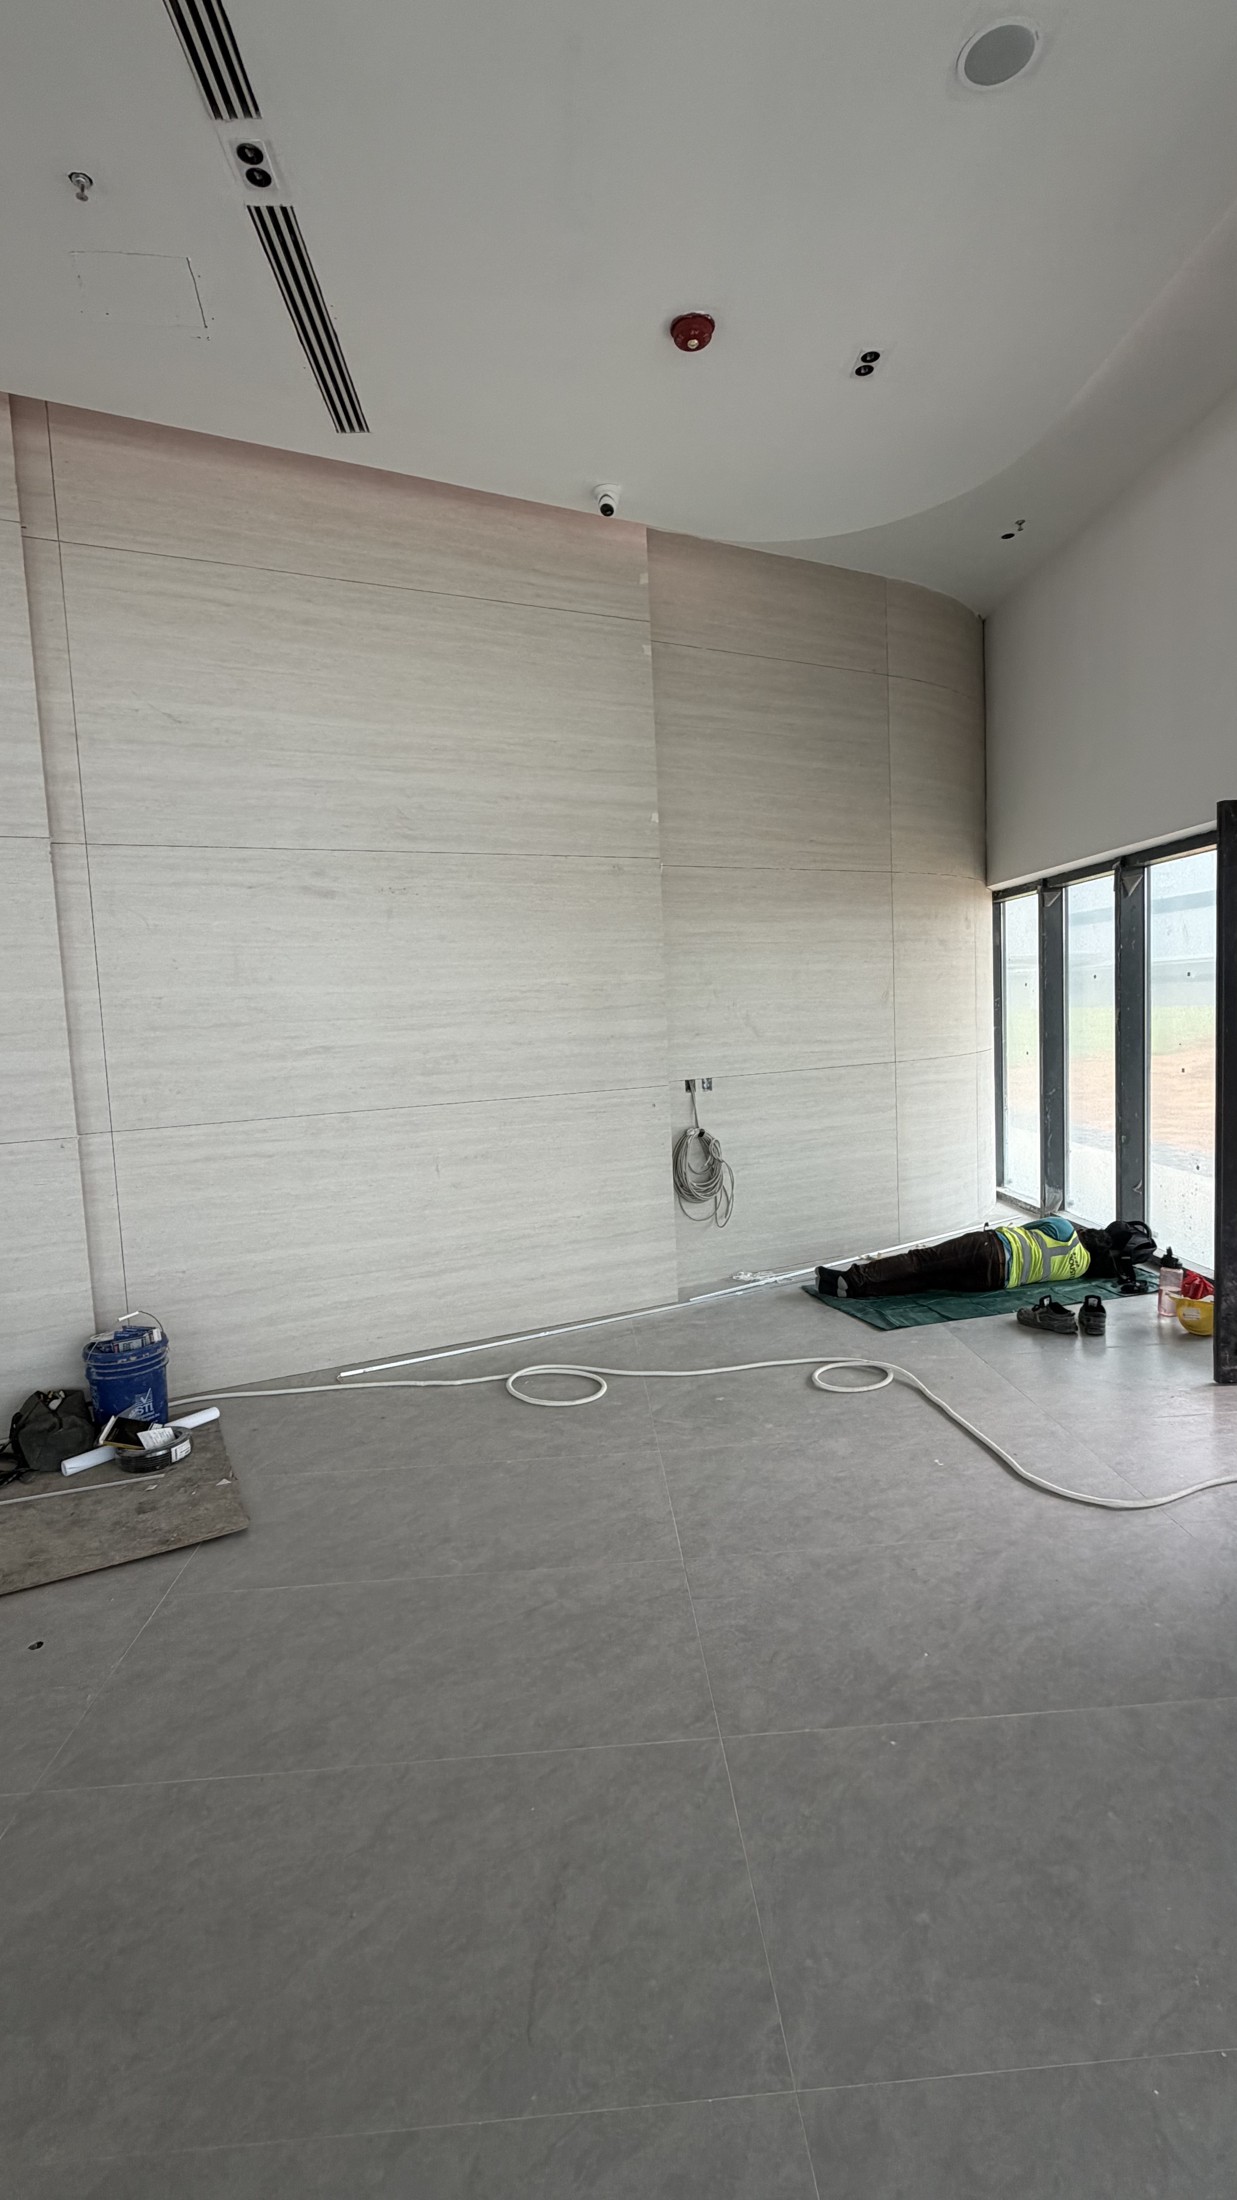
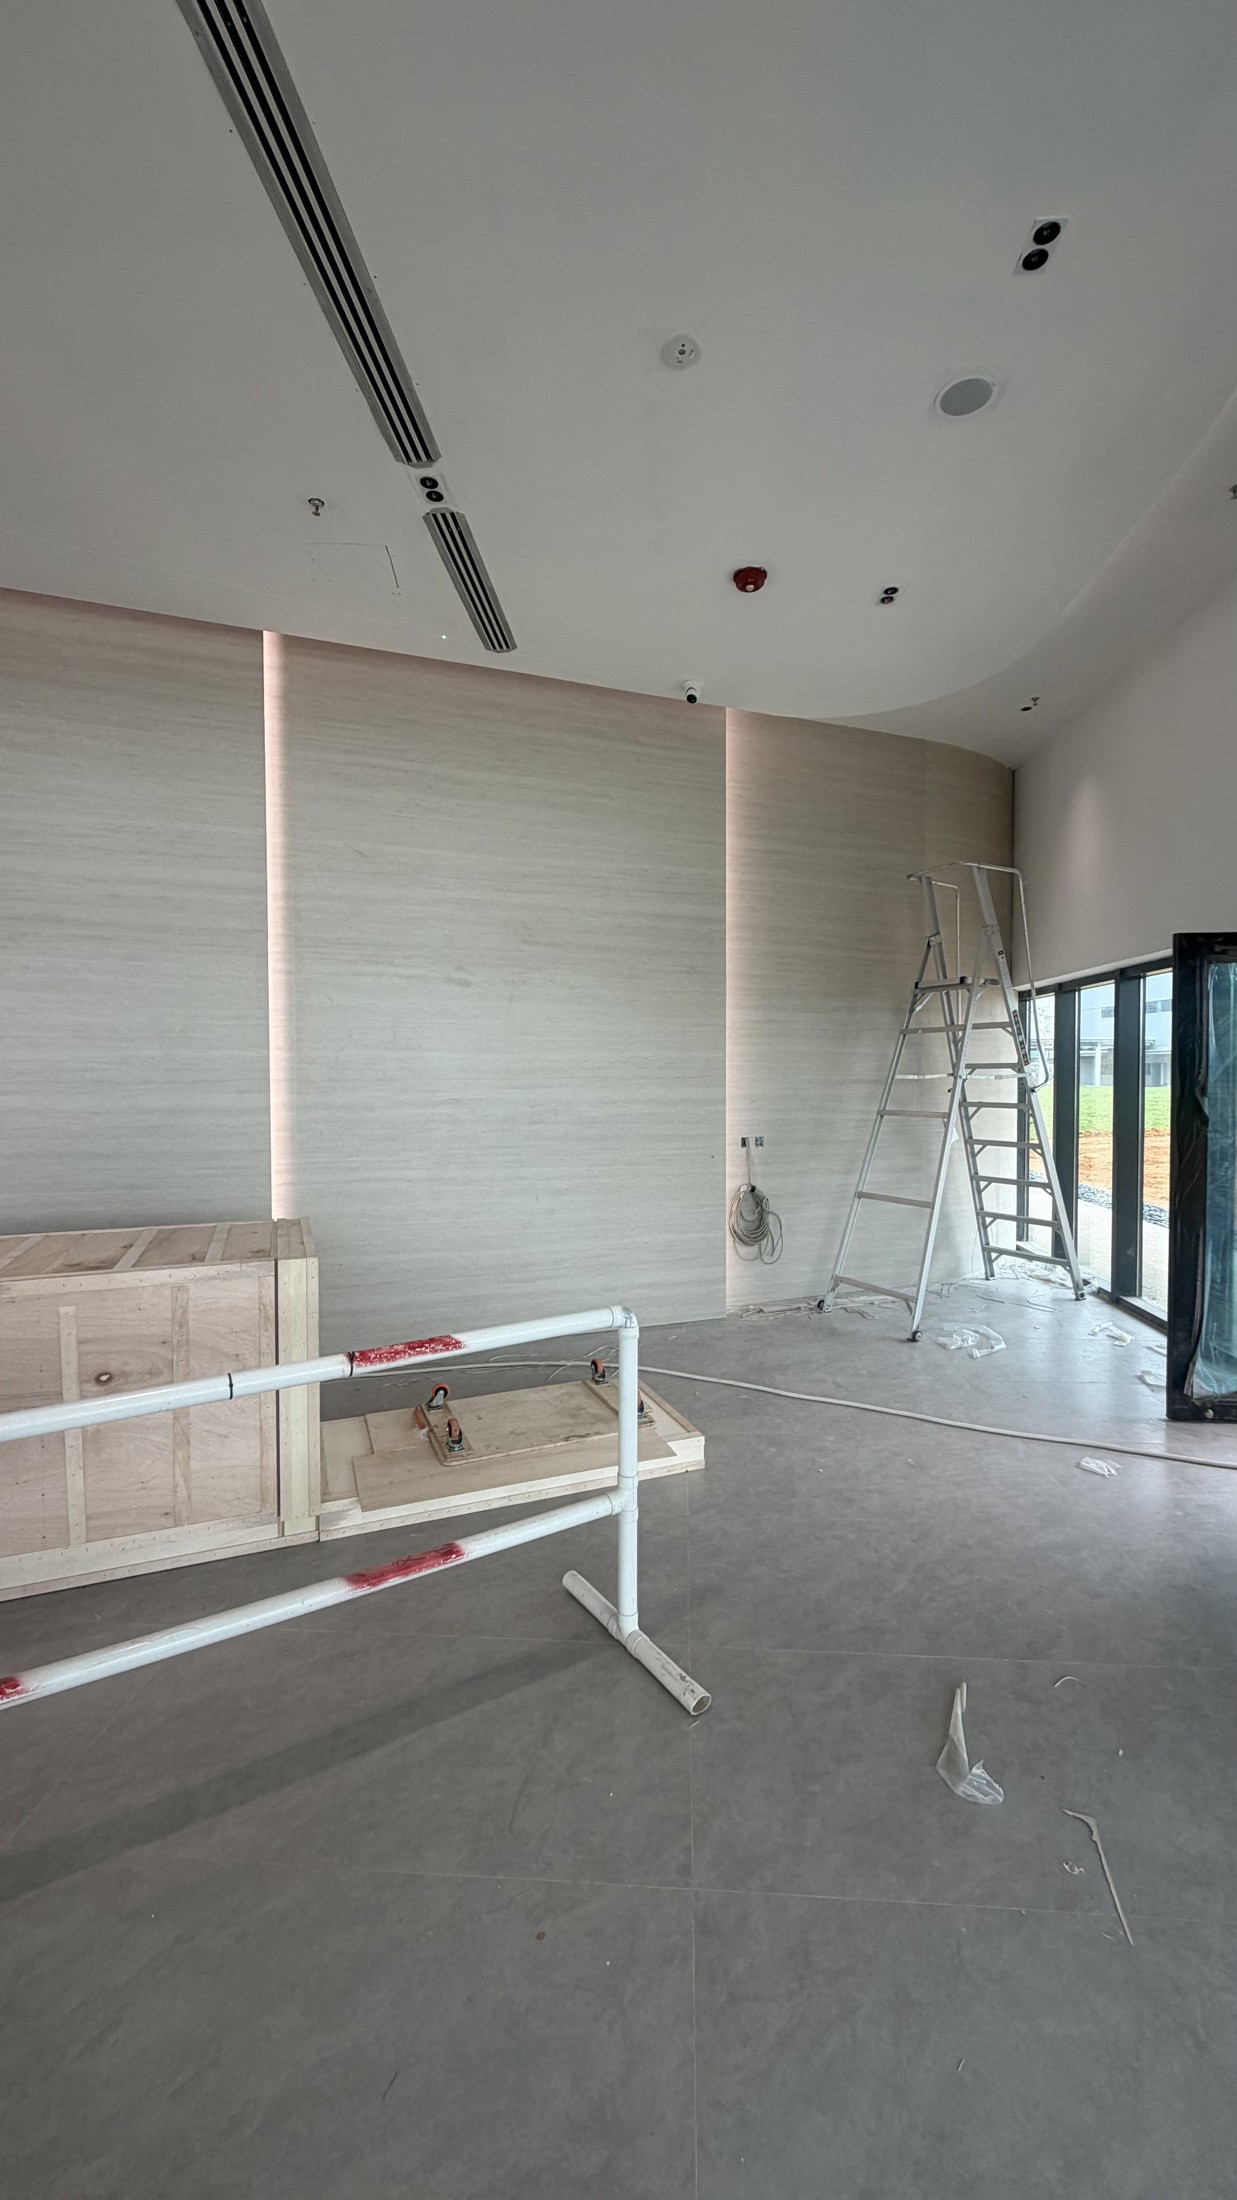
In ProgressTile Grouting - Commercial Wall and Floor Project — In Progress: Large-format wall and floor tiles at the project site.
In ProgressTile Grouting - Commercial Wall and Floor Project — In Progress: Wall and floor tile details during renovation.
Wall and floor tile details during renovation.
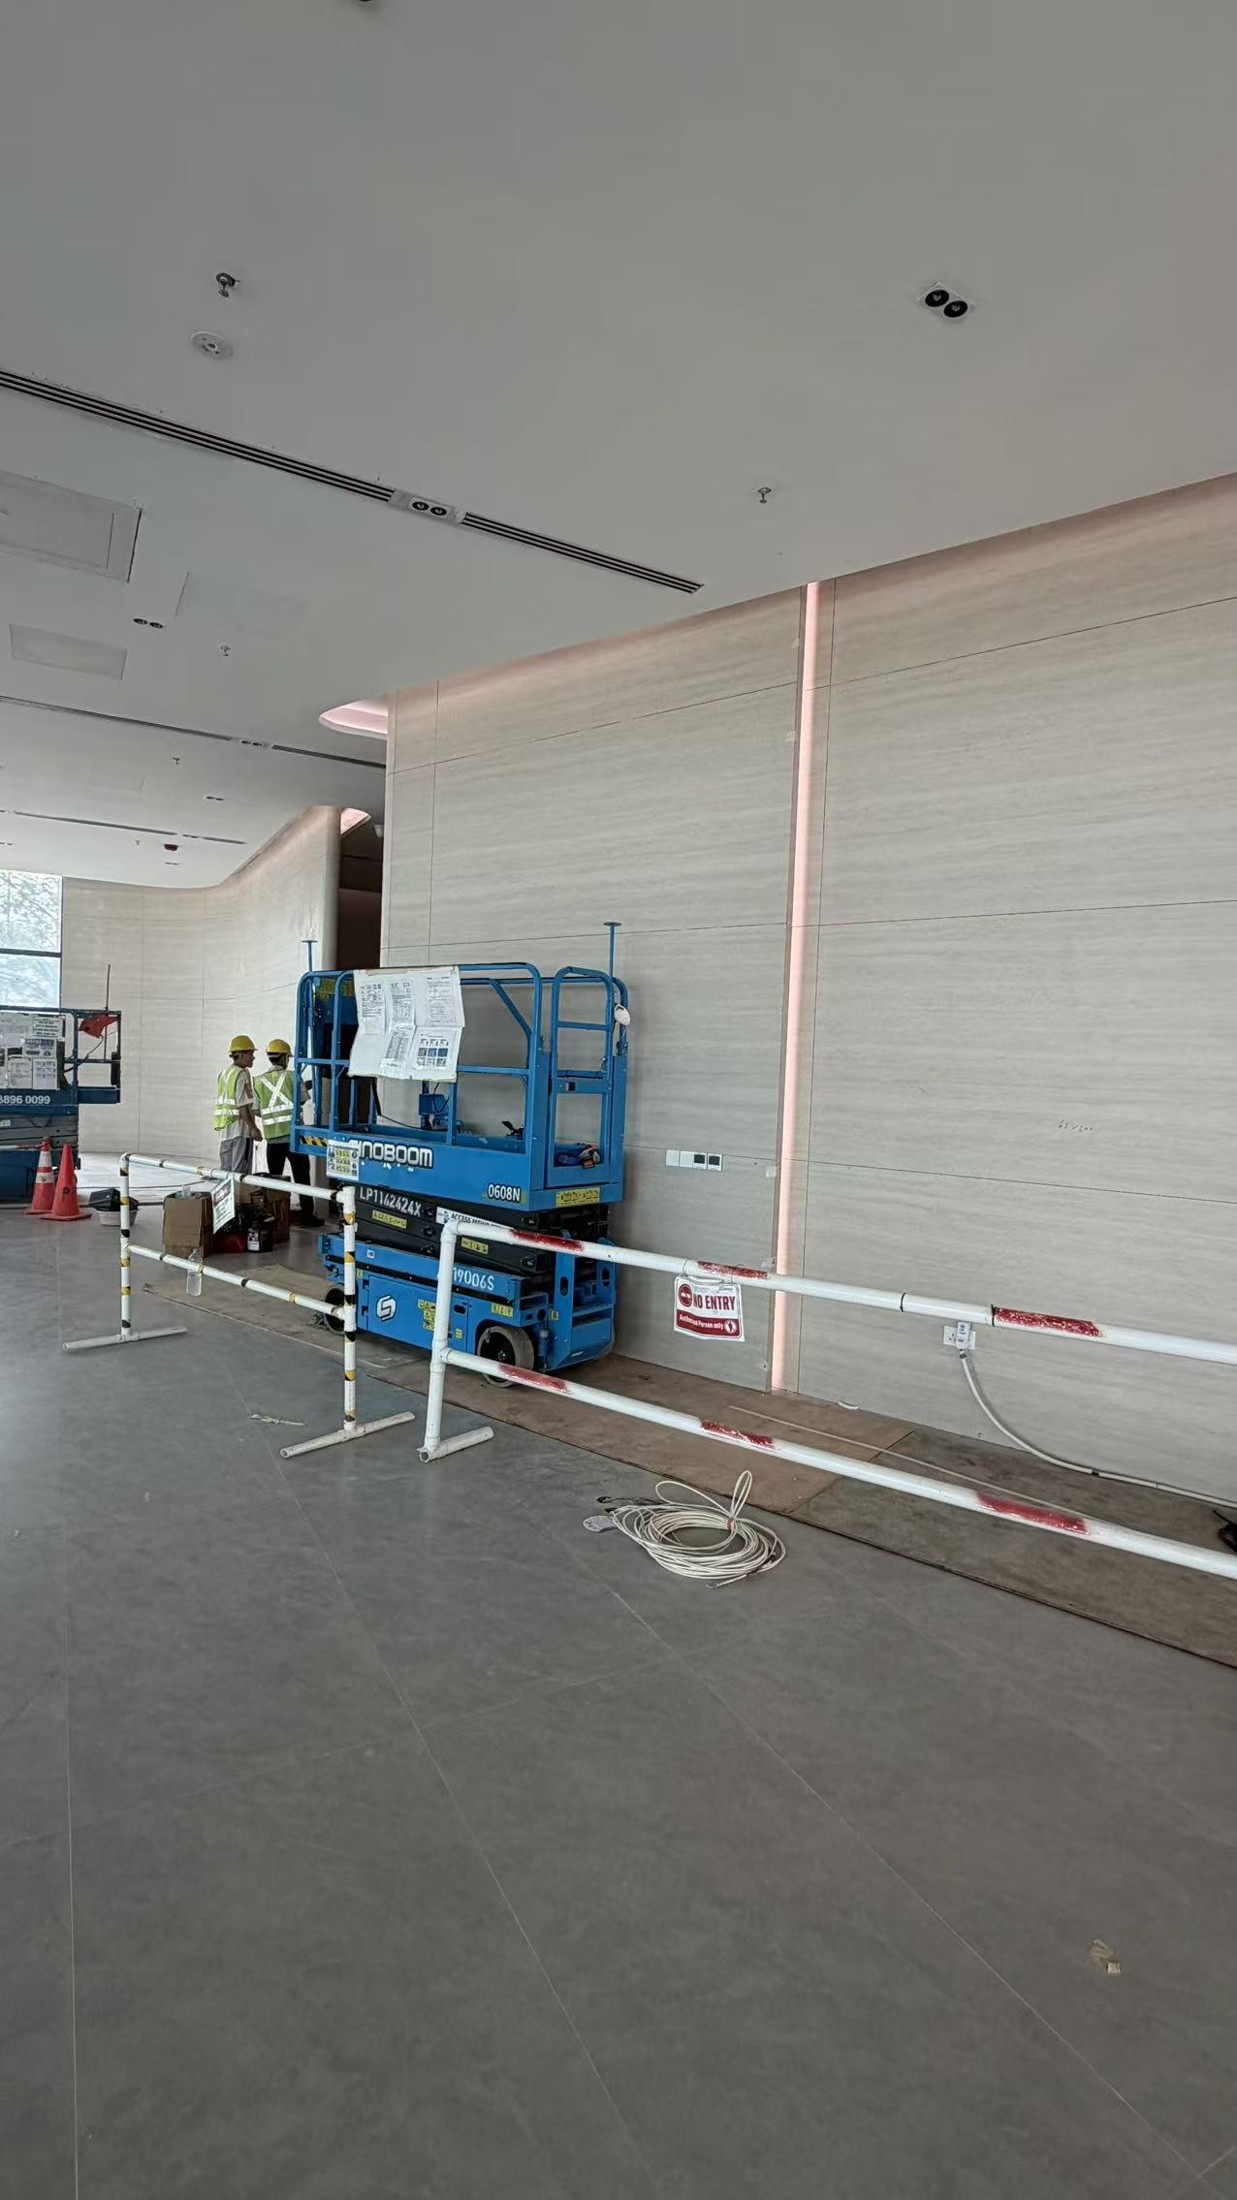
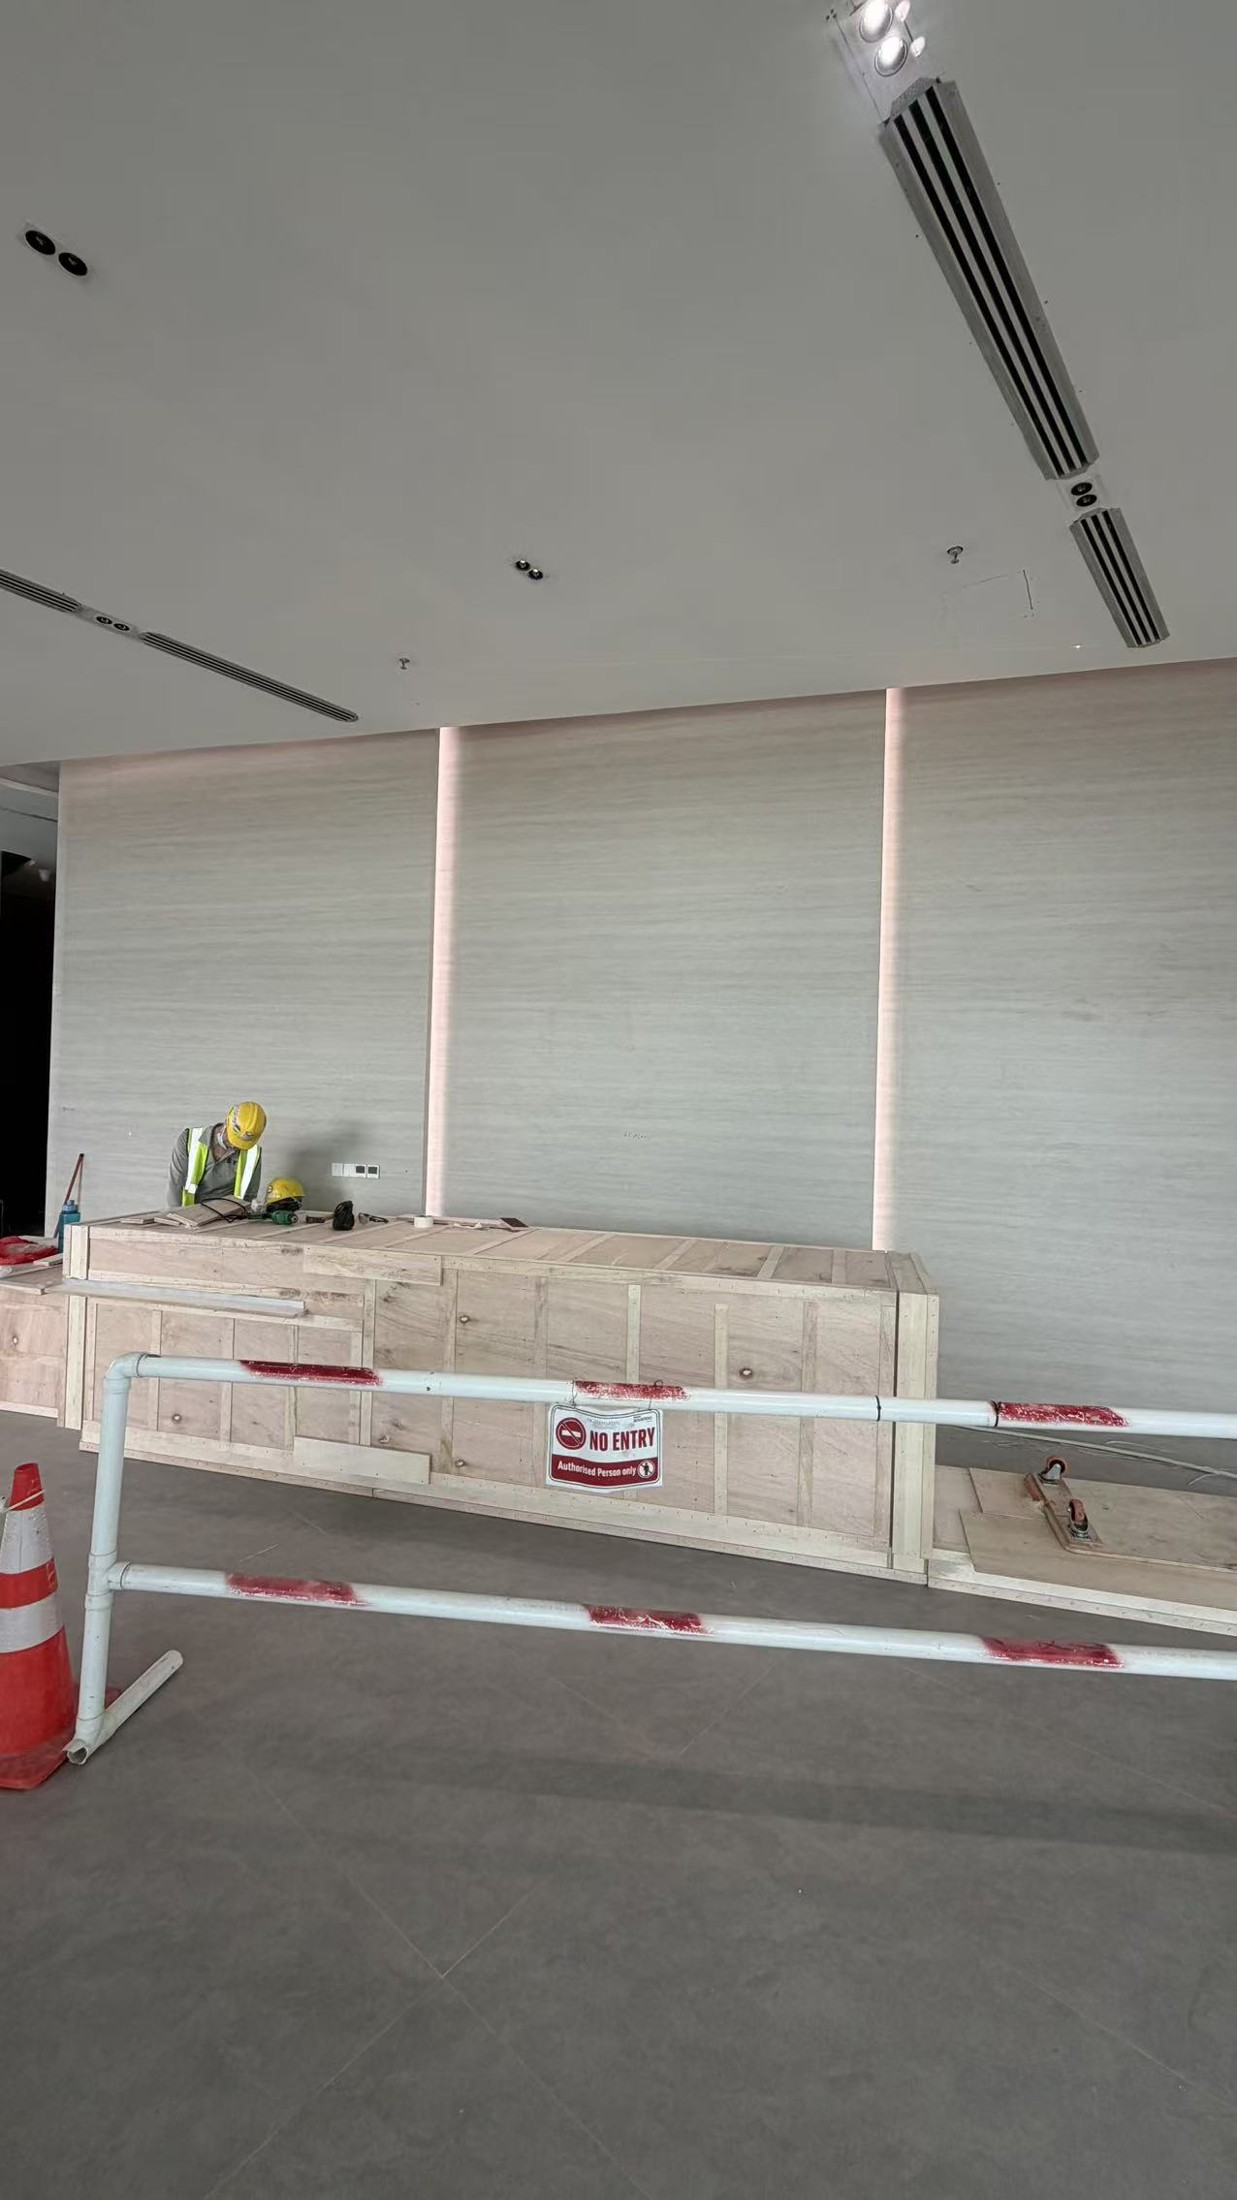
In ProgressTile Grouting - Commercial Wall and Floor Project — In Progress: Commercial wall tiling with on-site access equipment.
Commercial wall tiling with on-site access equipment.
In ProgressTile Grouting - Commercial Wall and Floor Project — In Progress: Wall tile joints and recessed lighting during site works.
Wall tile joints and recessed lighting during site works.
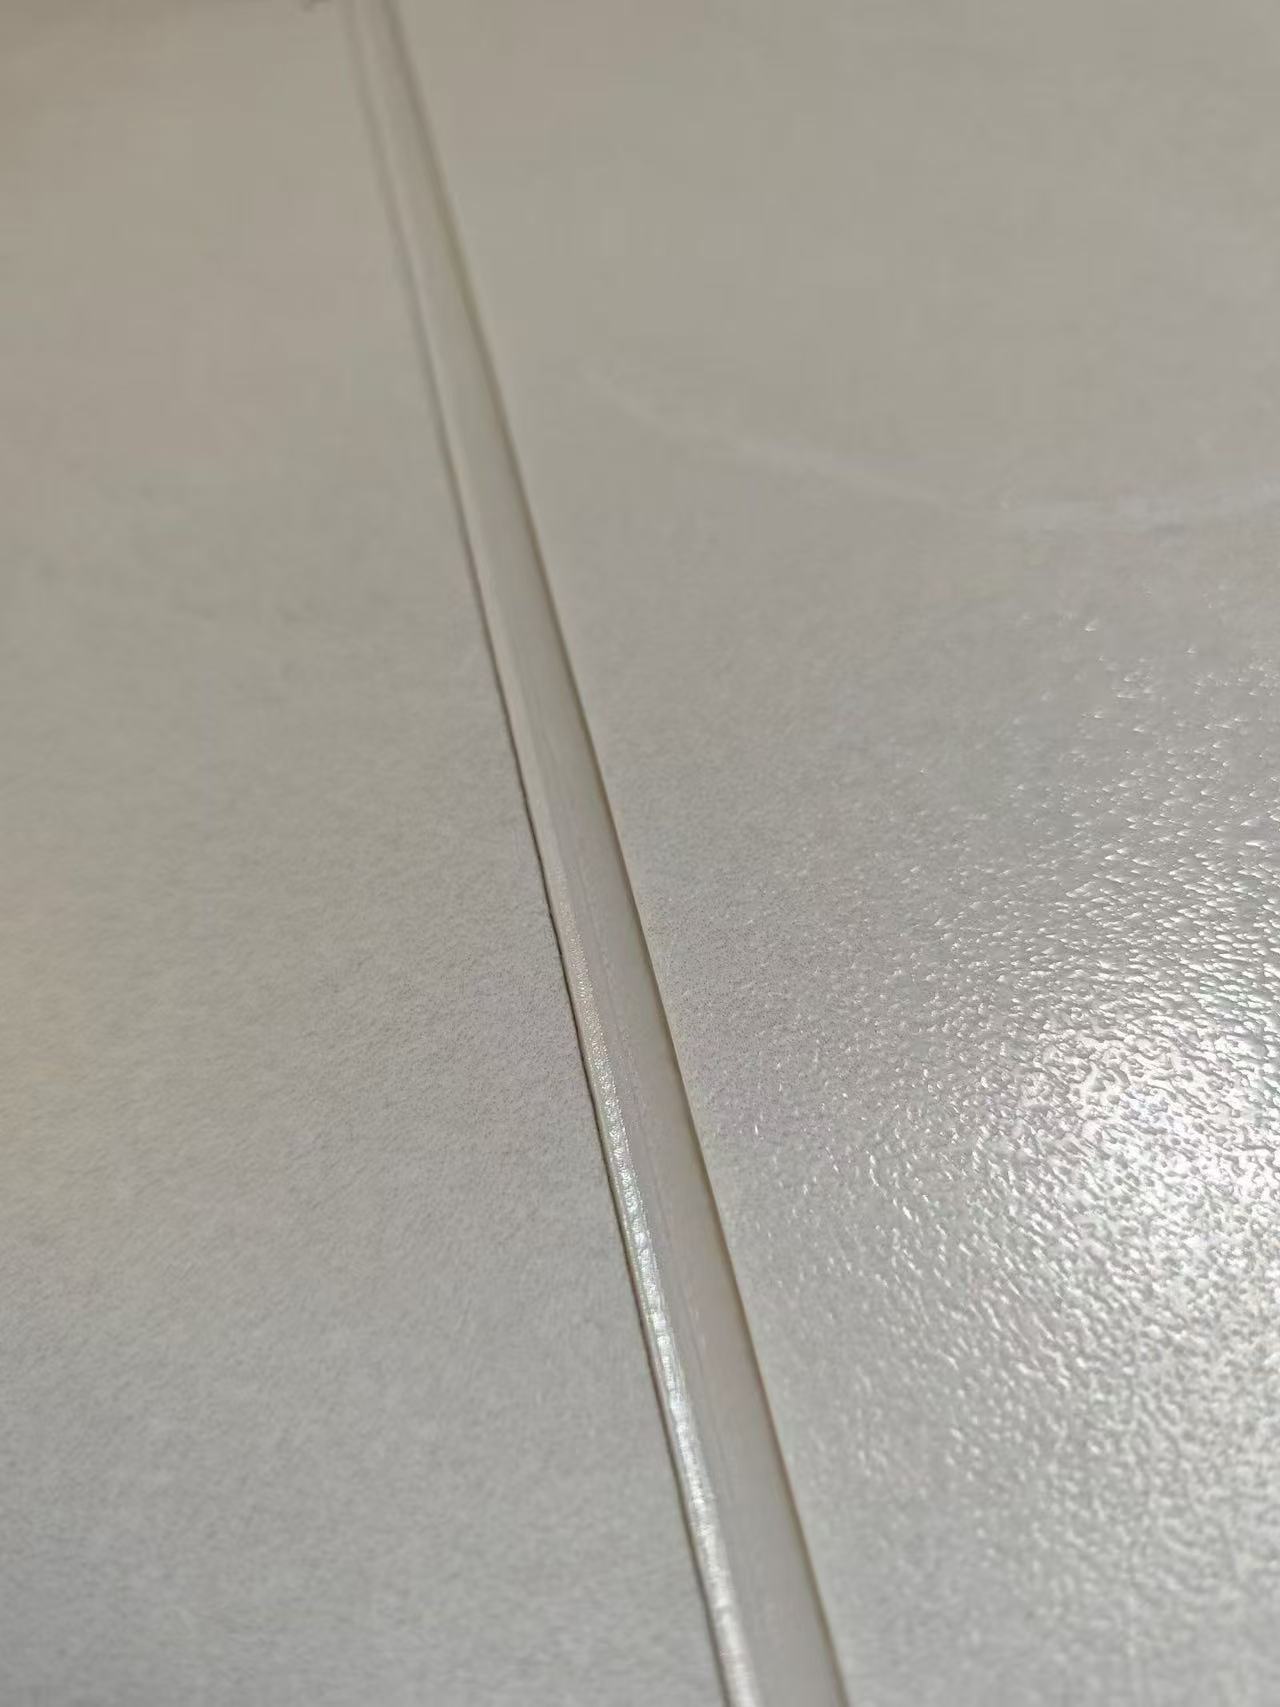
AfterTile Grouting & Epoxy Grout - Finished Work 8 — After: Finished tile grout detail.
Finished tile grout detail.
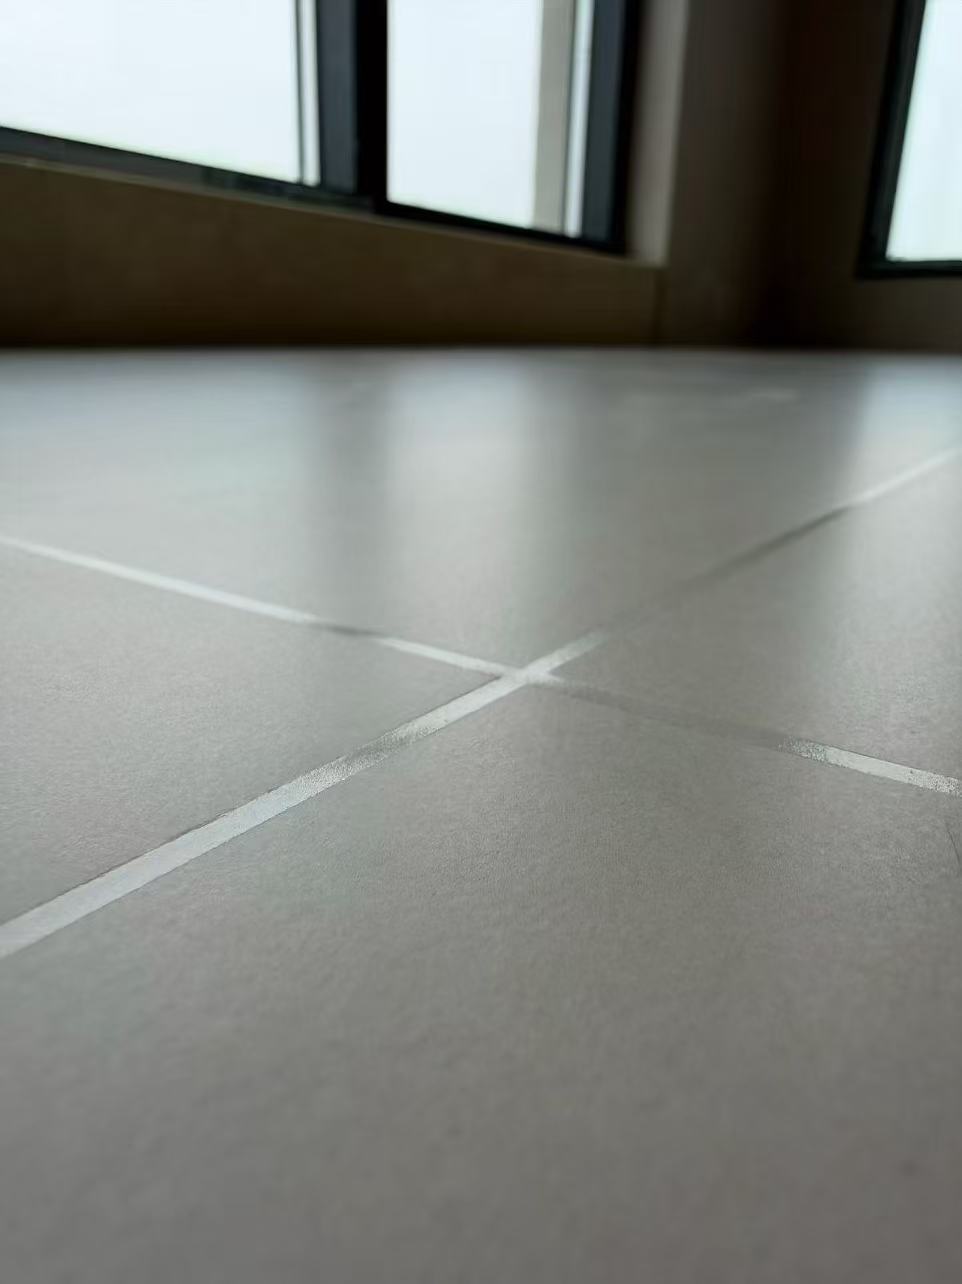
AfterTile Grouting & Epoxy Grout - Finished Work 9 — After: Finished tile grout detail.
Finished tile grout detail.
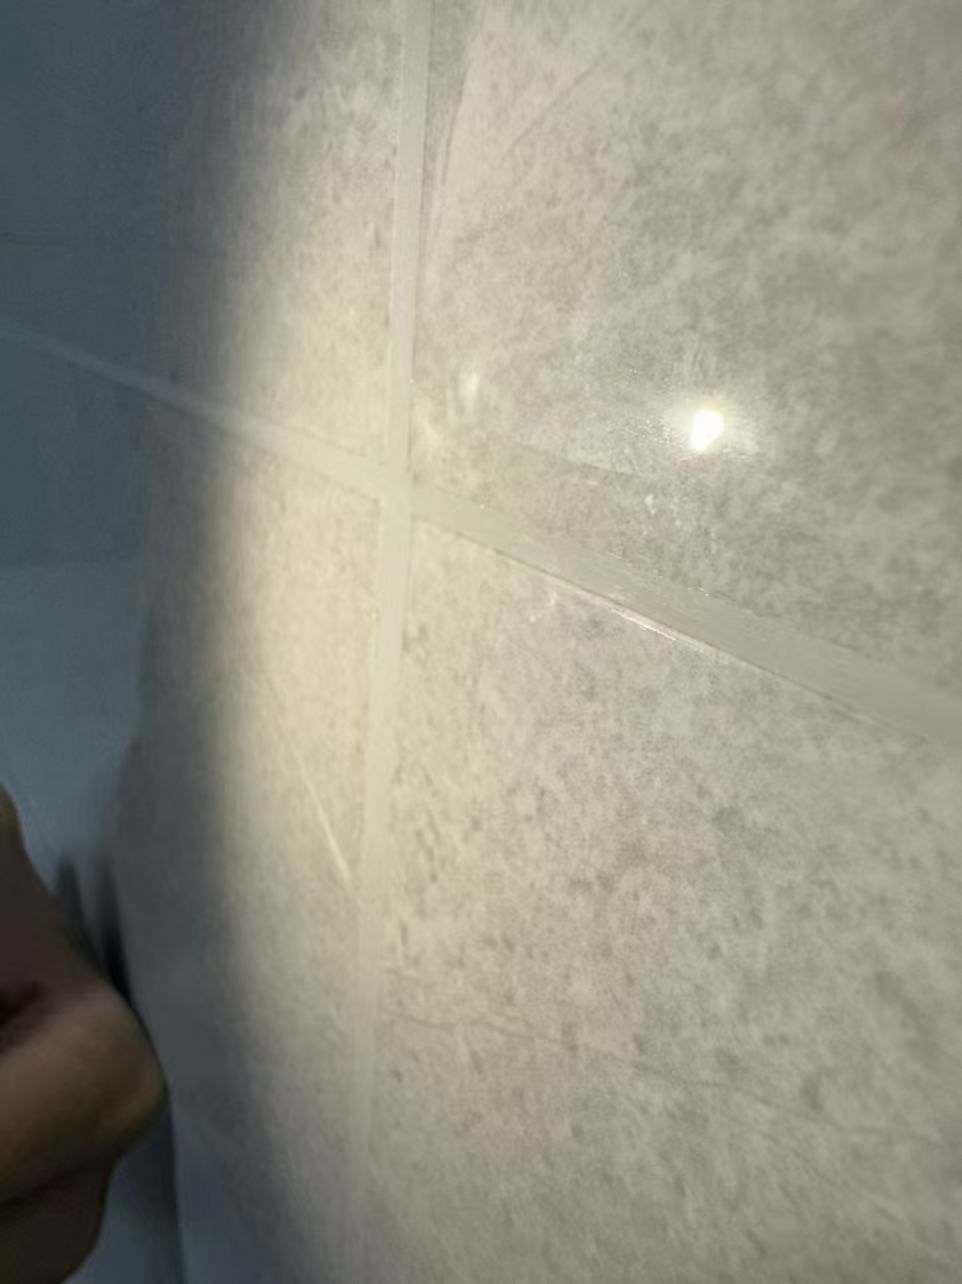
AfterTile Grouting & Epoxy Grout - Finished Work 10 — After: Finished tile grout detail.
Finished tile grout detail.
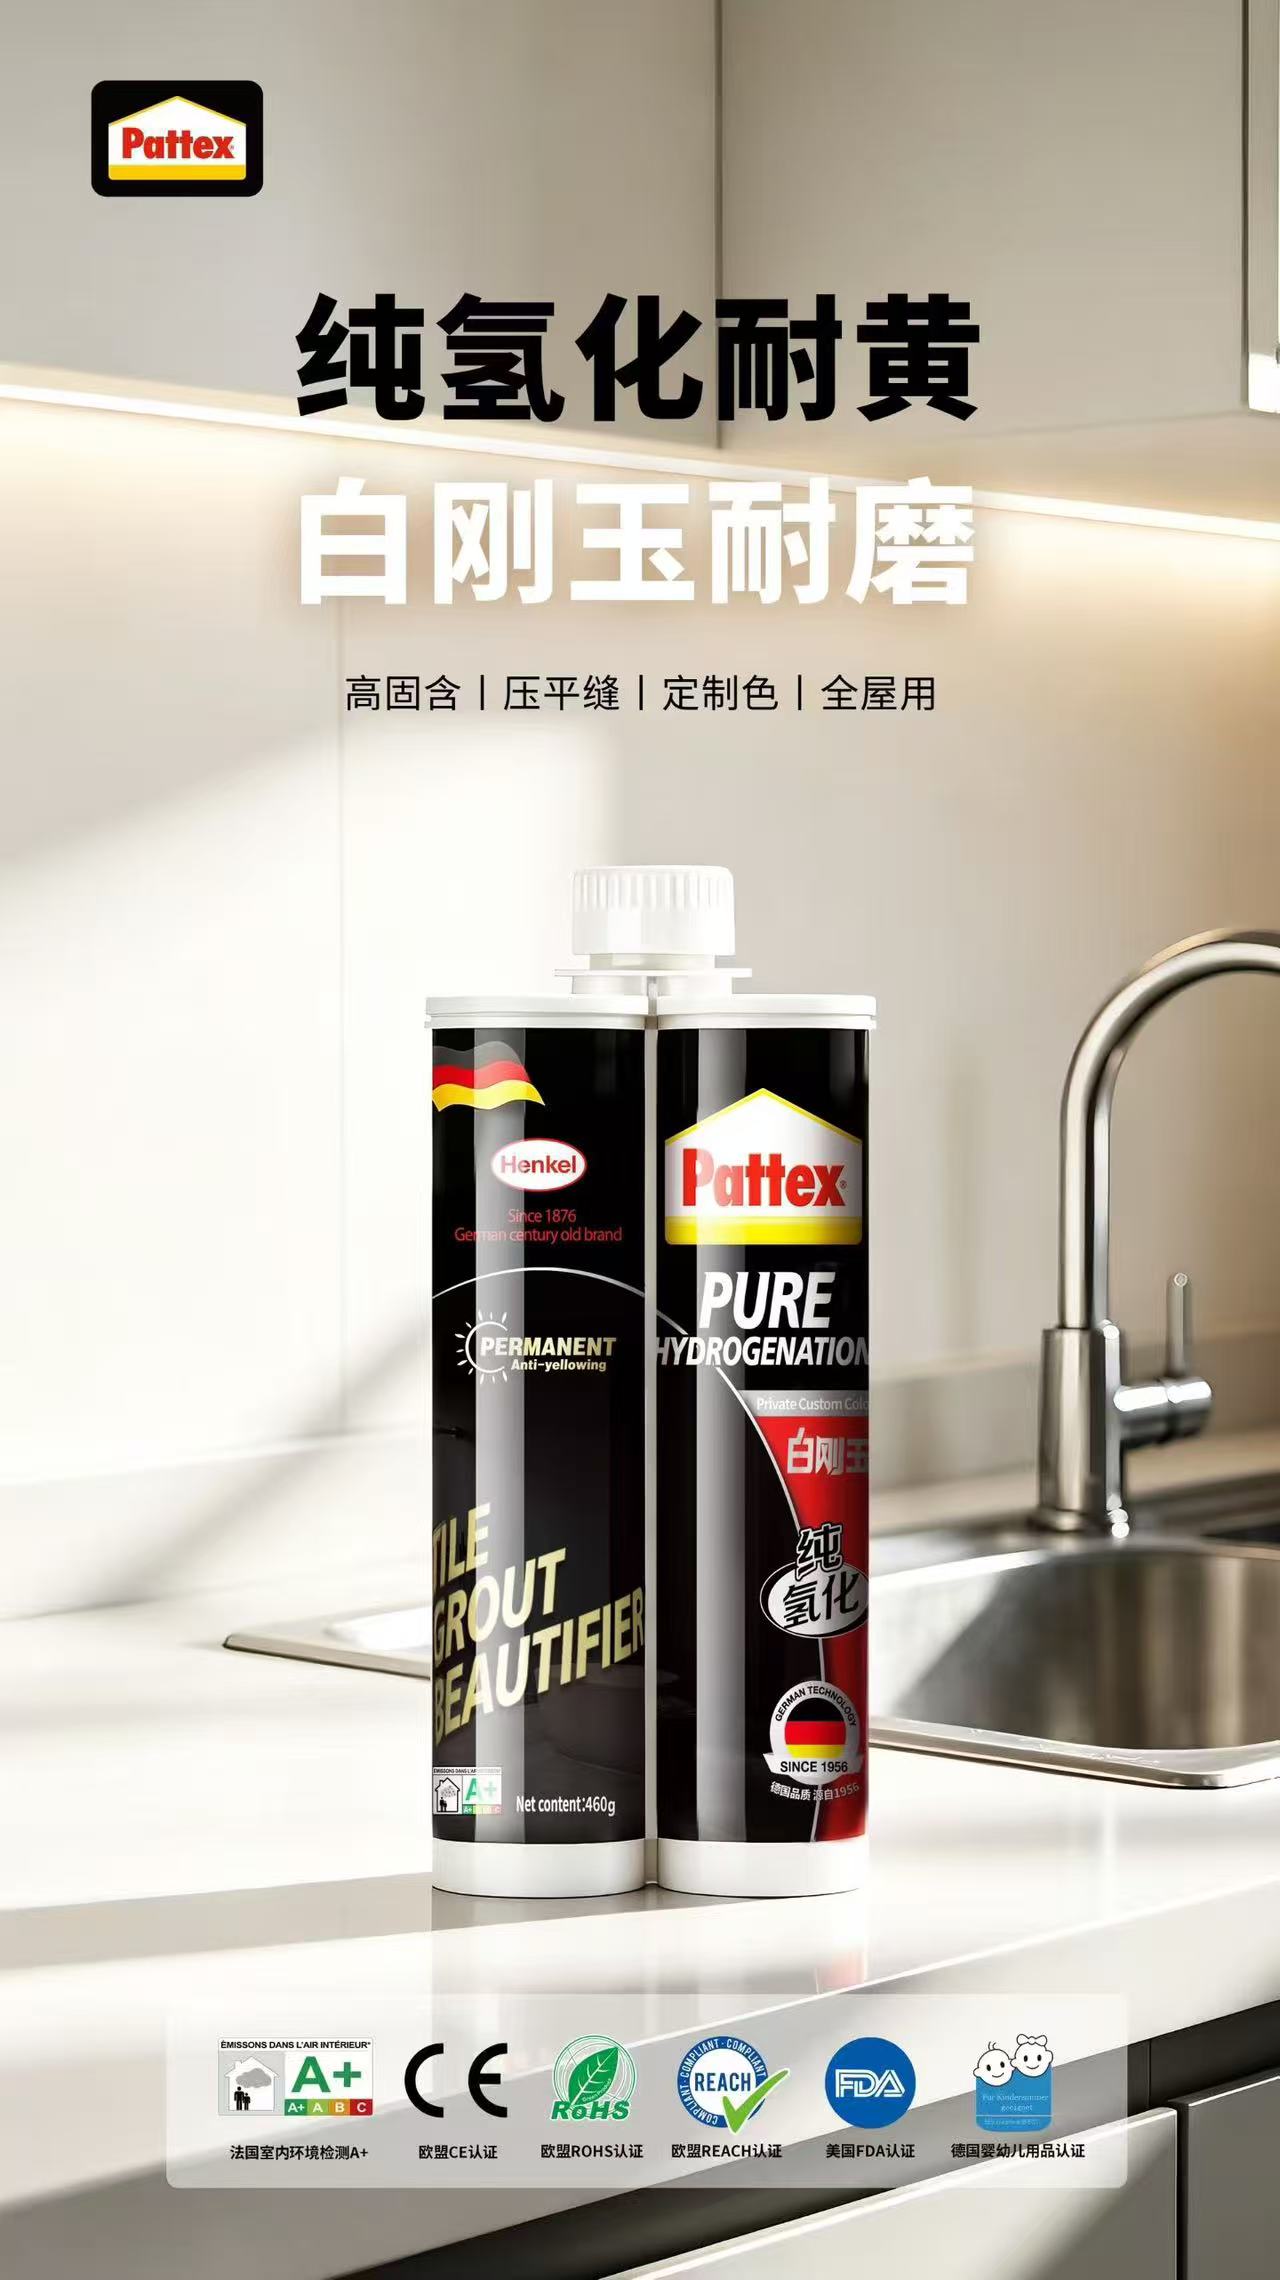
ProductTile Grouting & Epoxy Grout - Product 1 — Product: Pattex tile grout product information.
Pattex tile grout product information.
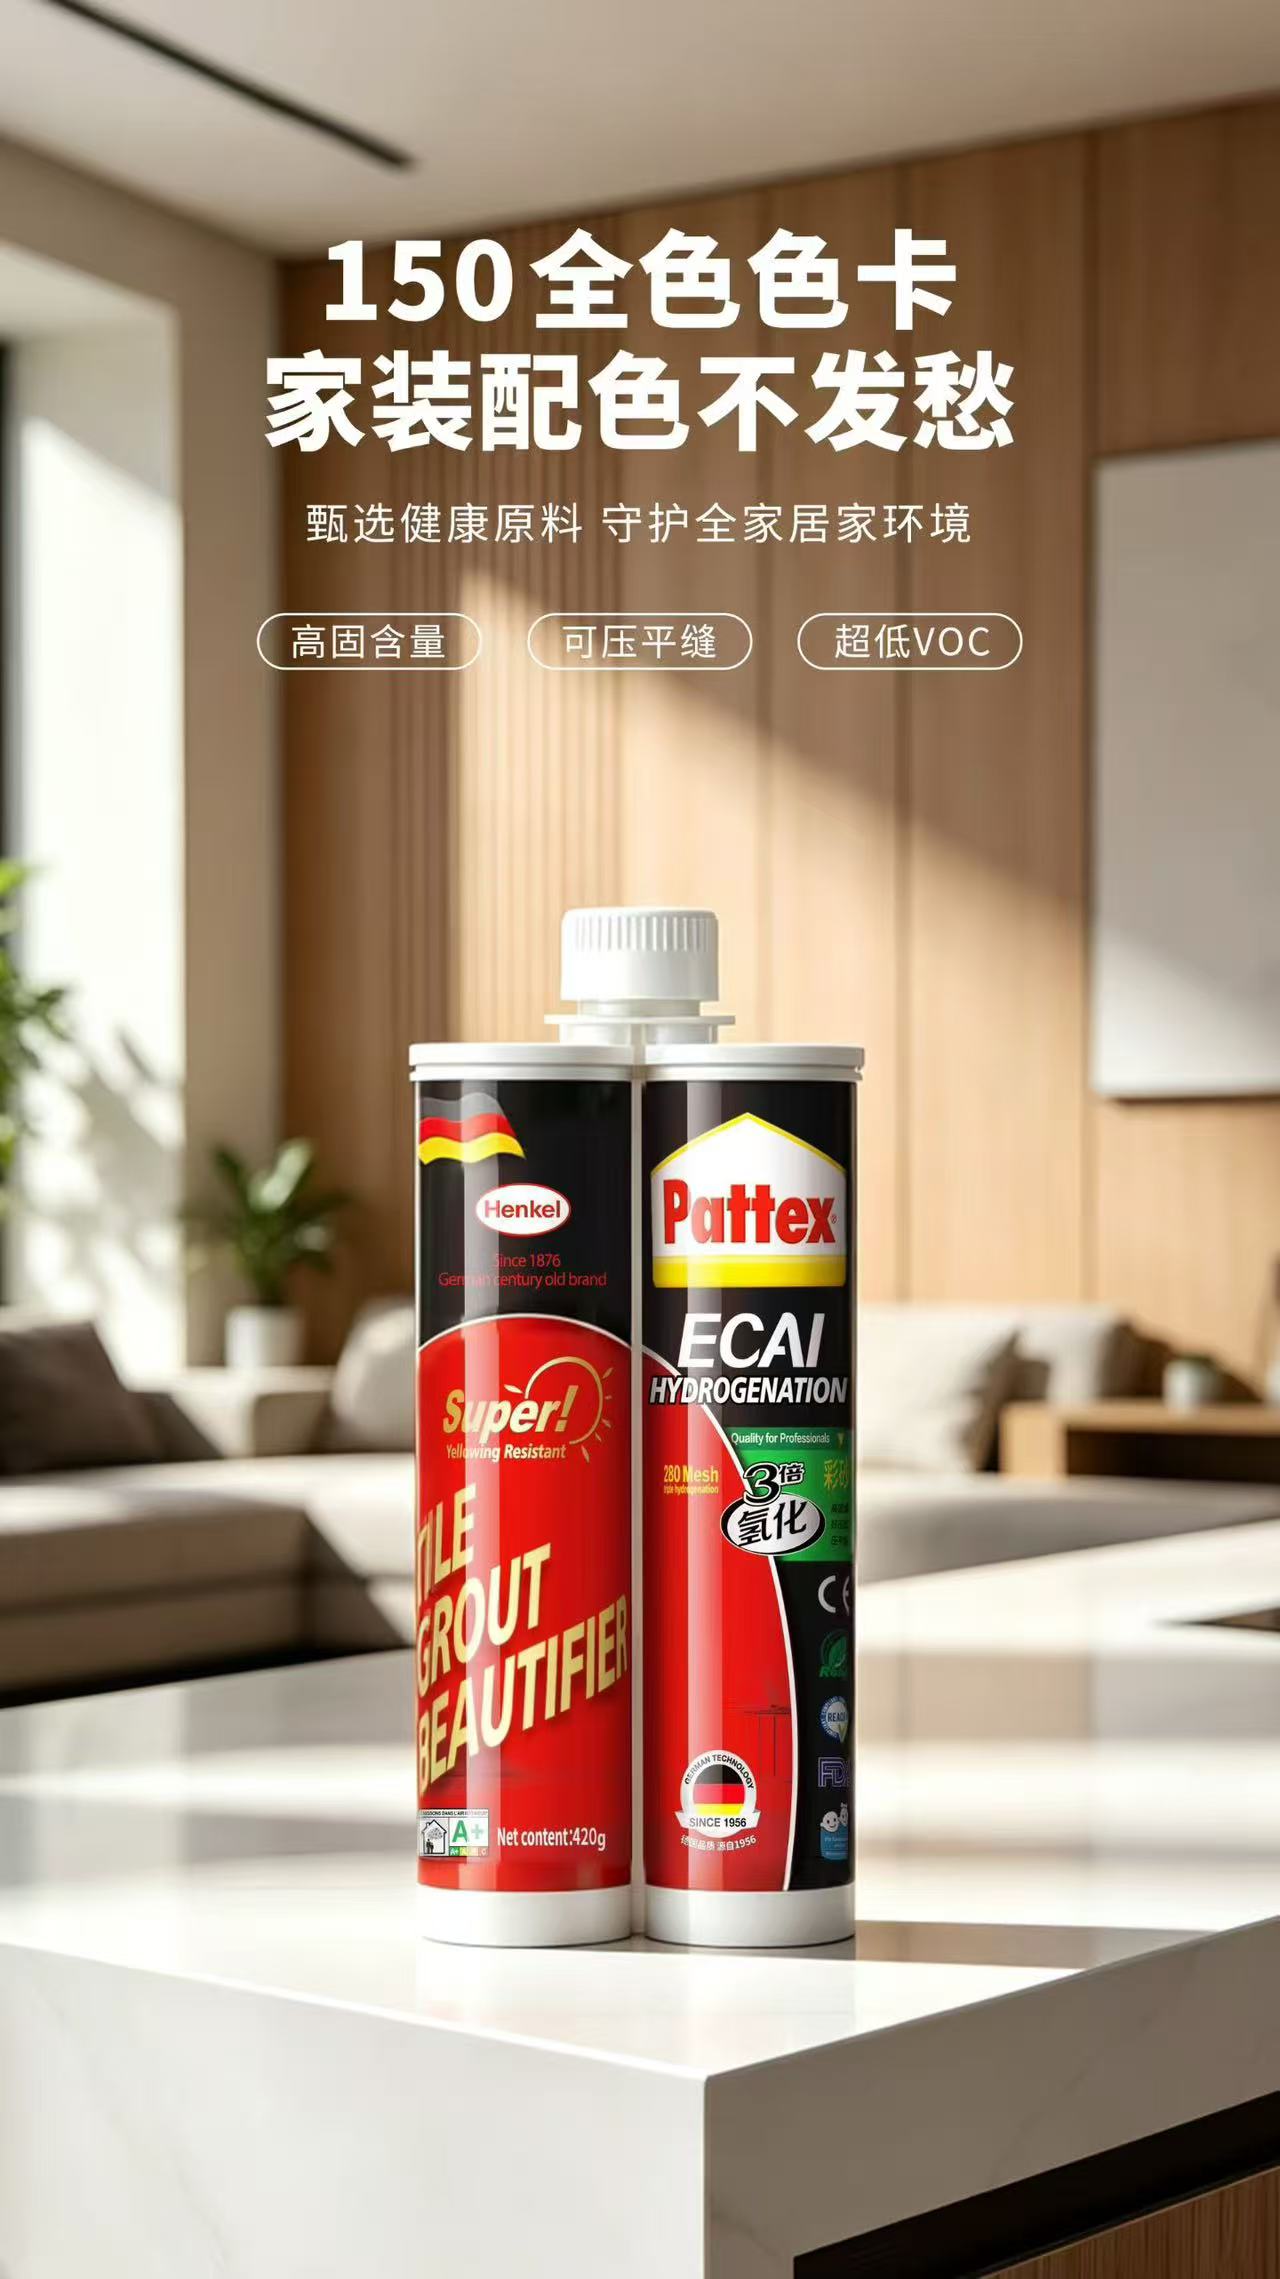
ProductTile Grouting & Epoxy Grout - Product 2 — Product: Pattex tile grout product information.
Pattex tile grout product information.
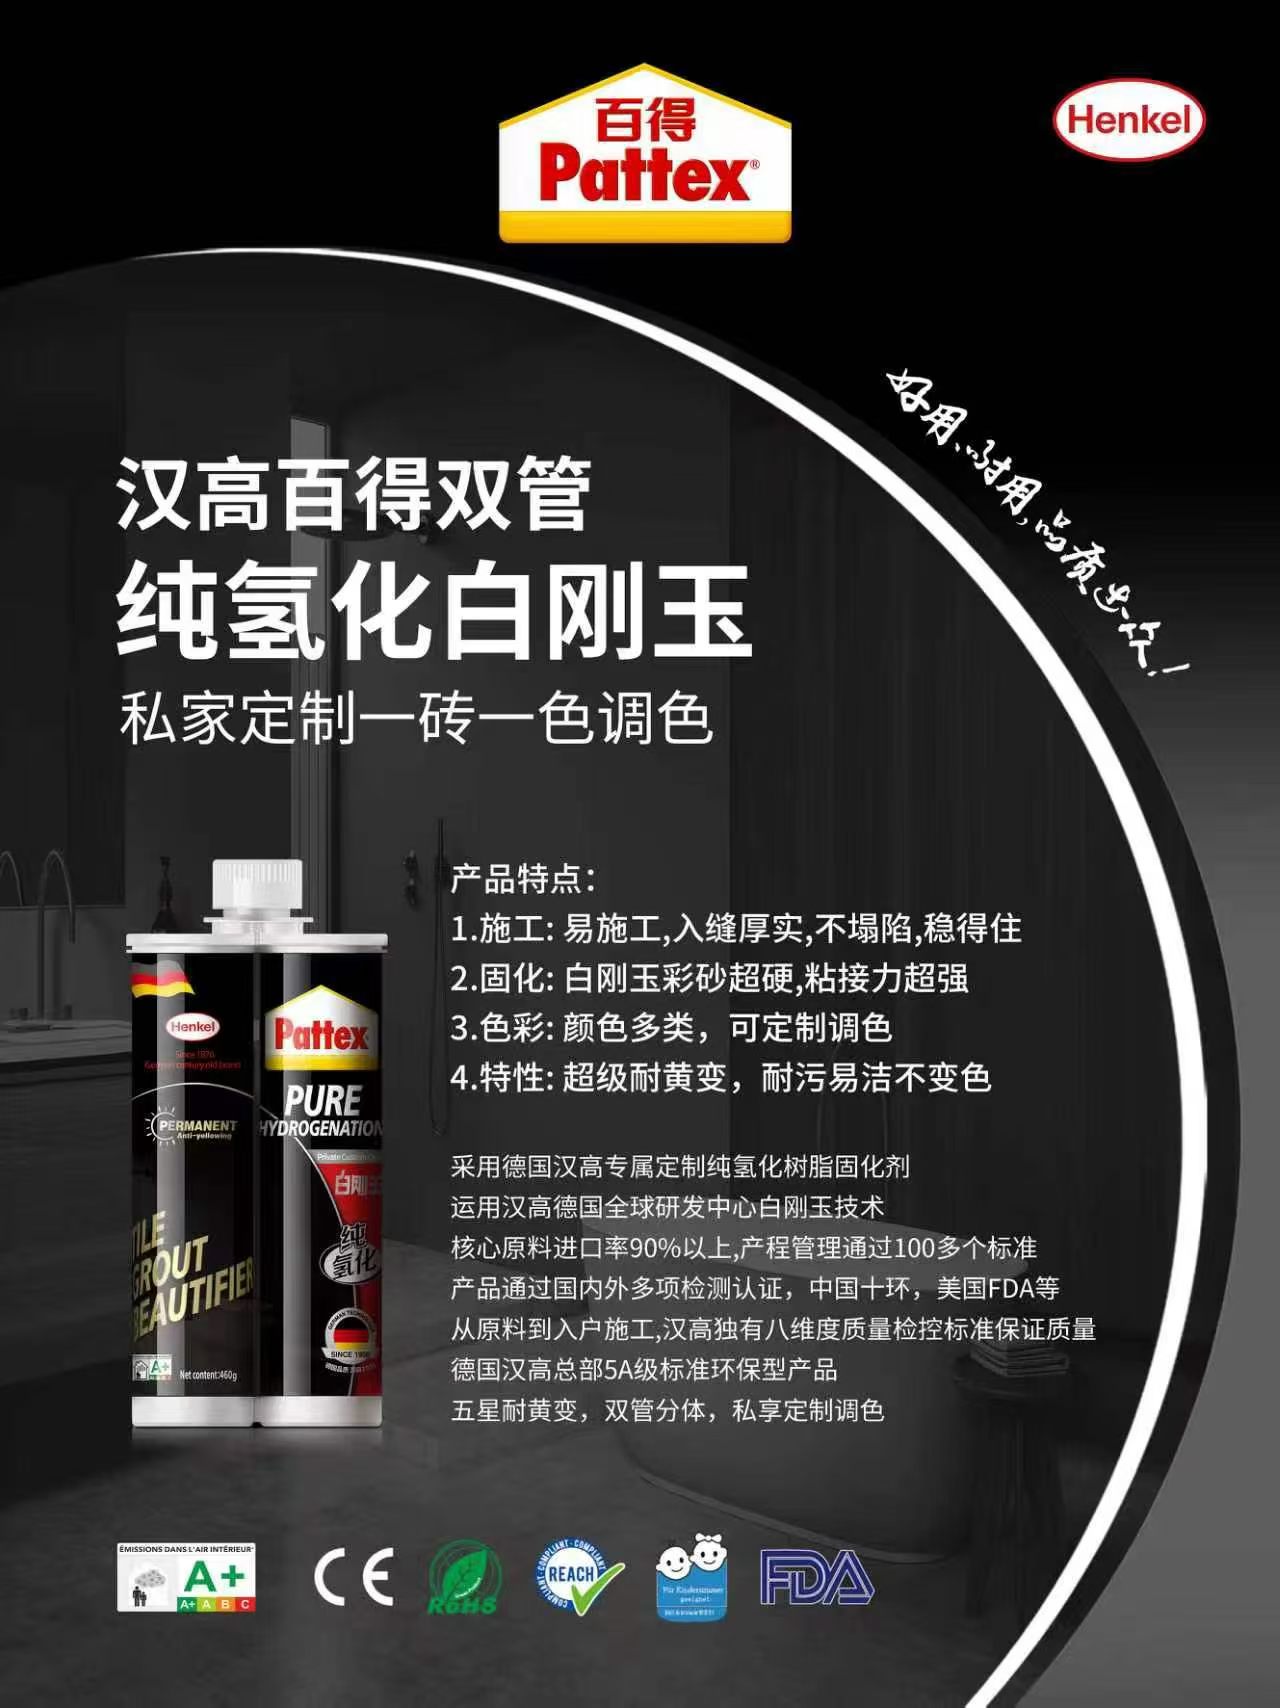
ProductTile Grouting & Epoxy Grout - Product 3 — Product: Pattex tile grout product information.
Pattex tile grout product information.
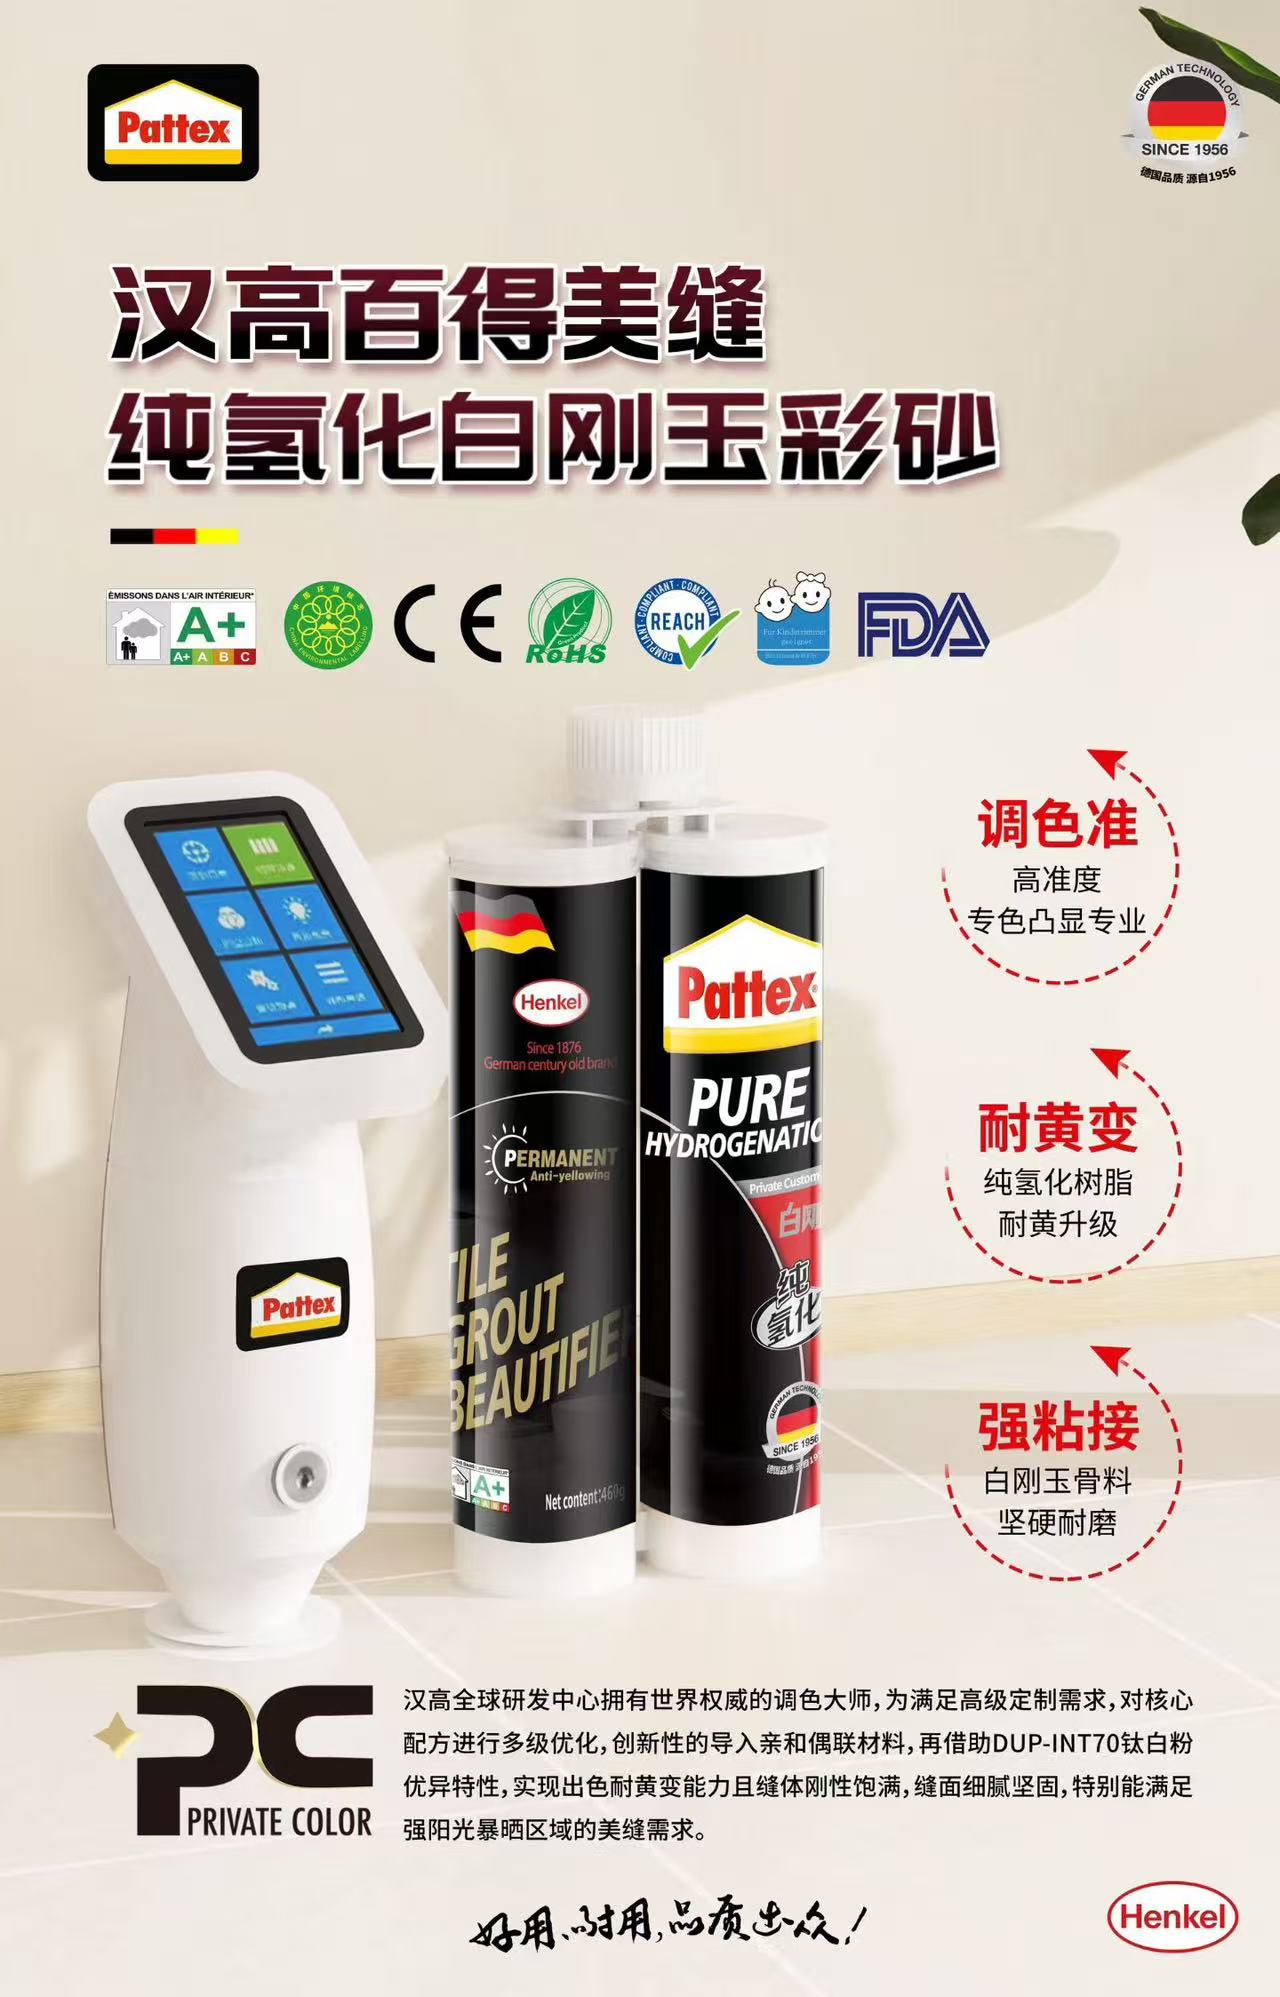
ProductTile Grouting & Epoxy Grout - Product 4 — Product: Pattex tile grout product information.
Pattex tile grout product information.
ProductTile Grouting & Epoxy Grout - Product 5 — Product: Pattex tile grout product information.
Pattex tile grout product information.
ProductTile Grouting & Epoxy Grout - Product 6 — Product: Pattex tile grout product information.
Pattex tile grout product information.
ProductTile Grouting & Epoxy Grout - Product 7 — Product: Pattex tile grout product information.
Pattex tile grout product information.

Custom Carpentry & Installation

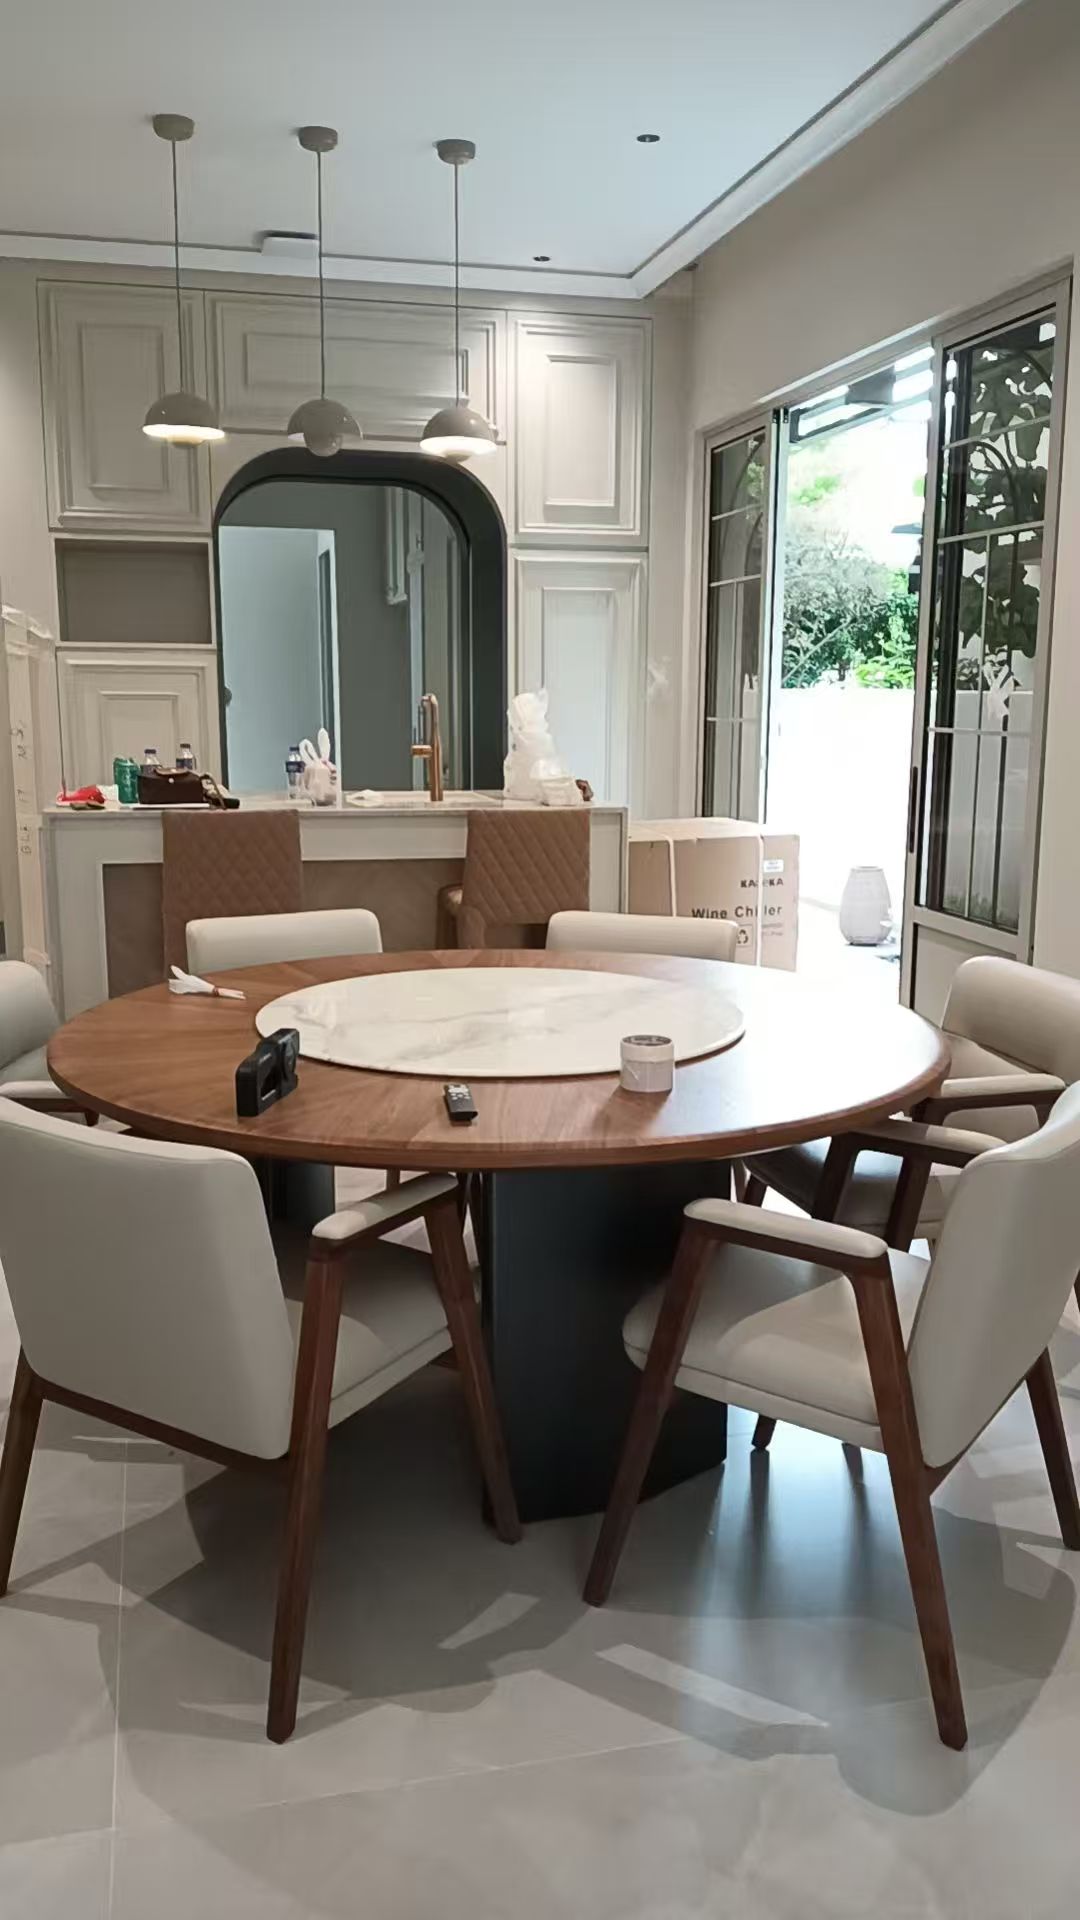
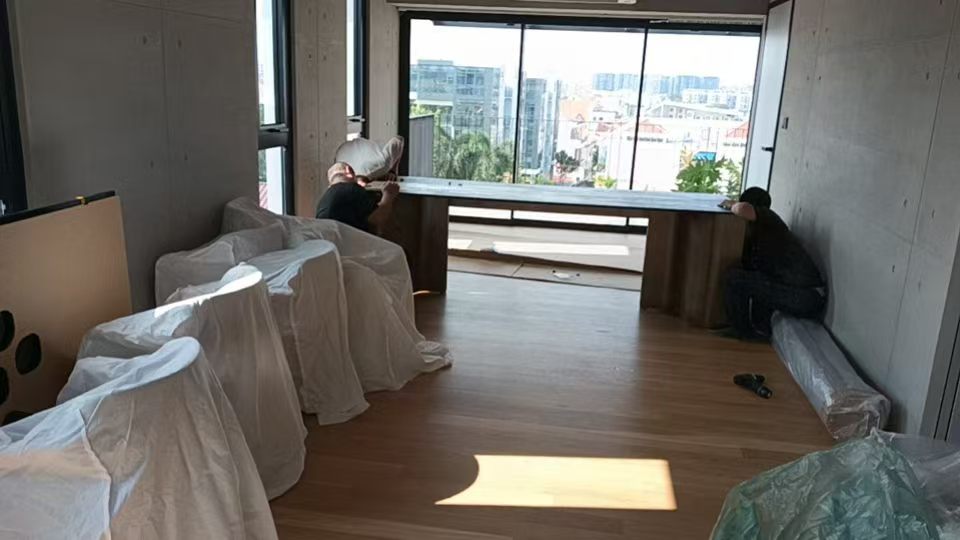
Project PhotoCustom Carpentry & Installation - Photo 1 — Project Photo: Dining area with fitted cabinetry and a round dining table.
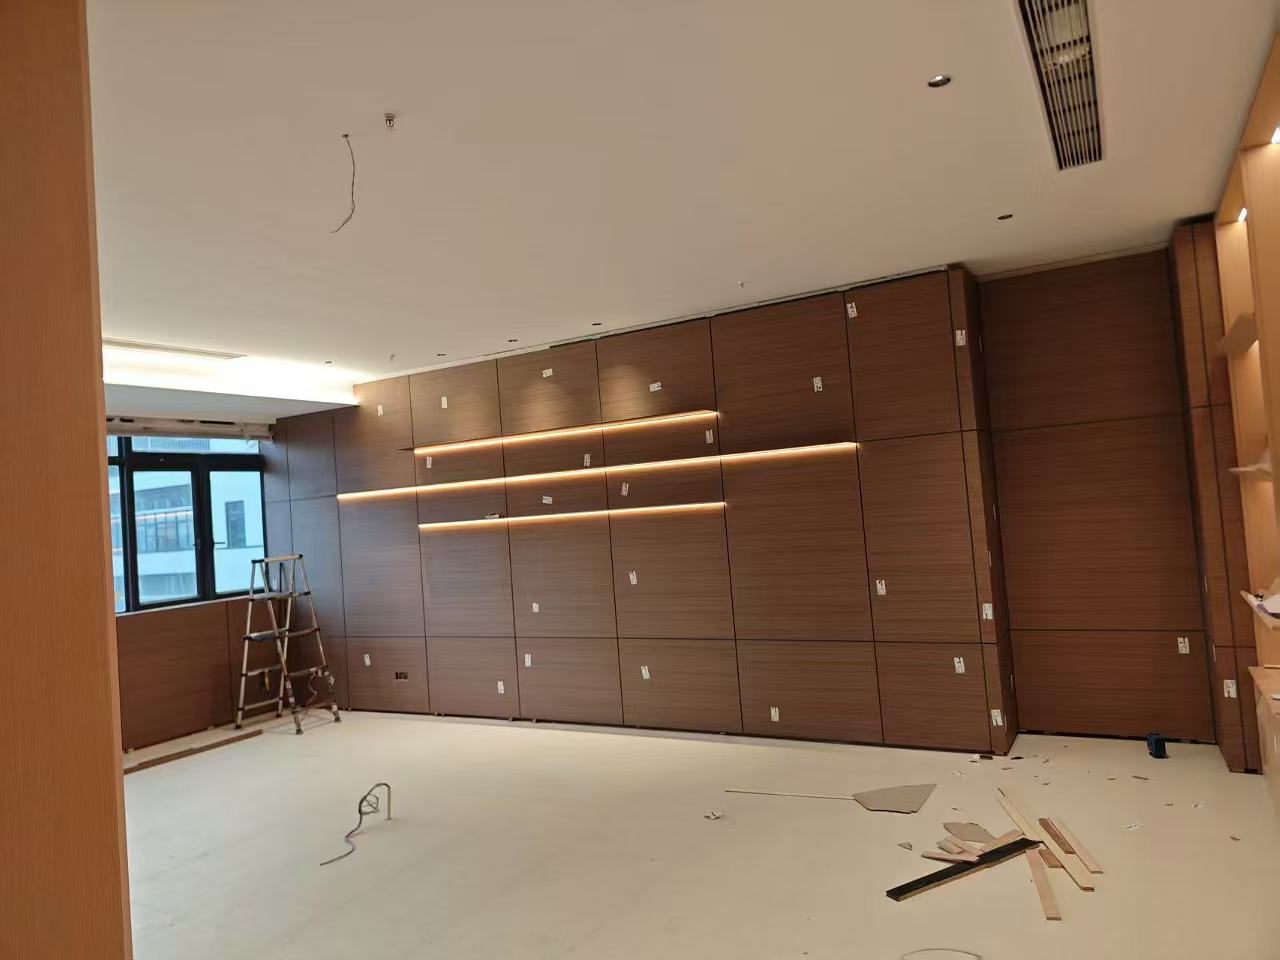
Project PhotoCustom Carpentry & Installation - Photo 2 — Project Photo: Timber wall panelling during installation.
Timber wall panelling during installation.
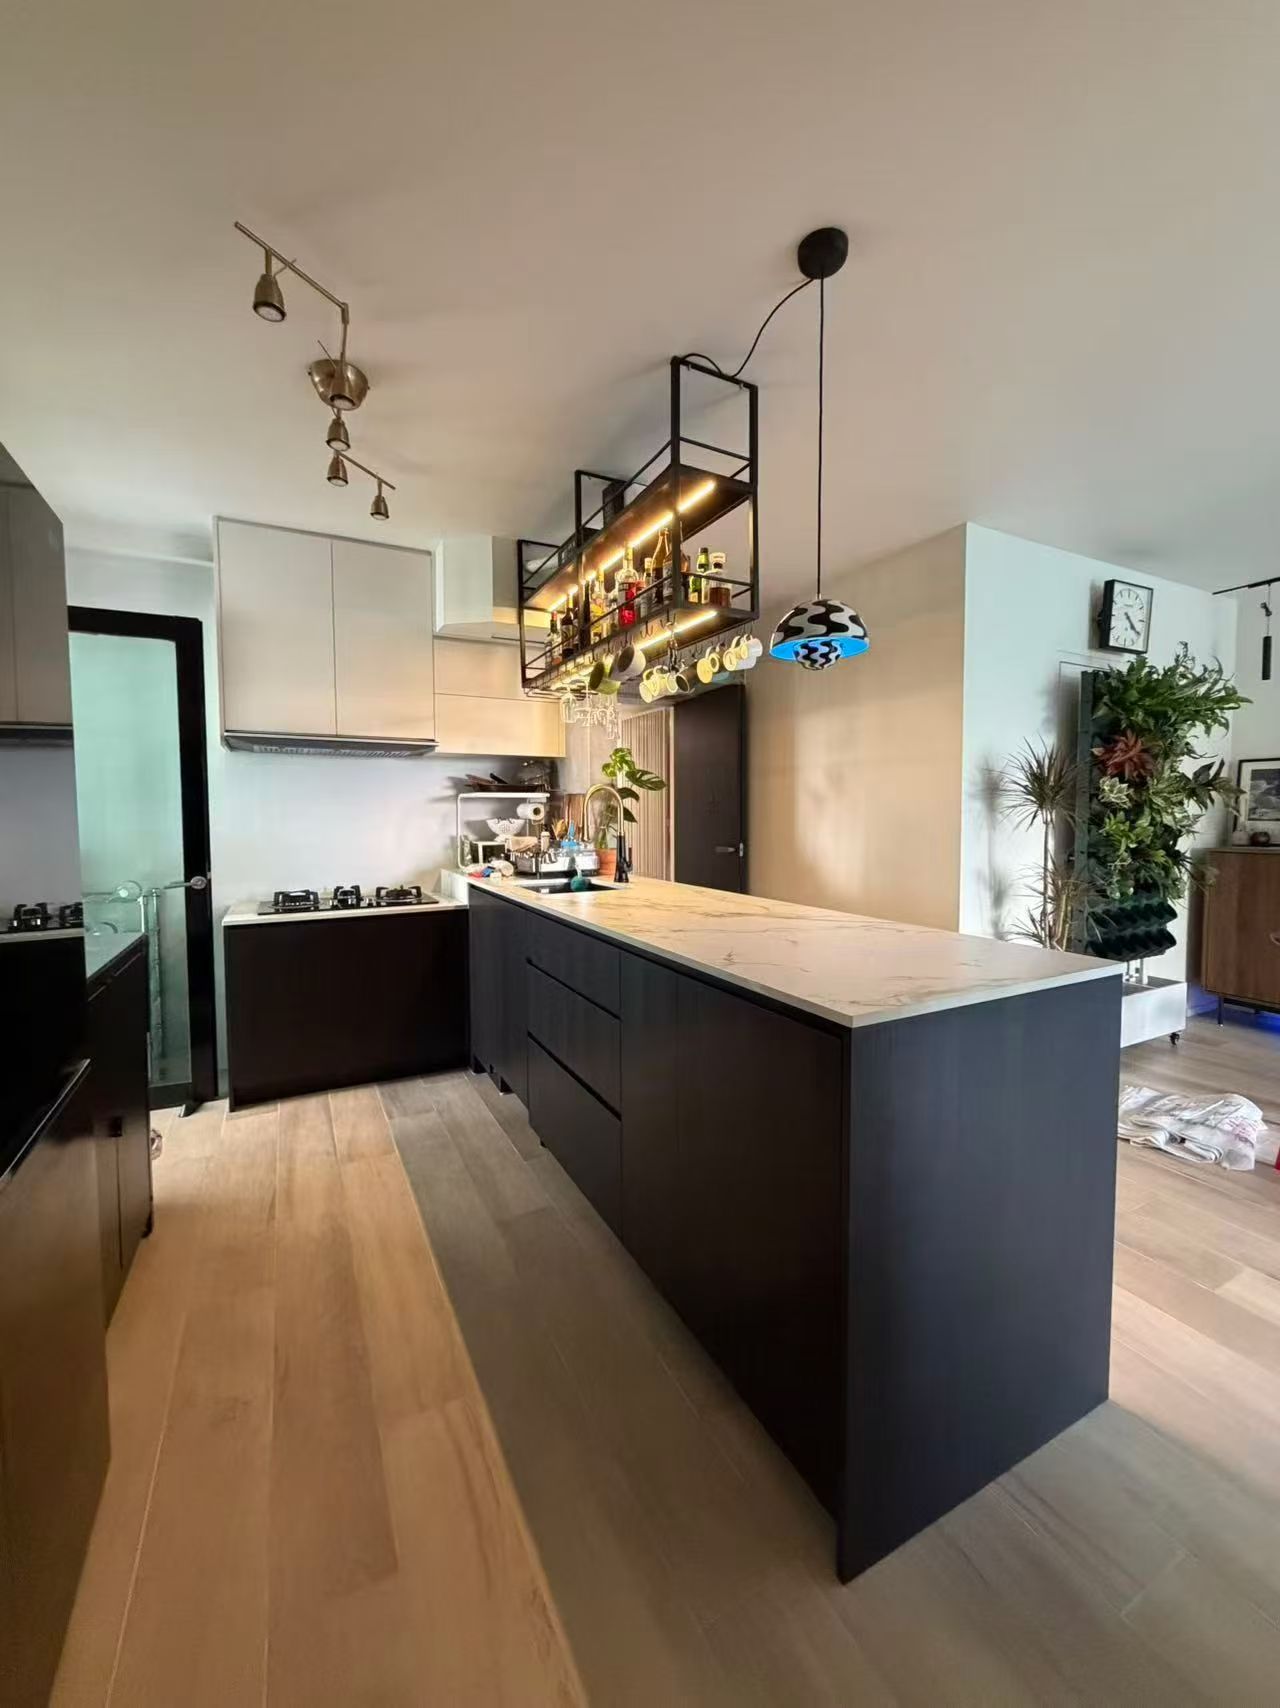
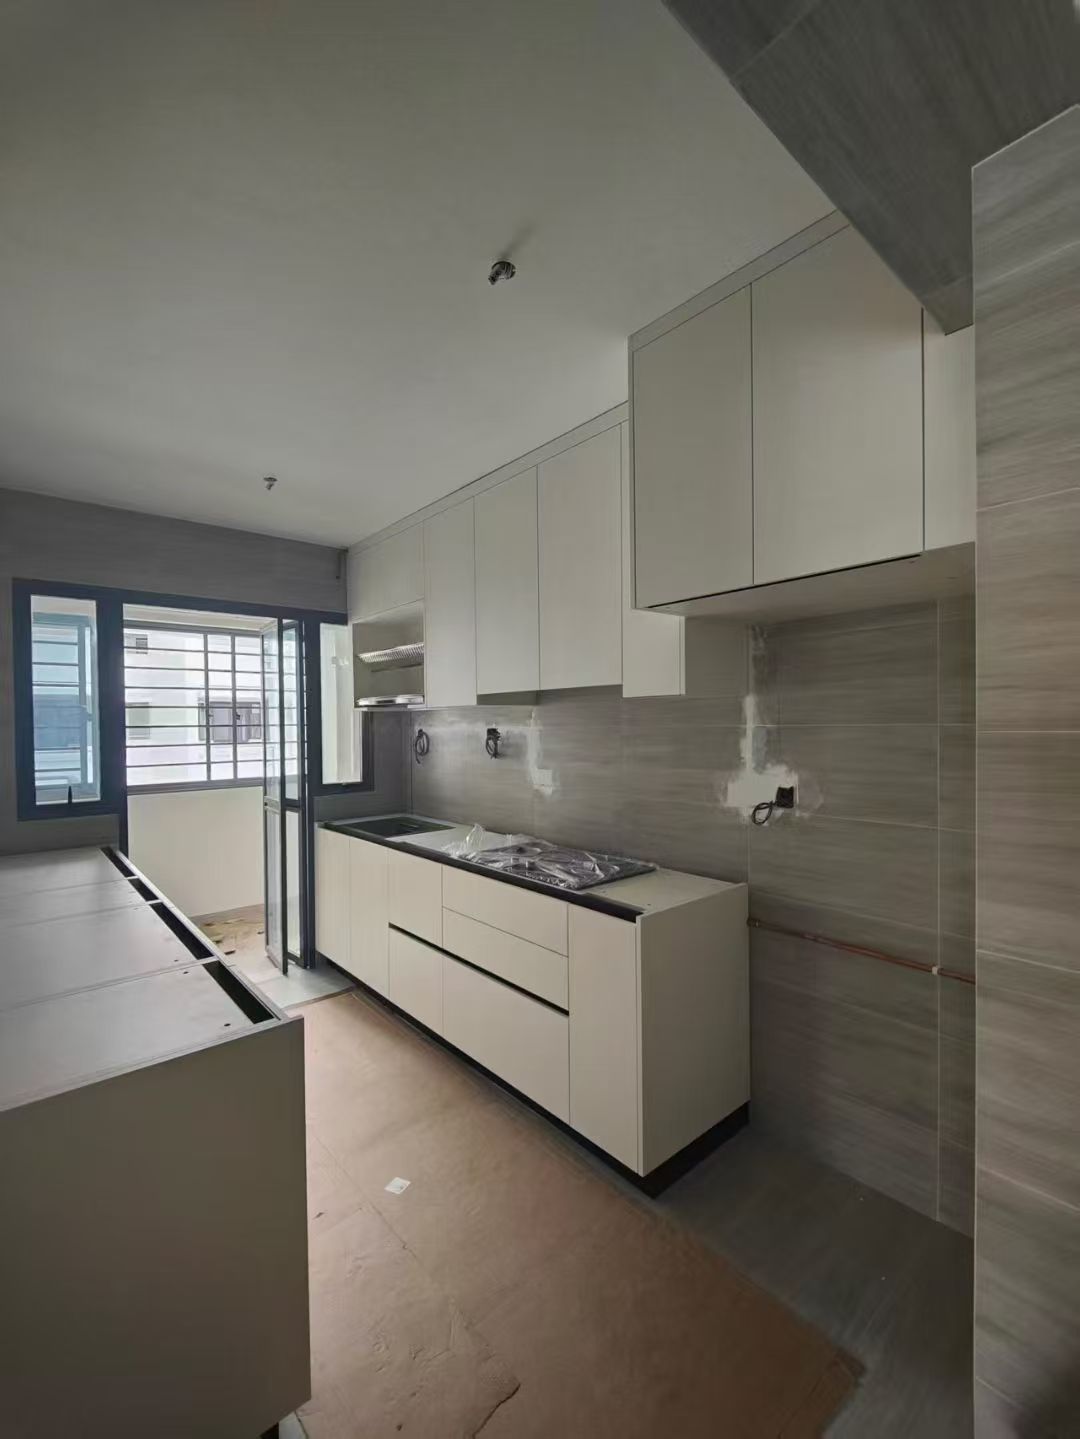
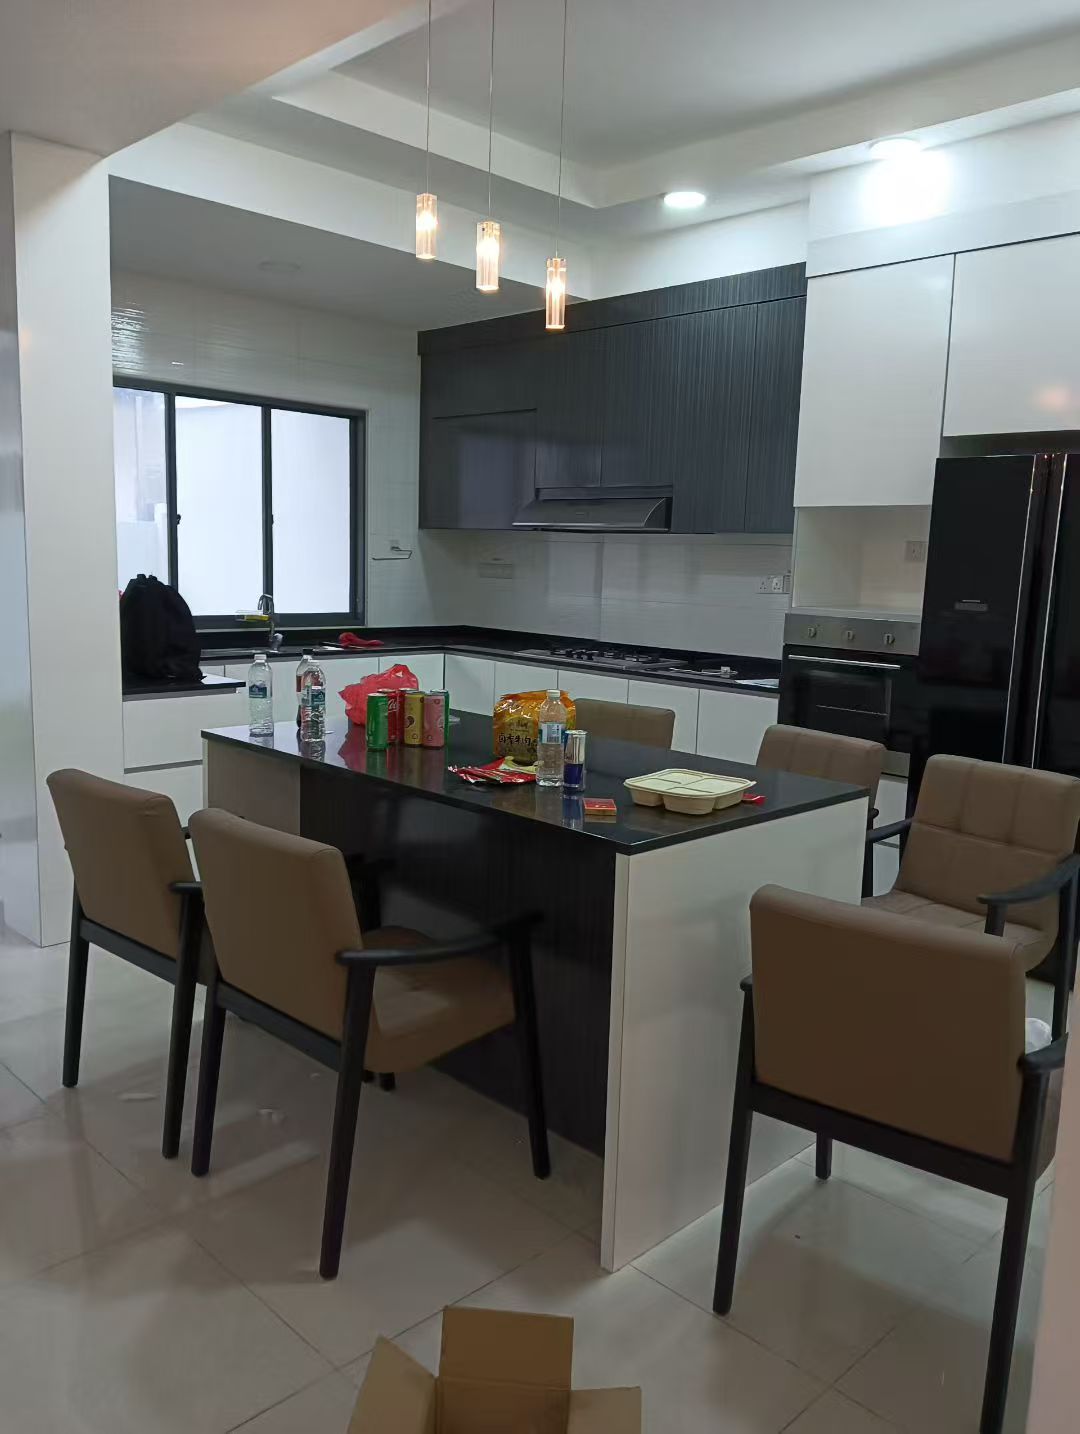
Project PhotoCustom Carpentry & Installation - Photo 3 — Project Photo: Kitchen cabinetry and island.
Kitchen cabinetry and island.
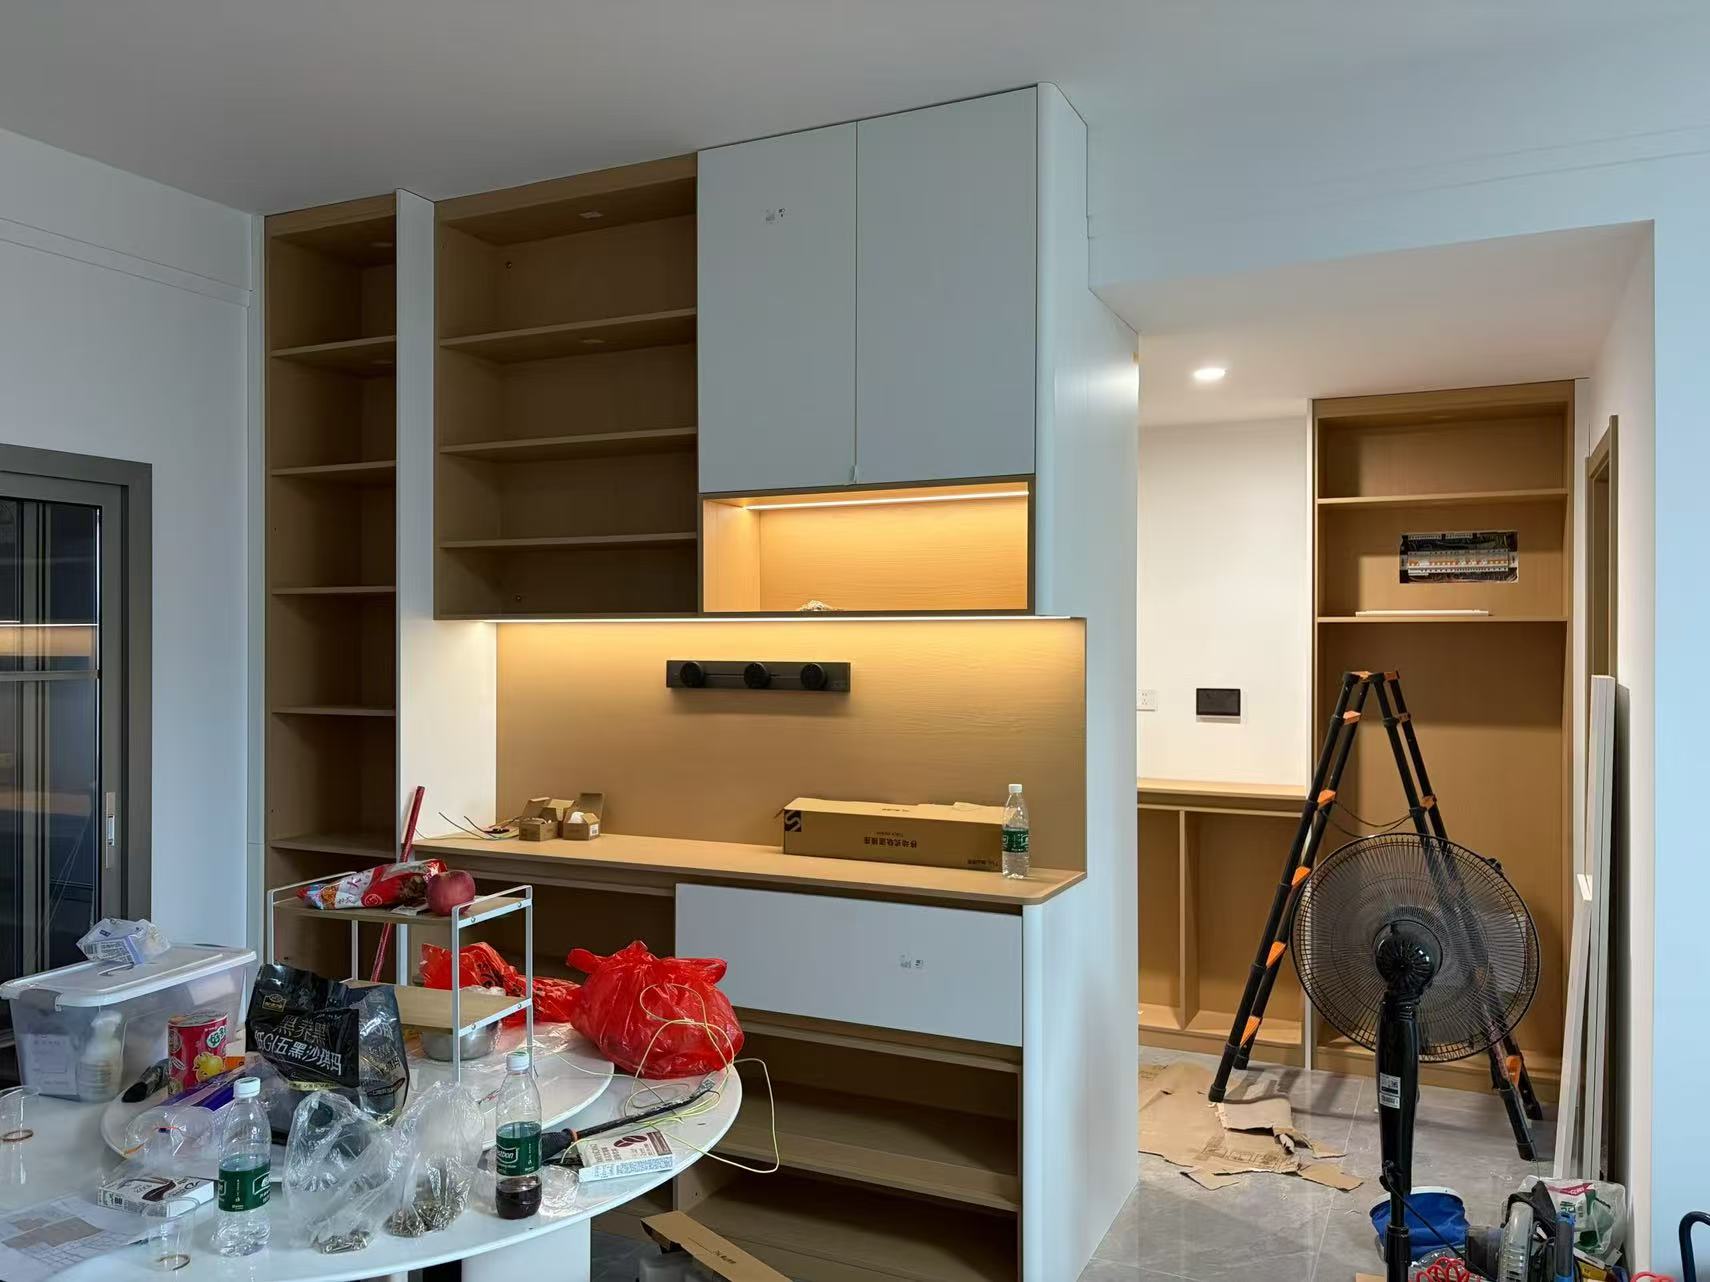
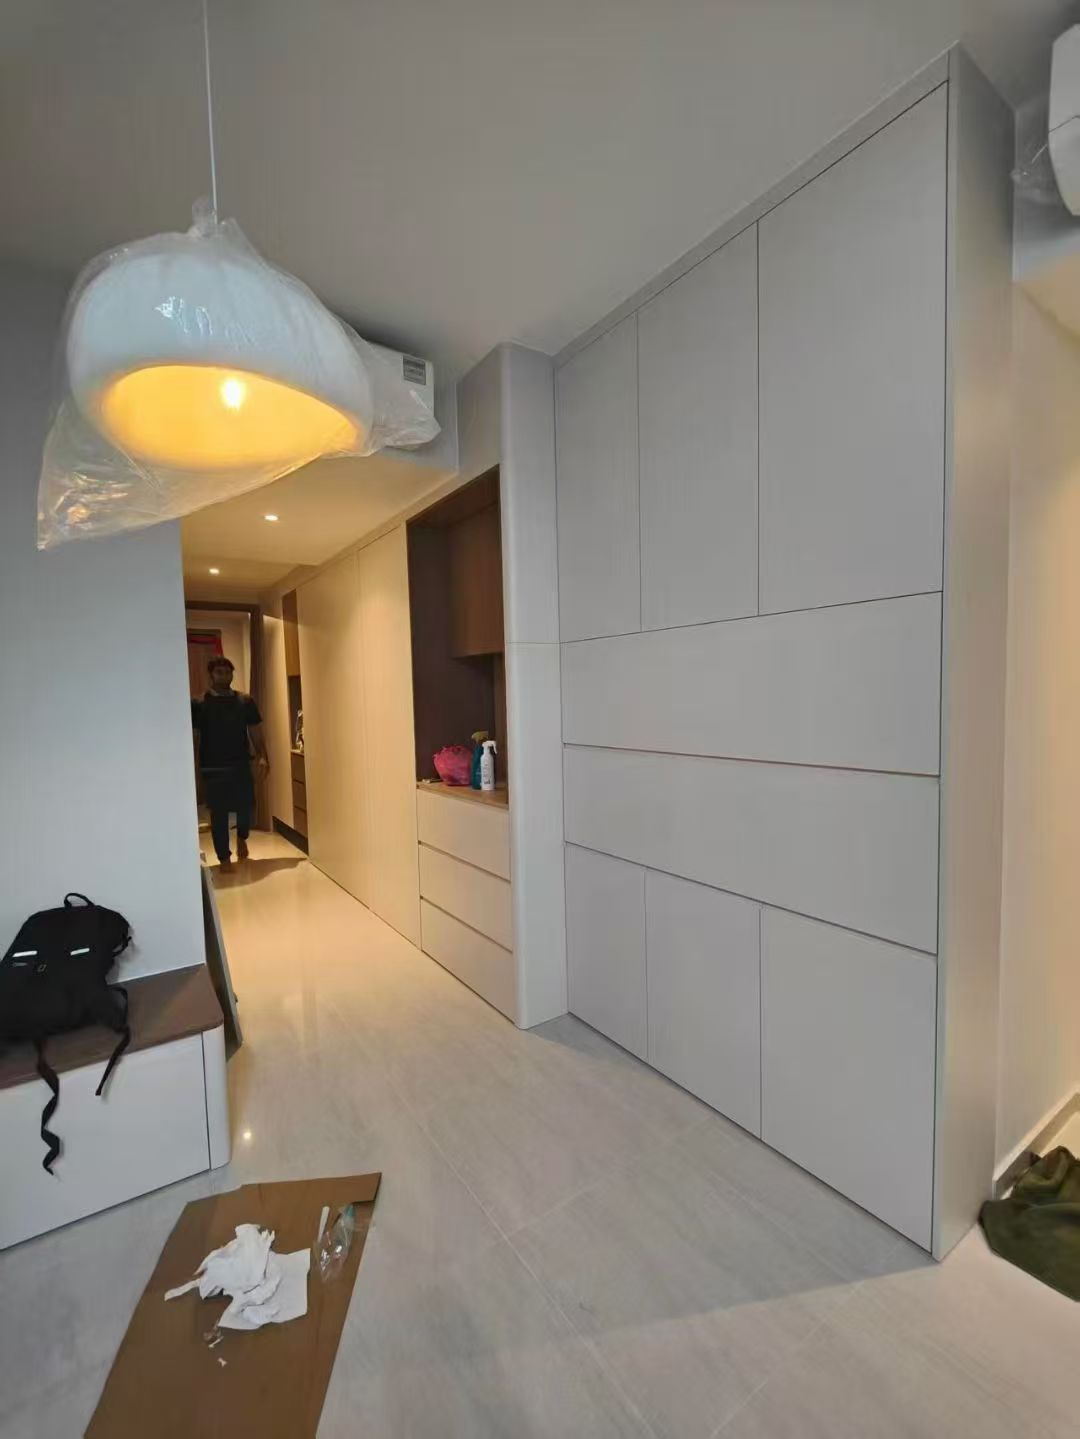
Project PhotoCustom Carpentry & Installation - Photo 4 — Project Photo: Built-in storage and shelving during installation.
Built-in storage and shelving during installation.
Project PhotoCustom Carpentry & Installation - Photo 5 — Project Photo: On-site furniture installation.
On-site furniture installation.
Project PhotoCustom Carpentry & Installation - Photo 6 — Project Photo: Kitchen cabinets during installation.
Kitchen cabinets during installation.
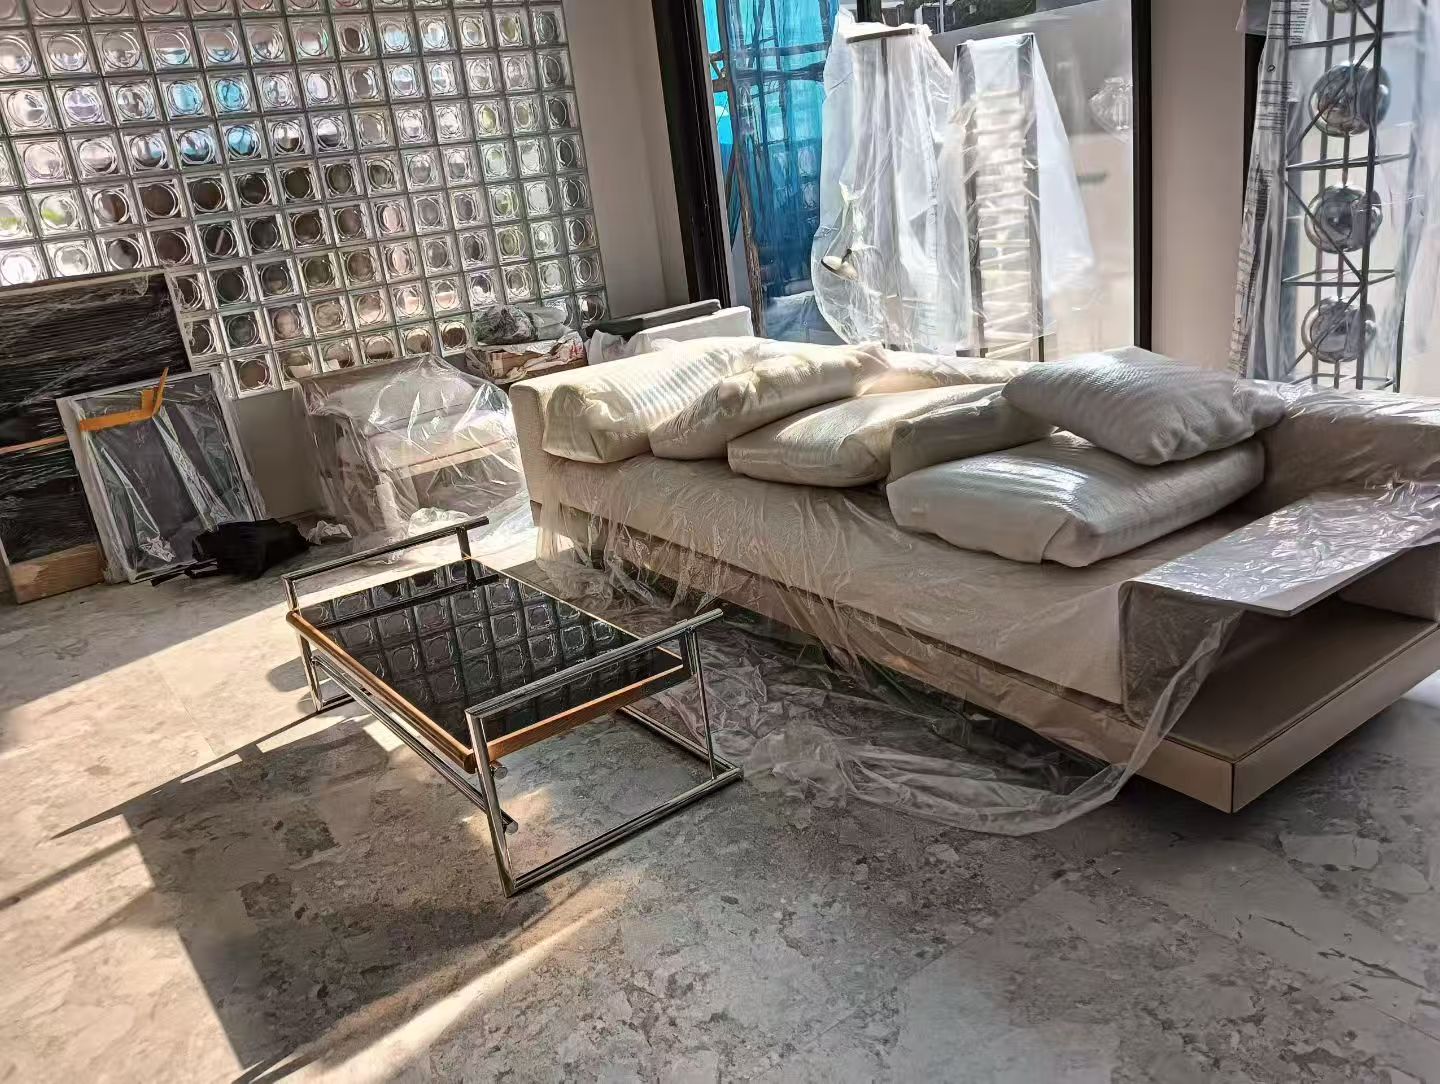
Project PhotoCustom Carpentry & Installation - Photo 7 — Project Photo: Furniture placement with protective wrapping.
Furniture placement with protective wrapping.
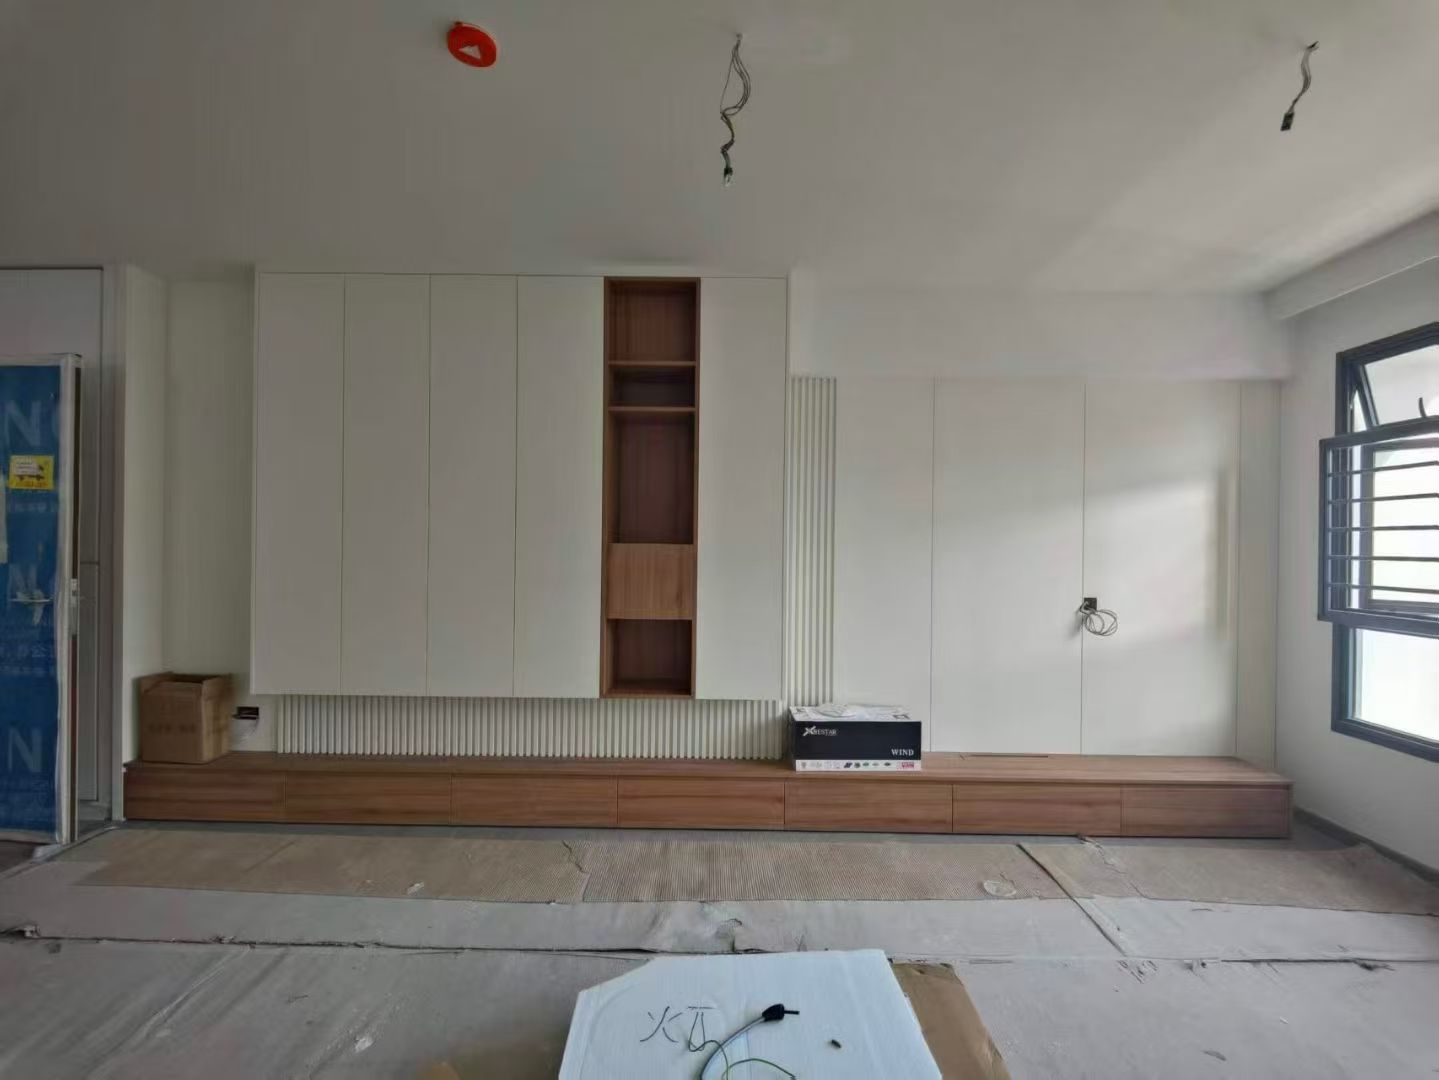
Project PhotoCustom Carpentry & Installation - Photo 8 — Project Photo: Built-in living room storage and TV console.
Built-in living room storage and TV console.
Project PhotoCustom Carpentry & Installation - Photo 9 — Project Photo: Kitchen cabinetry and dining island.
Kitchen cabinetry and dining island.
Project PhotoCustom Carpentry & Installation - Photo 10 — Project Photo: Full-height fitted storage cabinetry.
Full-height fitted storage cabinetry.

Have a Similar Repair in Mind?

Send us clear photographs of the damaged area and a wider view via WhatsApp for an initial assessment and quotation.

Scroll to Top